
Start With the Jobs You Print Most Often
When a print shop is building its first screen inventory, the smartest place to begin is with the garments and substrates already moving through the shop. If your daily work is mostly light cotton T-shirts, you will need a different screen mix than a shop doing labels, posters or finer halftone work. Start by listing the artwork types you repeat most, then match each one to a sensible mesh count and frame size.
A practical starter set often includes a lower mesh for heavier ink deposits, a mid-range option for general garment work and a finer mesh for detail, small text and cleaner halftones. That does not mean every job needs a new screen. It means your shop is better prepared for the work that keeps coming back. In Germiston and across the East Rand, many new print shops begin with a lean set and add more once the order pattern becomes clear.
- Keep one mesh count for solid spot colour work.
- Keep one mesh count for general-purpose printing on fabric.
- Keep one finer mesh for detail, simulated process or small type.
- Leave room in the setup for a spare screen or two.
Choose Mesh Counts That Suit the Ink and Detail
Mesh count is one of the first decisions that shapes print quality. In screen printing, lower mesh counts allow more ink through the screen, which suits bold graphics and thicker deposits. Higher mesh counts are used when you need sharper detail, smoother edges or less ink on the garment. The right choice depends on the ink system, the fabric and the image itself, not just on what someone else is using.
For a growing shop, it helps to think in ranges rather than exact formulas. A coarser mesh is often useful for underbases and heavy spot colour jobs. A medium mesh can handle everyday work on T-shirts and tote bags. A finer mesh is better for detailed artwork, smaller lettering and prints where you want tighter control over the ink film. The screen count also affects drying behaviour, so your flash cure or drying setup should suit the deposit you are laying down.
- Lower mesh counts suit heavier ink deposits.
- Medium mesh counts suit general garment printing.
- Higher mesh counts suit detail and finer print work.
- Always match the mesh to the ink, artwork and fabric.
Frame Size and Aluminium Strength Matter More Than People Think
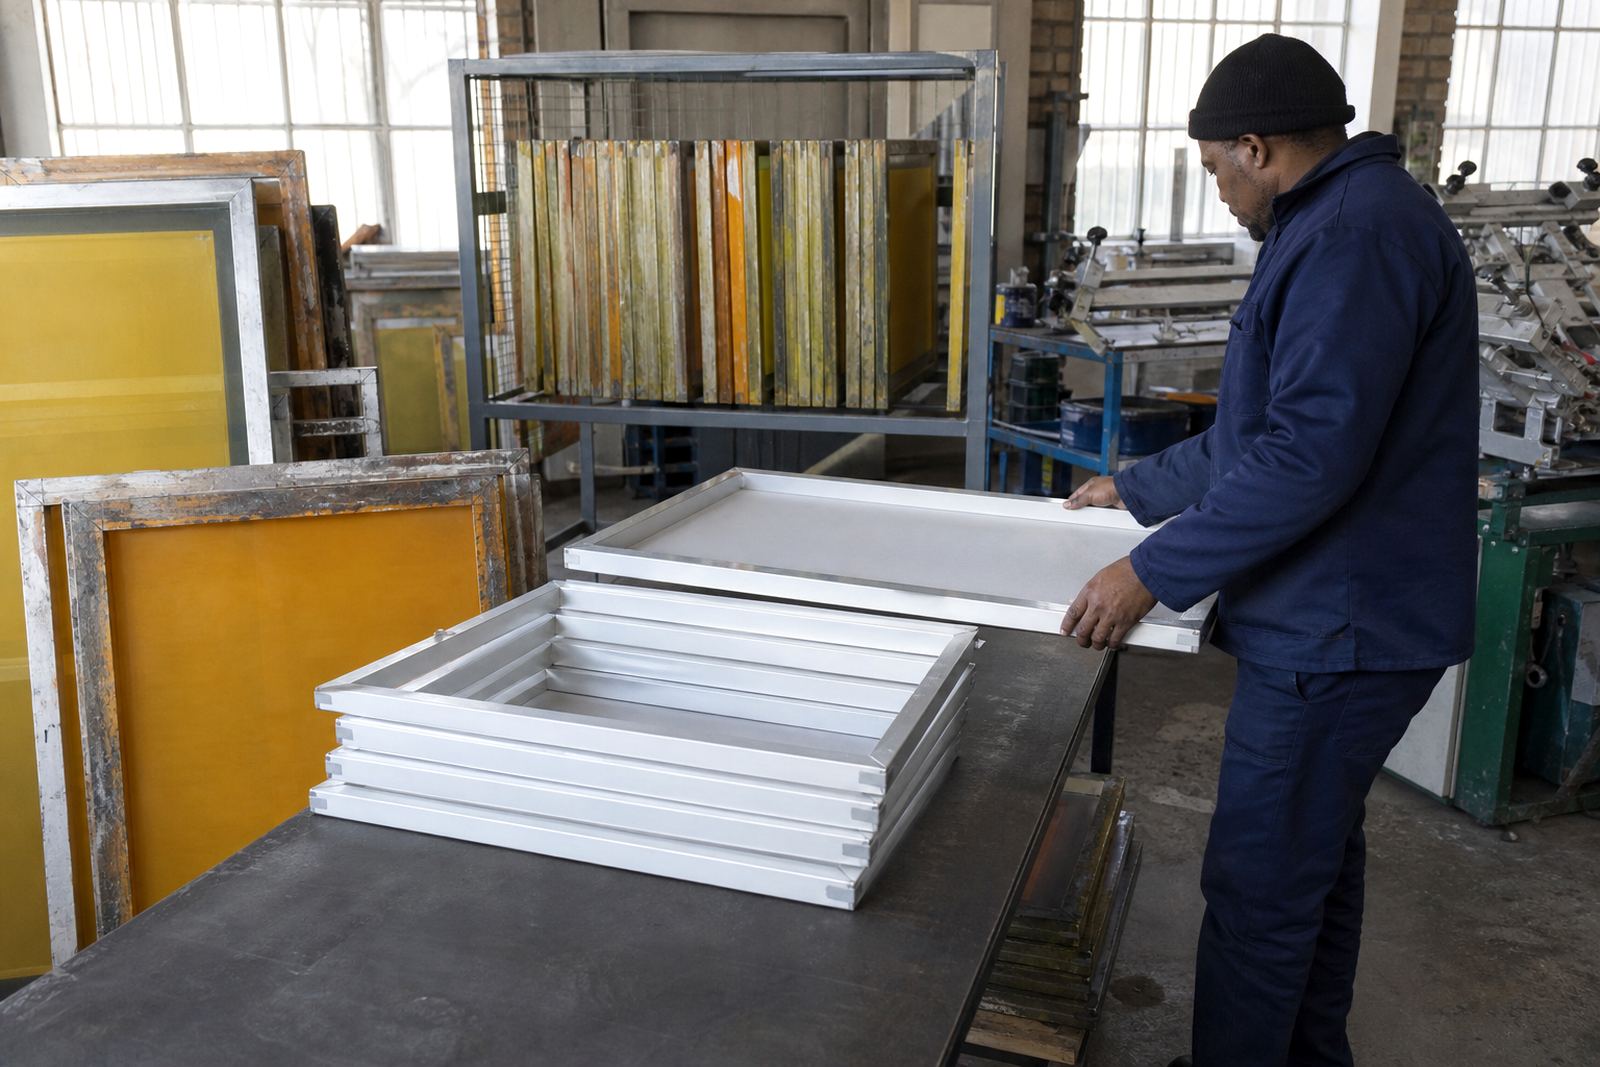
Pre-stretched aluminium frames are a good starting point for shops that want consistency from the first print. Aluminium holds shape well and copes better with repeated tension changes than many makeshift options. That matters when you are stretching screens regularly, cleaning them for reuse, or working through batches that need the same alignment from one screen to the next.
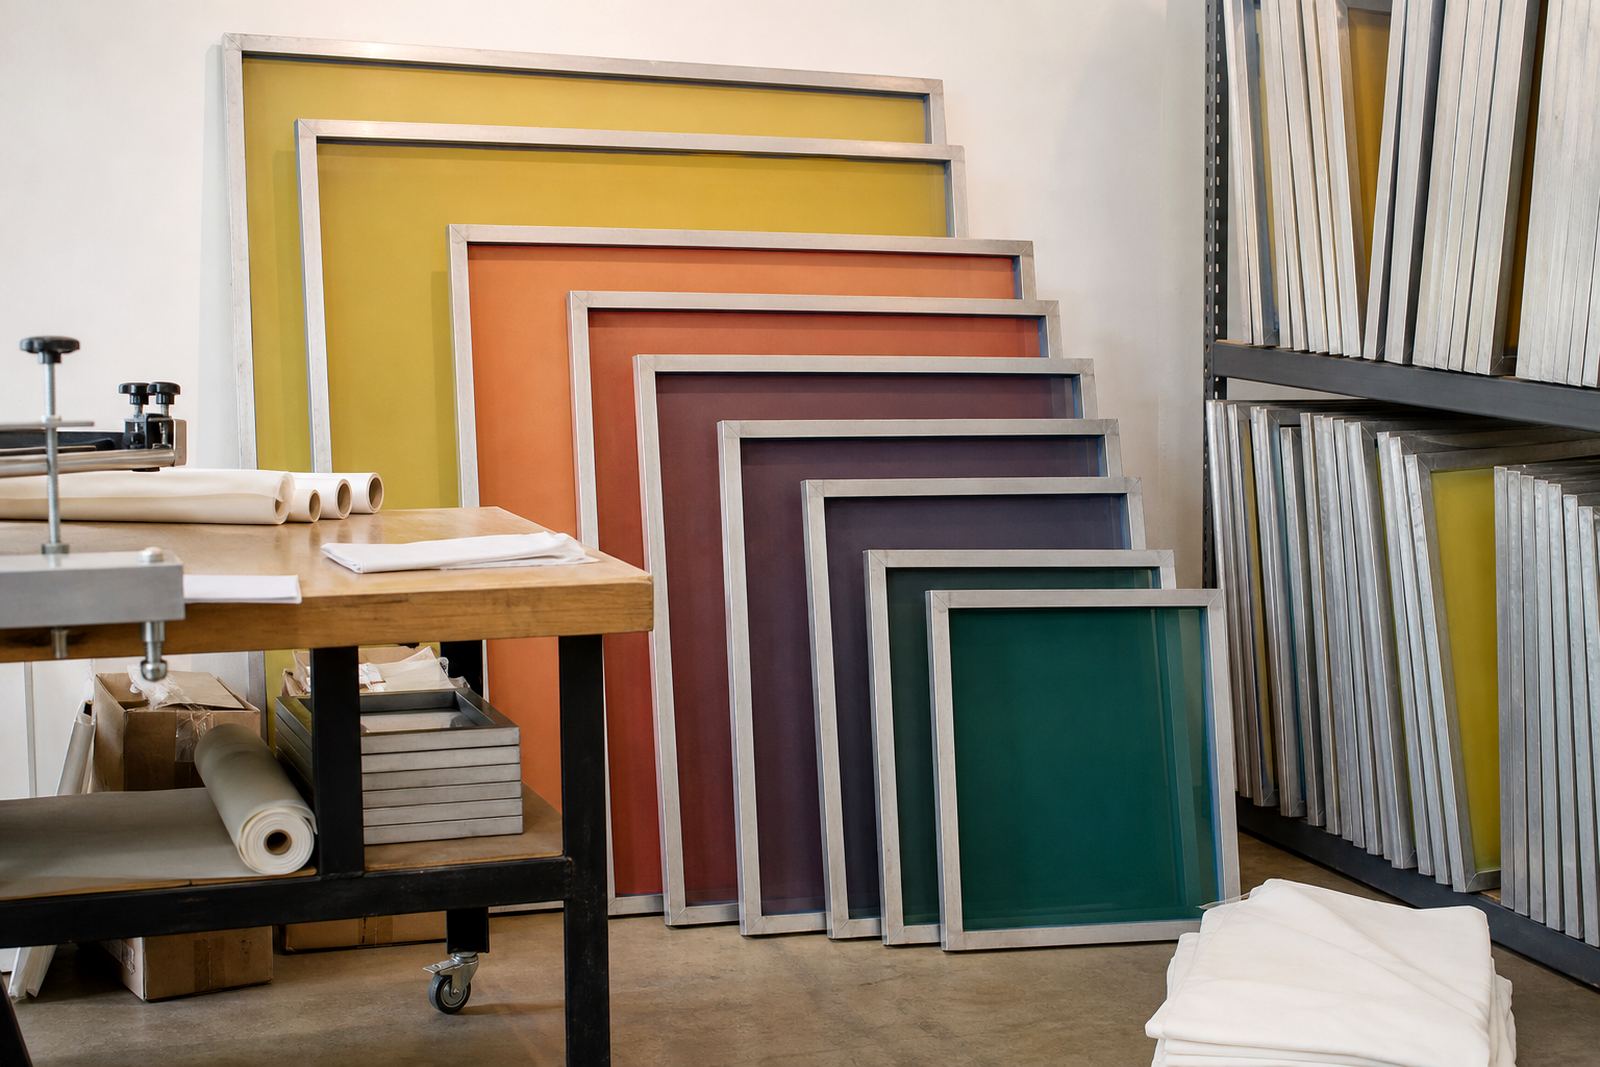
Frame size should be chosen around your artwork and your print table, but also around how the shop handles space. A larger frame can give you more margin for registration and multiple image placements, yet it must still fit your coating area, storage rack and drying space. If you are working in a tight room in Johannesburg or a small production area in Pretoria, the practical fit is just as important as the print area.
For shops near the coast, moisture and humidity also matter. In Durban and Gqeberha, screens and frames need proper cleaning, drying and storage so the mesh stays in good condition. If frames are left damp, or stacked badly after washout, the next job can start with avoidable trouble.
Tension Control Keeps the First Set Useful Longer
Good tension is what turns a frame and mesh into a dependable printing tool. If the screen is too loose, registration can drift and prints may look soft or uneven. If tension is too high for the frame or the mesh, the screen may wear faster or become difficult to work with. A first screen inventory should therefore include screens that have been tension checked before they go into regular use.
It is also worth planning for re-stretching. A growing print shop does not always need a brand-new screen when one starts to lose tension. Re-stretching can bring useful life back into a frame, especially when the aluminium is still sound and the mesh has simply tired after repeated cleaning and production runs. This is where a sensible inventory becomes a working system rather than a pile of screens on a shelf.
- Check tension before the screen enters production.
- Re-stretch screens when the frame is still in good condition.
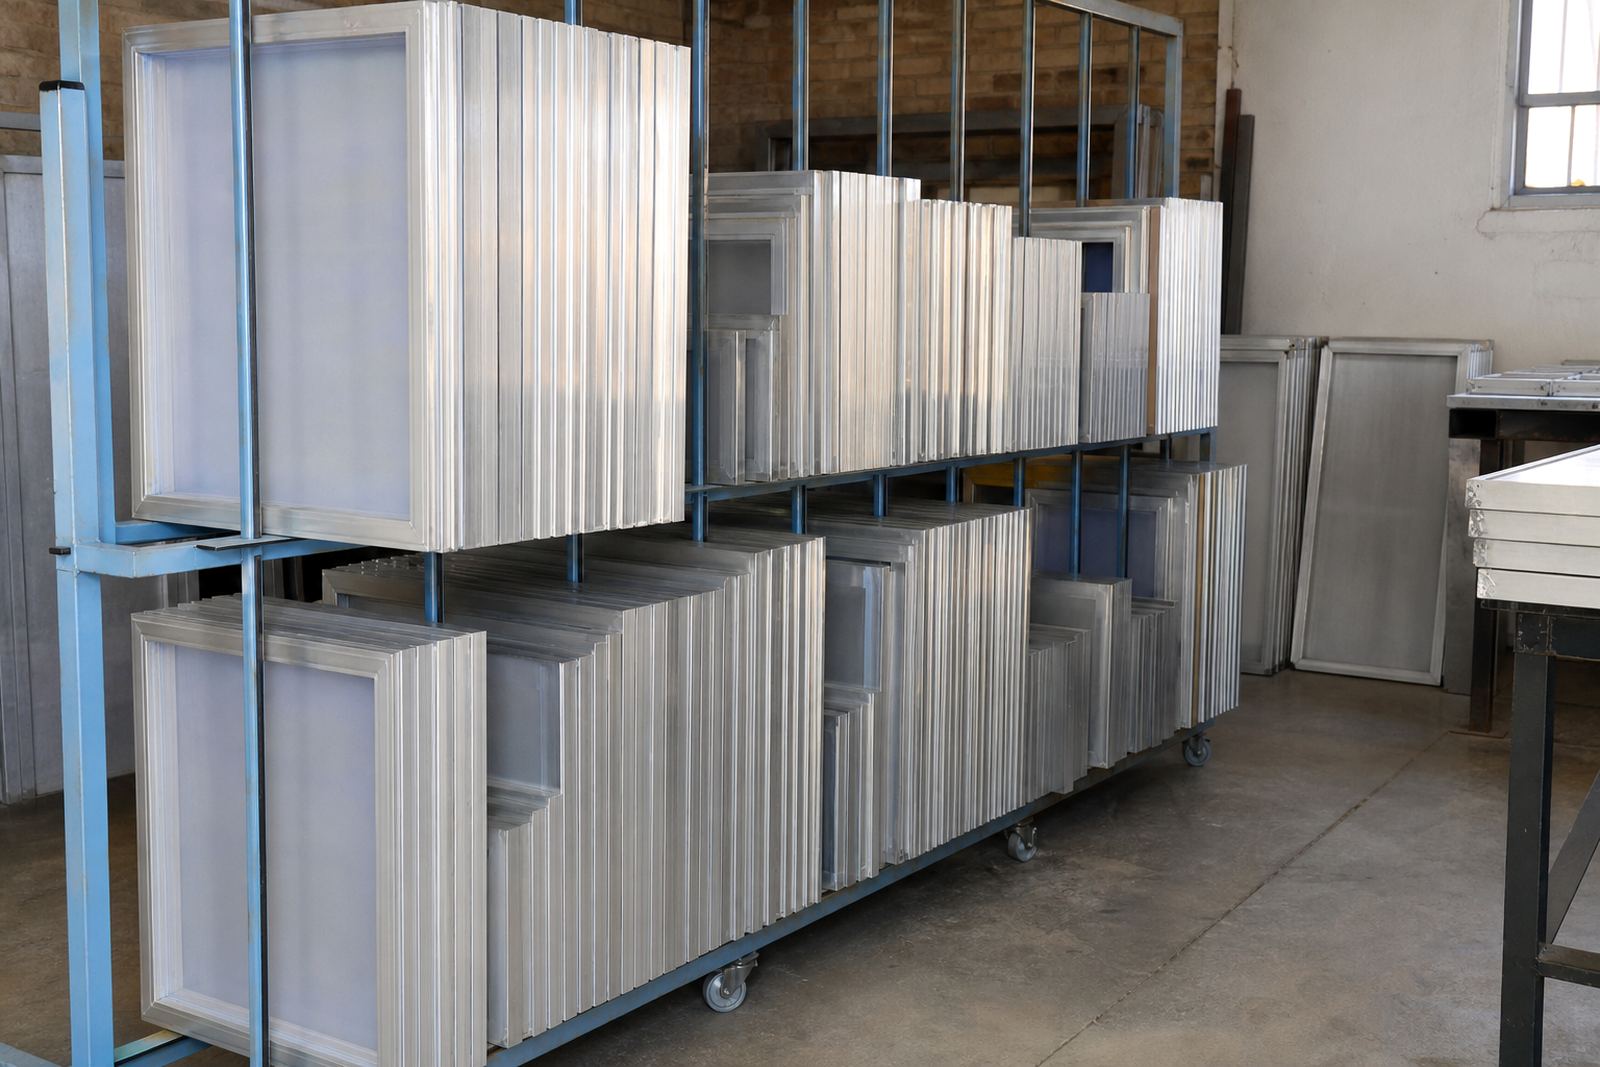
- Store screens flat and dry to avoid twist and strain.
- Separate high-use screens from occasional-use screens.
Build Around the Way Your Shop Prepares Work
A screen set should fit the way your team handles prep. If one person is cleaning, another coating and another setting up the next job, then batch screen prep and clear labelling become important. A screen that is easy to identify, clean and return to service saves time and avoids mix-ups during busy periods. It also helps when repeat orders come in and the same artwork needs to be run again without delay.
For a small shop in Midrand or on the East Rand, the first inventory often works best when each screen has a clear purpose. One screen can stay with white underbase work, another with solid colours, another with finer detail. That way you are not stripping and rebuilding the entire setup for every new order. It sounds simple, but it makes a real difference when orders arrive close together and the day gets long.
- Label screens by mesh count and intended use.
- Keep a clean prep area for degreasing and inspection.
- Separate repeat-order screens from general stock.
- Include enough screens to cover one busy production day.
A Germiston Example for a New Print Shop
Take a young print shop in Germiston doing a mix of work for schools, local businesses and event orders. The owner does not need every possible mesh count from the start. What helps more is a careful first group of screens: one for bold logos, one for general T-shirt work, one finer option for small text and a spare screen for urgent jobs. That gives the shop a proper base without tying up cash in screens that may sit unused.
From there, the inventory can grow as the order mix becomes clearer. If more fine-detail work starts coming in, another higher mesh screen can be added. If large spot colour jobs become common, the set can shift toward more lower mesh screens. A practical inventory changes with the work, not with guesswork.
Suppliers also need to keep the movement smooth. When screens are stretched, checked and packed properly, dispatch to Johannesburg, Pretoria, Durban, Cape Town or Gqeberha becomes much easier. For a growing shop, that means less time chasing missing items and more time printing. It also helps when load-shedding interrupts the day and you need to resume work without confusion after power returns.