
Why a test screen saves you from costly surprises
A screen that looks fine on the rack can still behave differently once it is flooded, squeegeed and put under real production pressure. A sample screen lets you confirm whether the mesh count suits the artwork, whether the stencil clears cleanly, and whether the print holds detail without over-depositing ink.
For a print shop in Johannesburg handling a mix of garment jobs and shorter promotional runs, that matters. A mesh that is too coarse can let too much ink through and blur fine type. A mesh that is too fine may choke on heavier inks or slow the job down. A test screen helps you find the middle ground before you stretch ten or twenty full production frames.
It also gives you a simple way to compare options side by side. If you are moving from a 43T mesh to a finer count for line work, or from a standard frame to a larger format, the test screen shows the difference with less guesswork and fewer rejected prints.
Matching mesh count to the artwork and ink
Screen-printing mesh count is one of the first choices that affects the final result. Lower mesh counts are usually used where a heavier ink deposit is needed, while finer counts suit detail, halftones and cleaner edges. The right choice depends on the substrate too, because what works on cotton may not behave the same way on synthetic fabric, stickers or coated boards.
A test screen lets you confirm that the mesh count matches the job rather than the habit. That is especially useful when jobs change from week to week. One day you might be printing bold spot colours for workwear, the next you might need finer detail for labels or artwork with thin lines.
- Use a coarser mesh when the design needs stronger ink deposit or a thicker ink body.
- Use a finer mesh when the artwork has fine detail, small text or halftones.
- Check how the ink releases through the mesh, not only how the stencil looks before printing.
- Test on the same substrate you plan to use for the real run if possible.
In coastal areas like Durban and Gqeberha, humidity can also influence drying and handling. A test screen gives you a chance to see whether the setup still behaves properly when the shop air is warm or damp.
Tension matters more than most shops admit
Good tension is what keeps a screen predictable. If the mesh is slack, you can get poor snap-off, blurred edges and uneven prints across the frame. If the tension is uneven, one side may print differently from the other, especially on larger frames or longer runs. A test screen helps you check that the frame is not only stretched, but stretched evenly.
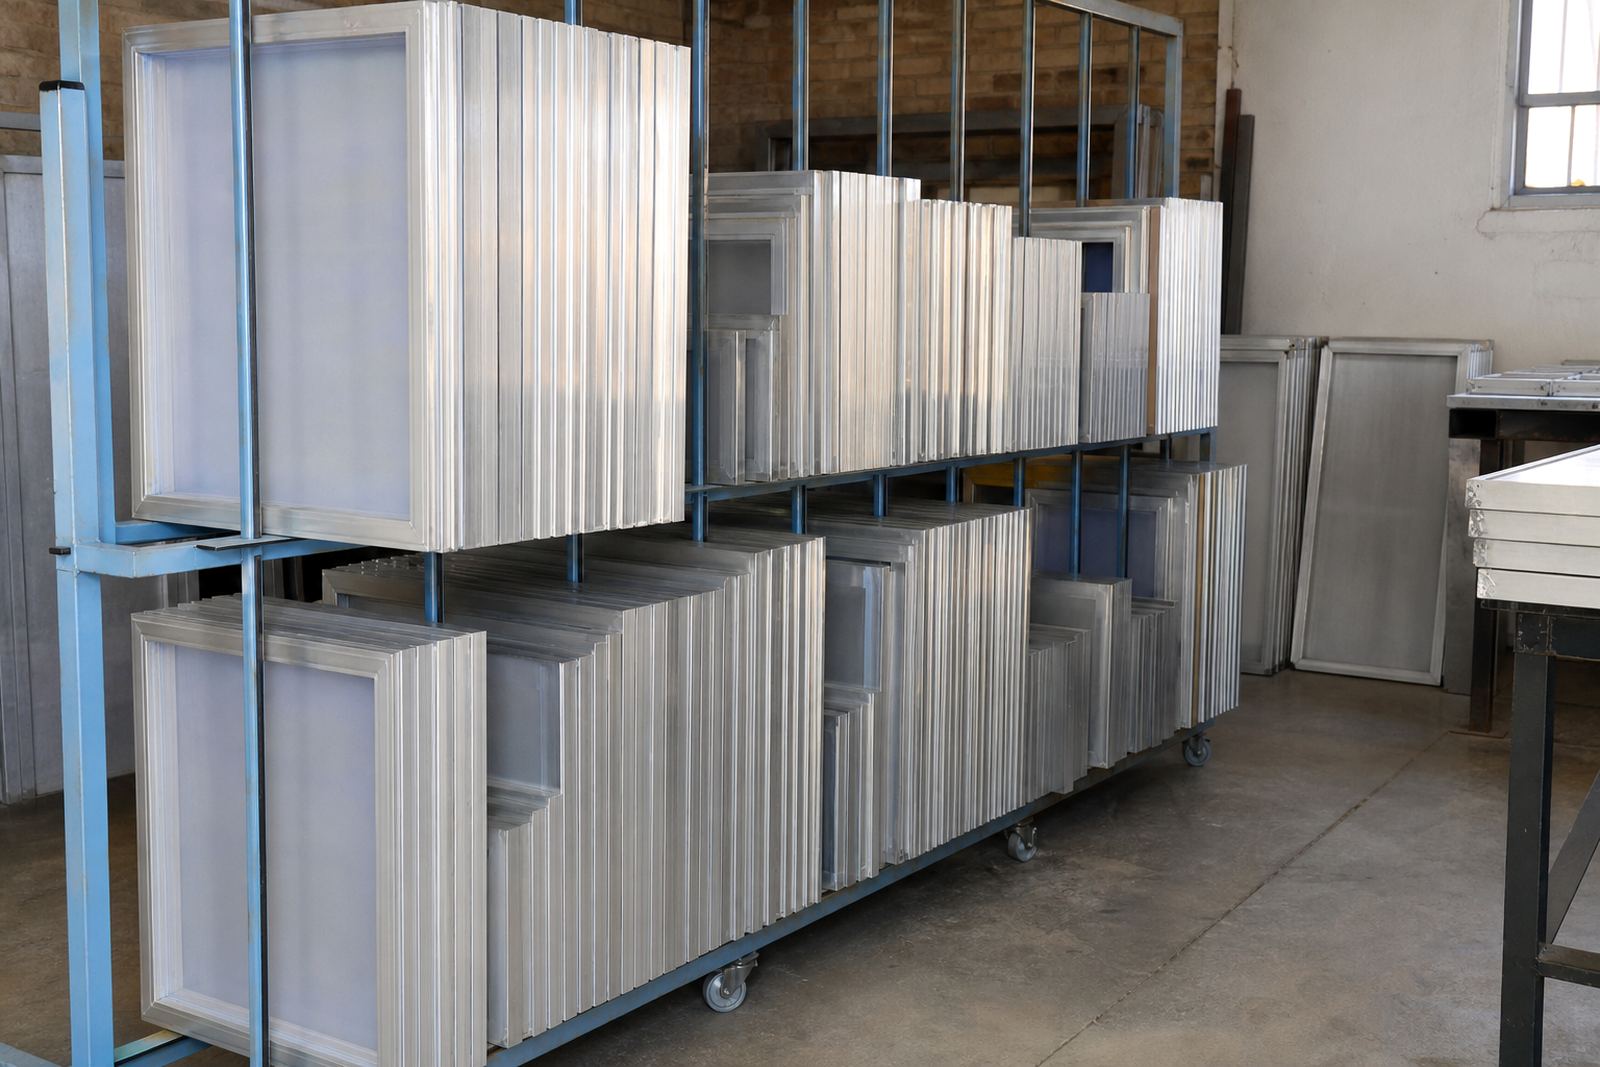
When we prepare pre-stretched aluminium frames in Germiston, the goal is consistency across the whole surface. A sample frame makes it easier to confirm whether the tension holds during setup and during production. It also helps identify frames that have had a hard life and need re-stretching rather than another quick patch.
- Check for even rebound when the mesh is tapped lightly across different sections.
- Look for image distortion near the corners and edges.
- Confirm that the frame sits flat and does not twist under pressure.
- Watch for changes in print quality after a few pulls, not only on the first print.
How a test run shows problems before the full order starts
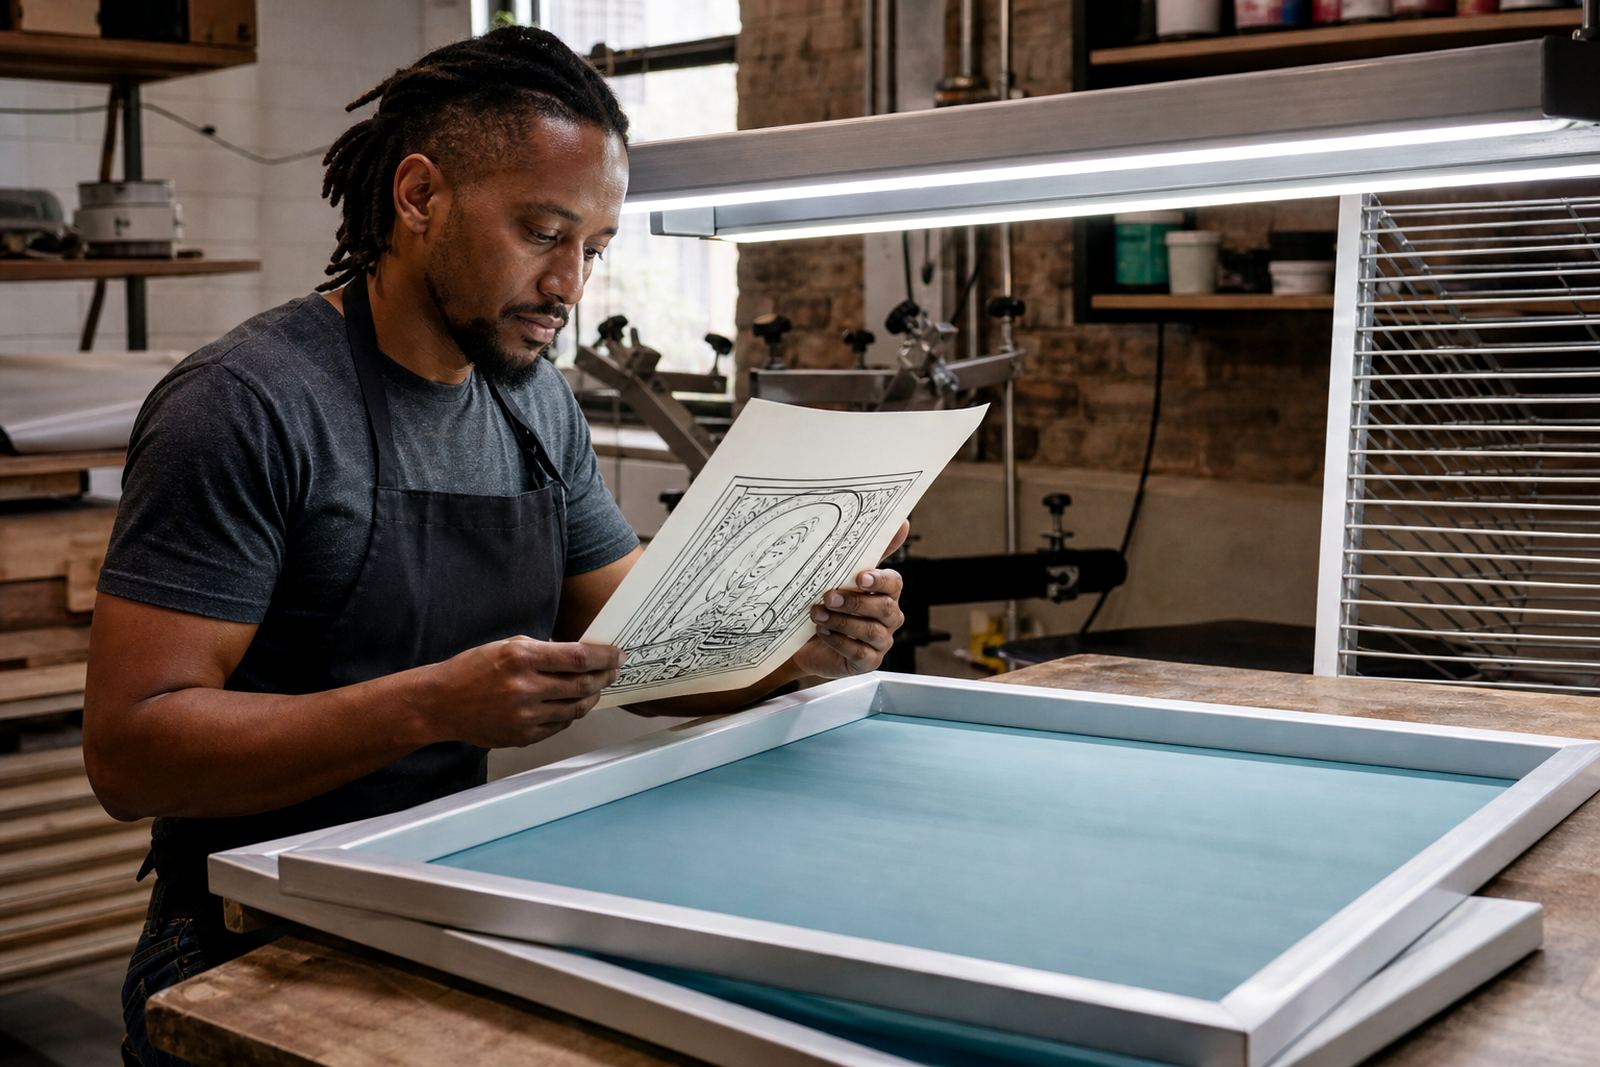
A proper sample screen is not only about the mesh. It is also a check on the whole workflow. You can see whether the stencil exposure is right, whether the mesh was cleaned and prepared properly, and whether the frame is set up for repeat work. That is useful for new artwork, but just as useful for repeat orders when the process has drifted over time.
Many shops in Gauteng work with load-shedding schedules and tighter production windows. Losing an afternoon to bad prints is not just annoying, it can push a delivery out by a full day. A test screen helps you catch issues early so the main run can start with fewer interruptions.
It also helps with batch planning. If a client wants multiple sizes or several colour separations, a tested screen setup reduces the chance that one colour prints beautifully while another comes out heavy or weak. You can adjust before the order goes into full dispatch packing.
A local example from Germiston to Cape Town
Think of a print shop in Germiston preparing a repeat run for a Cape Town client who needs mixed artwork across a few garment sizes. The team might know the design already, but a fresh batch can still behave differently if the artwork has changed, the ink has thickened, or the room conditions are different from the last job.
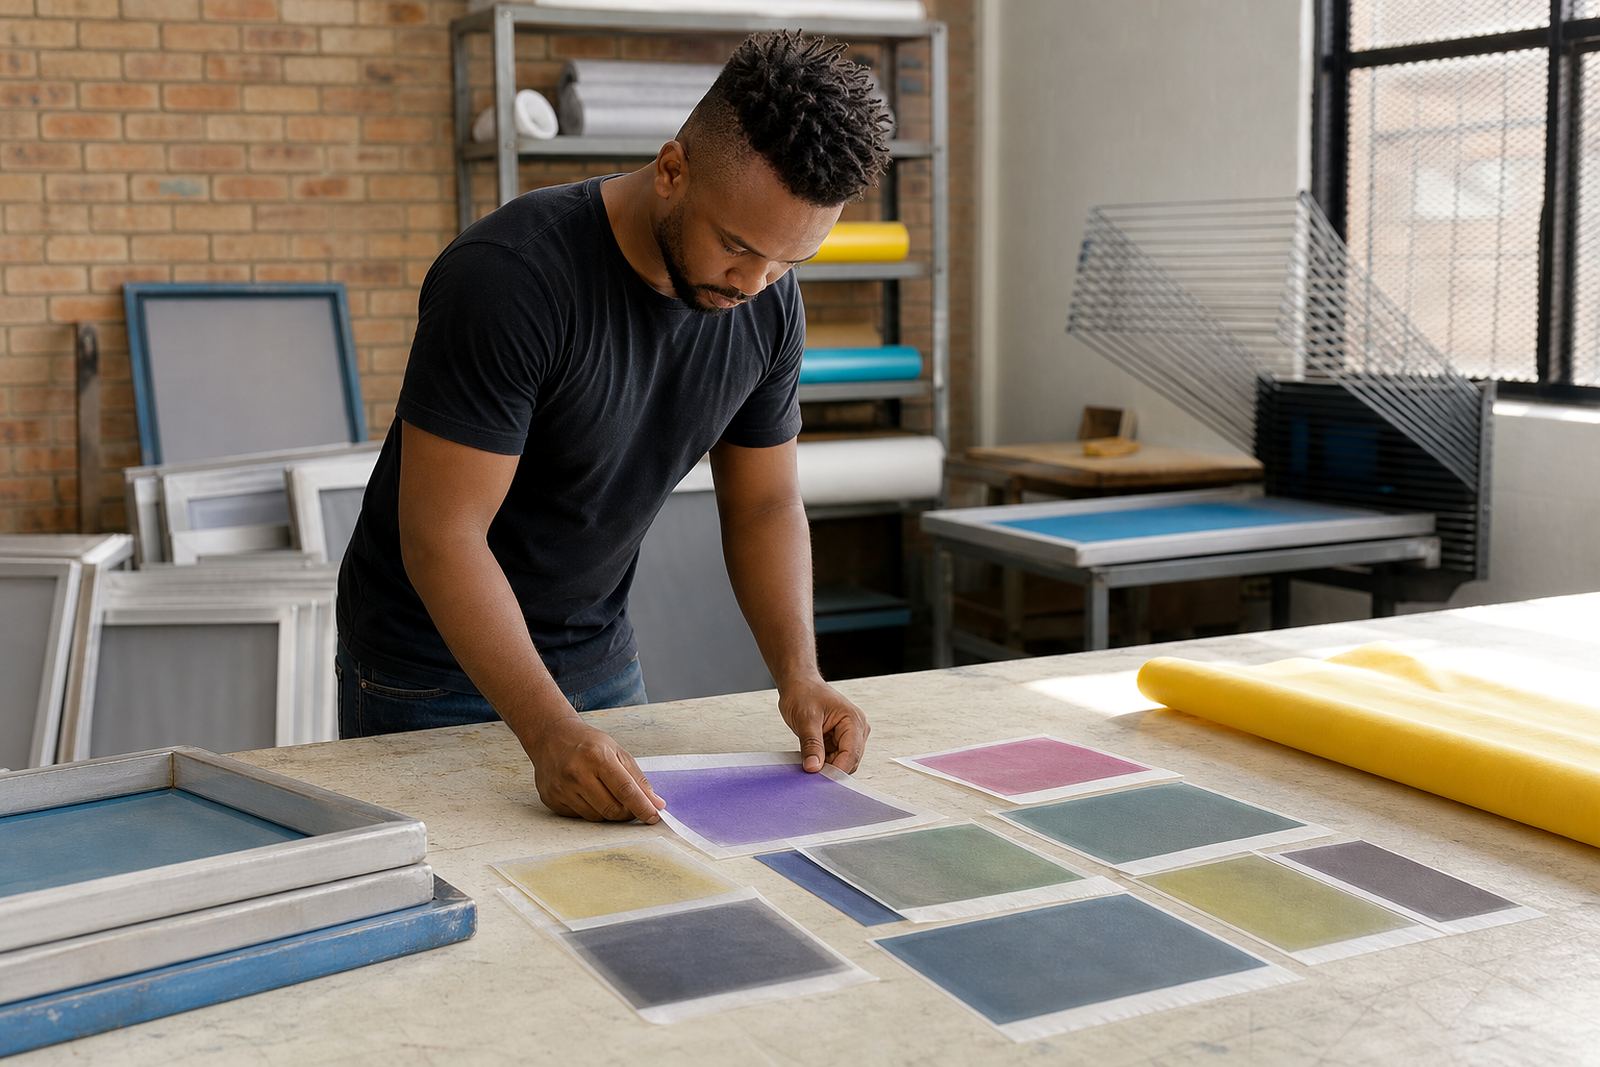
Using a test screen for the key artwork first lets the printer check ink release, edge sharpness and screen stability before the full run starts. If the sample print shows that the detail is too soft, the mesh count can be adjusted. If the print is too light, the setup can be corrected before stock is wasted.
That same approach works for Pretoria, Midrand and the East Rand too. The distance does not matter as much as the need for a clean, repeatable result when the screen reaches the press.
What to ask before you place a test screen order
Choosing the right sample screen is easier when you give clear job details up front. The more practical the brief, the more useful the test will be. Share the artwork type, the substrate, the ink you plan to use and whether the job is for a fine detail print or a heavier coverage print.
- What is the artwork detail level and final print size?
- What mesh count do you normally use, and what issue are you trying to solve?
- Will the screen be used for a one-off sample or repeat production?
- Do you need new frame stretching, re-stretching or mesh count matching?
- Will the screen need to travel to Johannesburg, Pretoria, Durban, Cape Town or Gqeberha?
At MeshMaster, our team can help with new frame stretching, frame re-stretching, tension checking, mesh count matching, frame clean prep and screen setup advice. That way the sample you order is not just a spare screen, but a proper working check before the bigger job lands on the press.