
Start with the print, not the mesh
If you are new to screen printing, it helps to think about the final print first. A bold single-colour logo on a cotton T-shirt does not need the same mesh count as a fine halftone, small text, or a detailed spot colour job. Mesh count controls how much ink passes through the screen, so it has a direct effect on coverage and detail.
For beginners, the safest approach is to match the mesh to the artwork and the ink you are using. Lower mesh counts let more ink through and suit thicker deposits. Higher mesh counts hold back more ink and suit finer detail. If the mesh is too open, small details can flood. If it is too fine, the print may look underfed or dry and patchy.
- Use a lower mesh for bold graphics, block text and heavier ink deposits.
- Use a medium mesh for general garment printing and everyday shop work.
- Use a higher mesh for fine detail, halftones and cleaner edge control.
Many new printers try to make one mesh do everything. That usually ends in frustration. A better plan is to keep a few common mesh counts in the workshop and use each one for a specific type of work.
What mesh count actually means on the shop floor
Mesh count refers to the number of threads in a set area of mesh. In practical terms, it tells you how open or closed the screen is. The exact choice depends on ink type, artwork detail, fabric colour and the result you want. A white print on a dark shirt usually needs more ink than a fine black logo on light cotton, so the mesh choice changes with the job.
In South African print shops, beginners often start with a few commonly used ranges rather than chasing a single answer for every print. Coarser meshes can help on posters, textiles and heavy deposits. Finer meshes are useful when the artwork has small dots, thin lines or sharp edges that must stay clean.
- Open meshes suit thicker prints and more ink flow.
- Mid-range meshes are a practical general purpose option.
- Fine meshes are better when detail matters more than ink volume.
If you are unsure, ask what the print needs to do first. Does it need coverage, detail, or a bit of both? That question usually narrows the mesh choice quickly.
Why pre-stretched aluminium frames save time
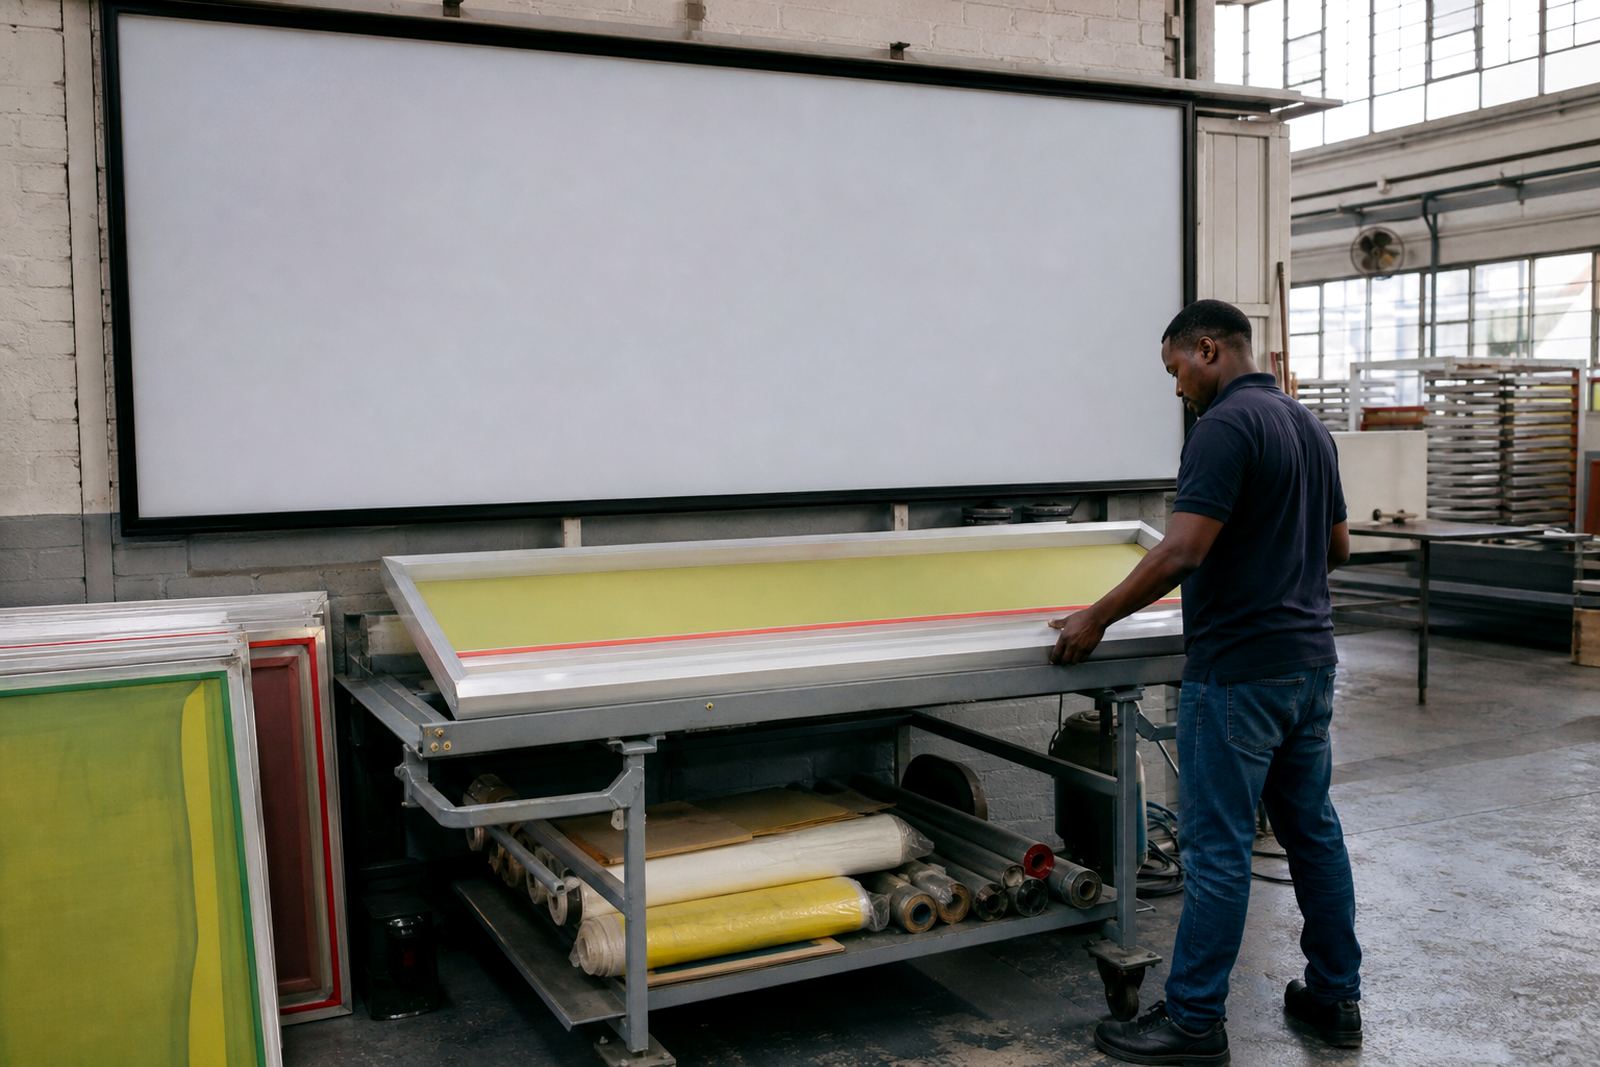
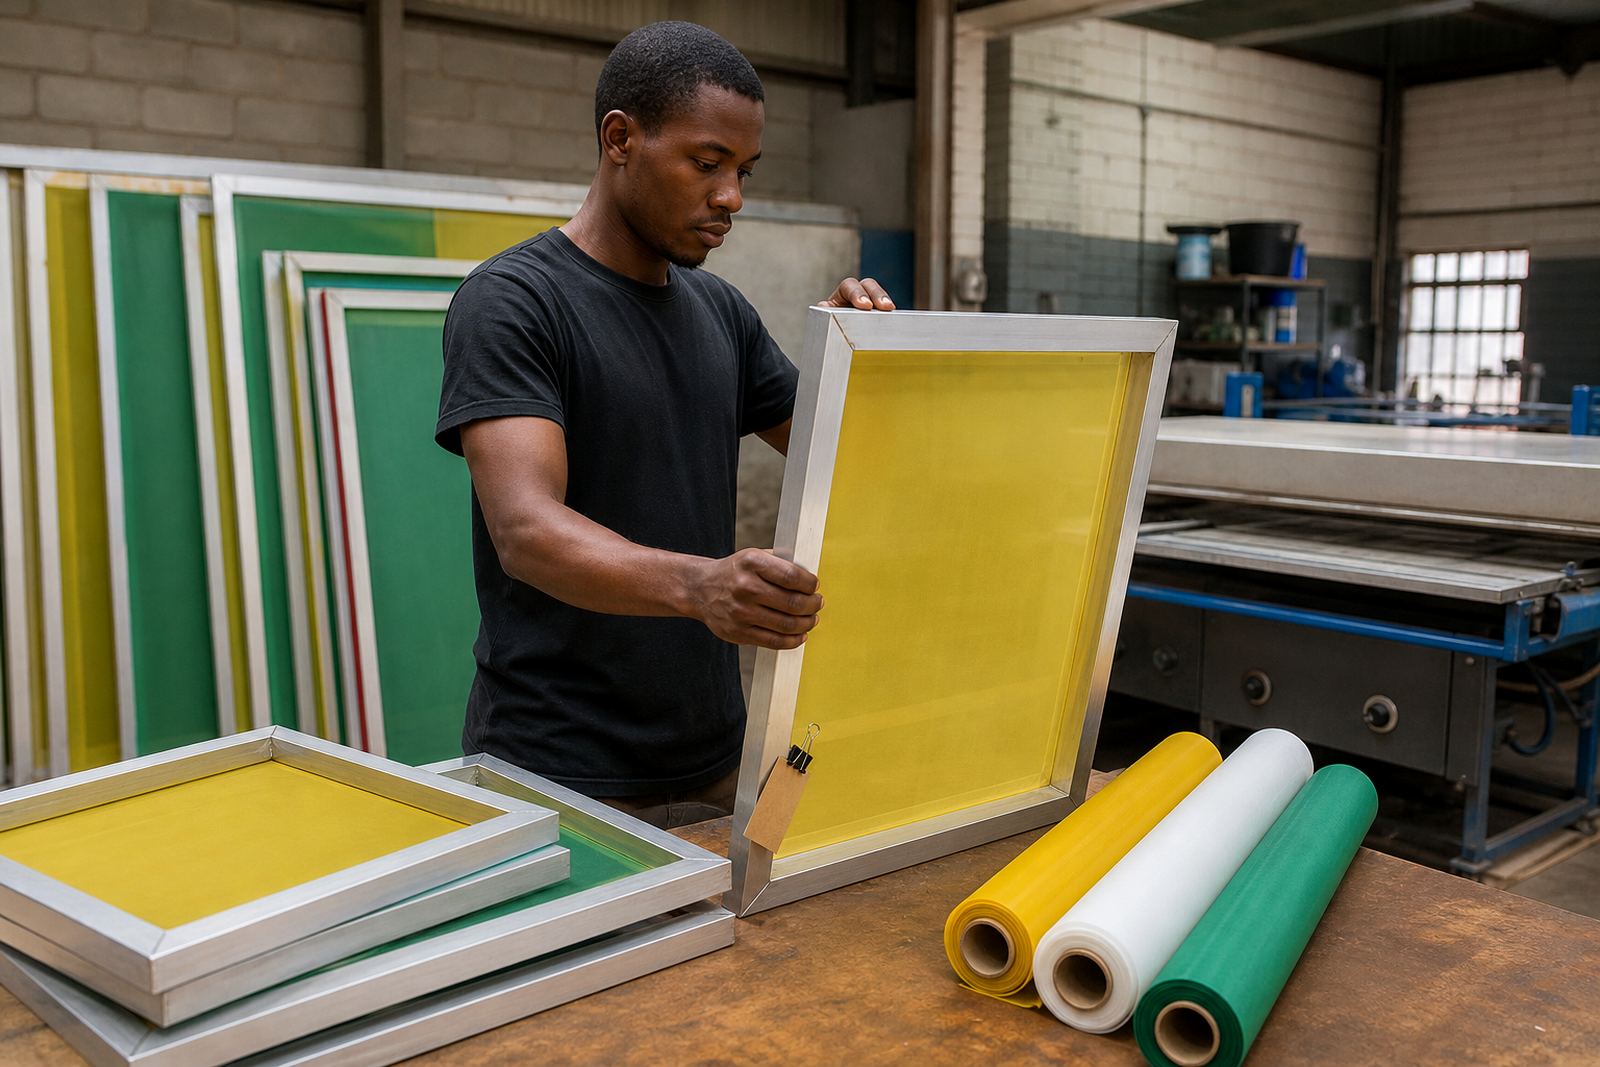
For beginners, a pre-stretched aluminium frame can remove a lot of guesswork. The frame arrives ready for work with the mesh stretched and bonded, which means less time spent wrestling with tension and more time learning how the screen behaves on press. Aluminium frames also handle moisture changes better than many timber options, which matters in humid areas like Durban and in shops that store screens near open loading bays.
A good frame needs to stay square, hold tension and keep the mesh flat across the full print area. If a frame twists or the corners lift, your registration and edge quality can suffer. That can become a real nuisance when the power is out and you are trying to finish a batch by hand or keep production moving during load-shedding.
- Choose a frame size that suits the artwork and the press you use.
- Check that the frame is clean before coating or mounting.
- Look for even tension across the full screen, not just the centre.
For repeat work, a pre-stretched frame also helps with consistency. You can note which mesh count worked well for a job and come back to the same setup later without starting from scratch every time.
Tension matters more than beginners expect
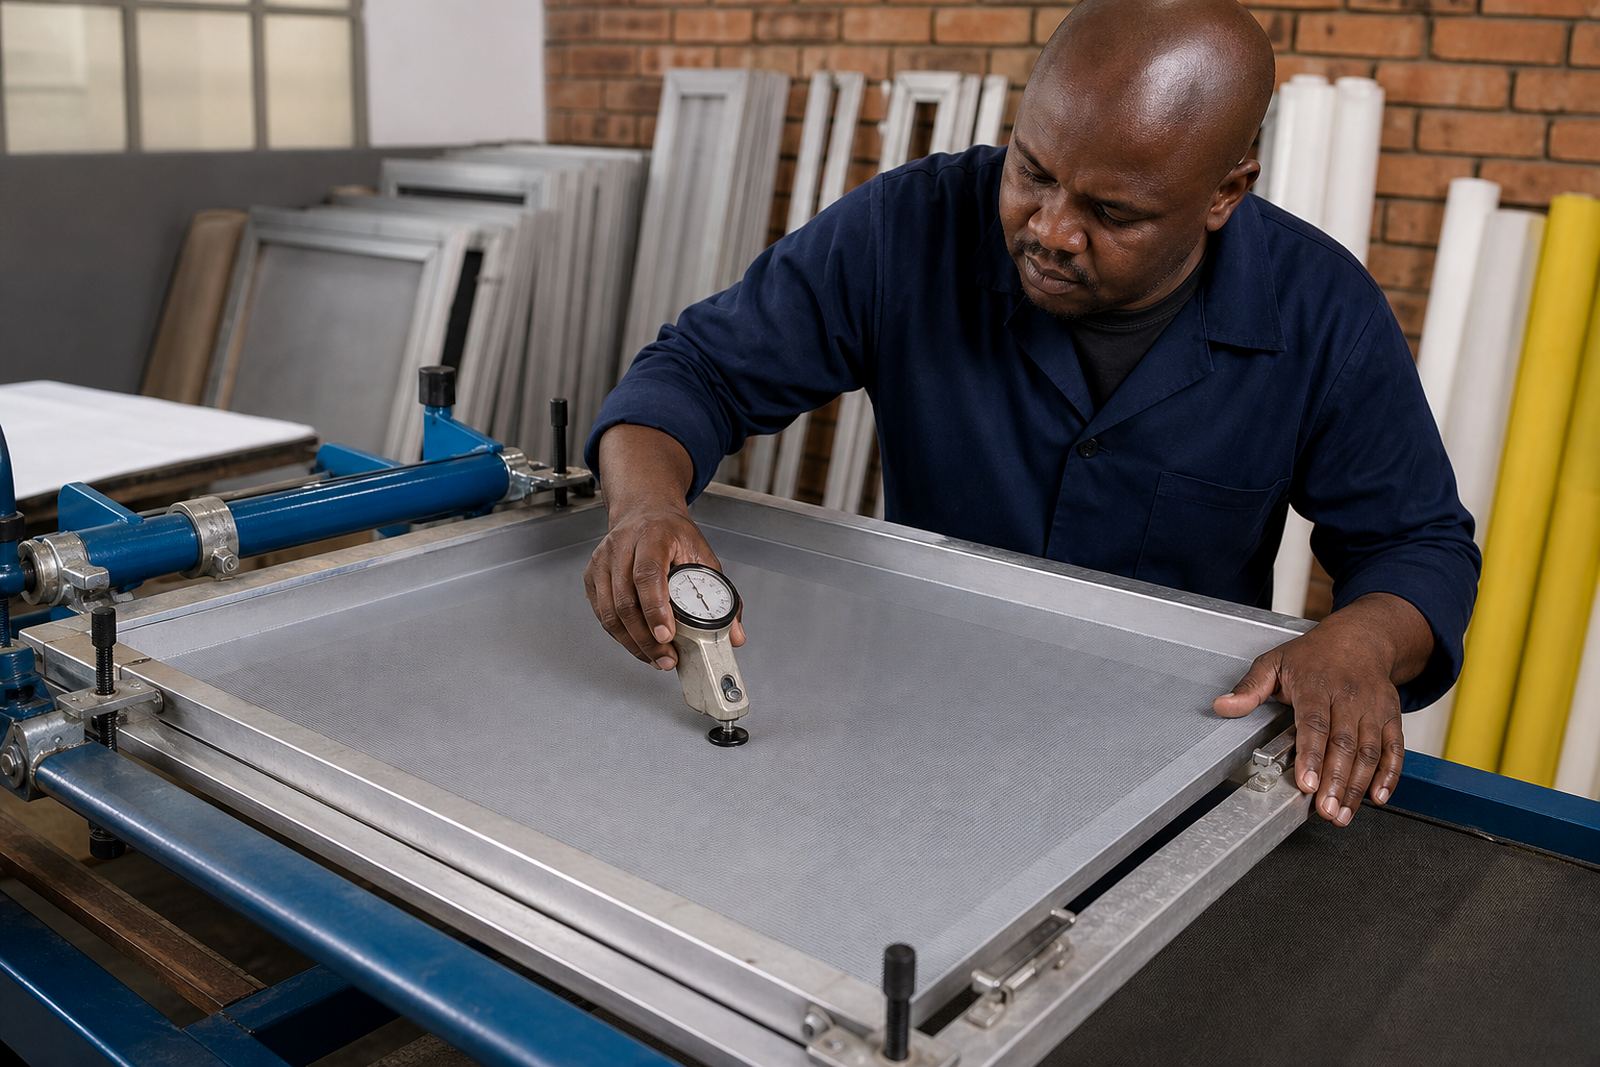
Tension is the feel of the mesh on the frame. Too low, and the screen can drag on the substrate, blur detail and slow down the snapback after the squeegee passes. Too high, and the mesh may be harder to coat, more prone to damage, or just not practical for the way the shop works. Good tension helps the screen release cleanly and gives you a sharper print.
When a screen is properly tensioned, it prints more predictably. Ink deposits are easier to control, stencils hold up better and alignment becomes simpler. Beginners often think the issue is the ink or the artwork, when the real problem is an uneven screen. A quick tension check before a run can save a lot of wasted boards and shirts.
- Listen for a consistent sound when lightly tapping the mesh.
- Watch for slack areas near corners or edges.
- Check whether the screen lifts cleanly after each pass.
If one side feels different from the other, the screen may need re-stretching or replacement. That is often cheaper in the long run than forcing a tired frame through another round of production.
Match the mesh to the ink and the job
Different inks behave differently on the screen. Textile inks, water-based systems and some special effect inks all ask slightly different things from the mesh. Thicker inks generally need a more open screen to move properly, while finer inks can work well on tighter mesh counts. The substrate matters too. A cotton T-shirt is not the same as a poster, a label or a rigid panel.
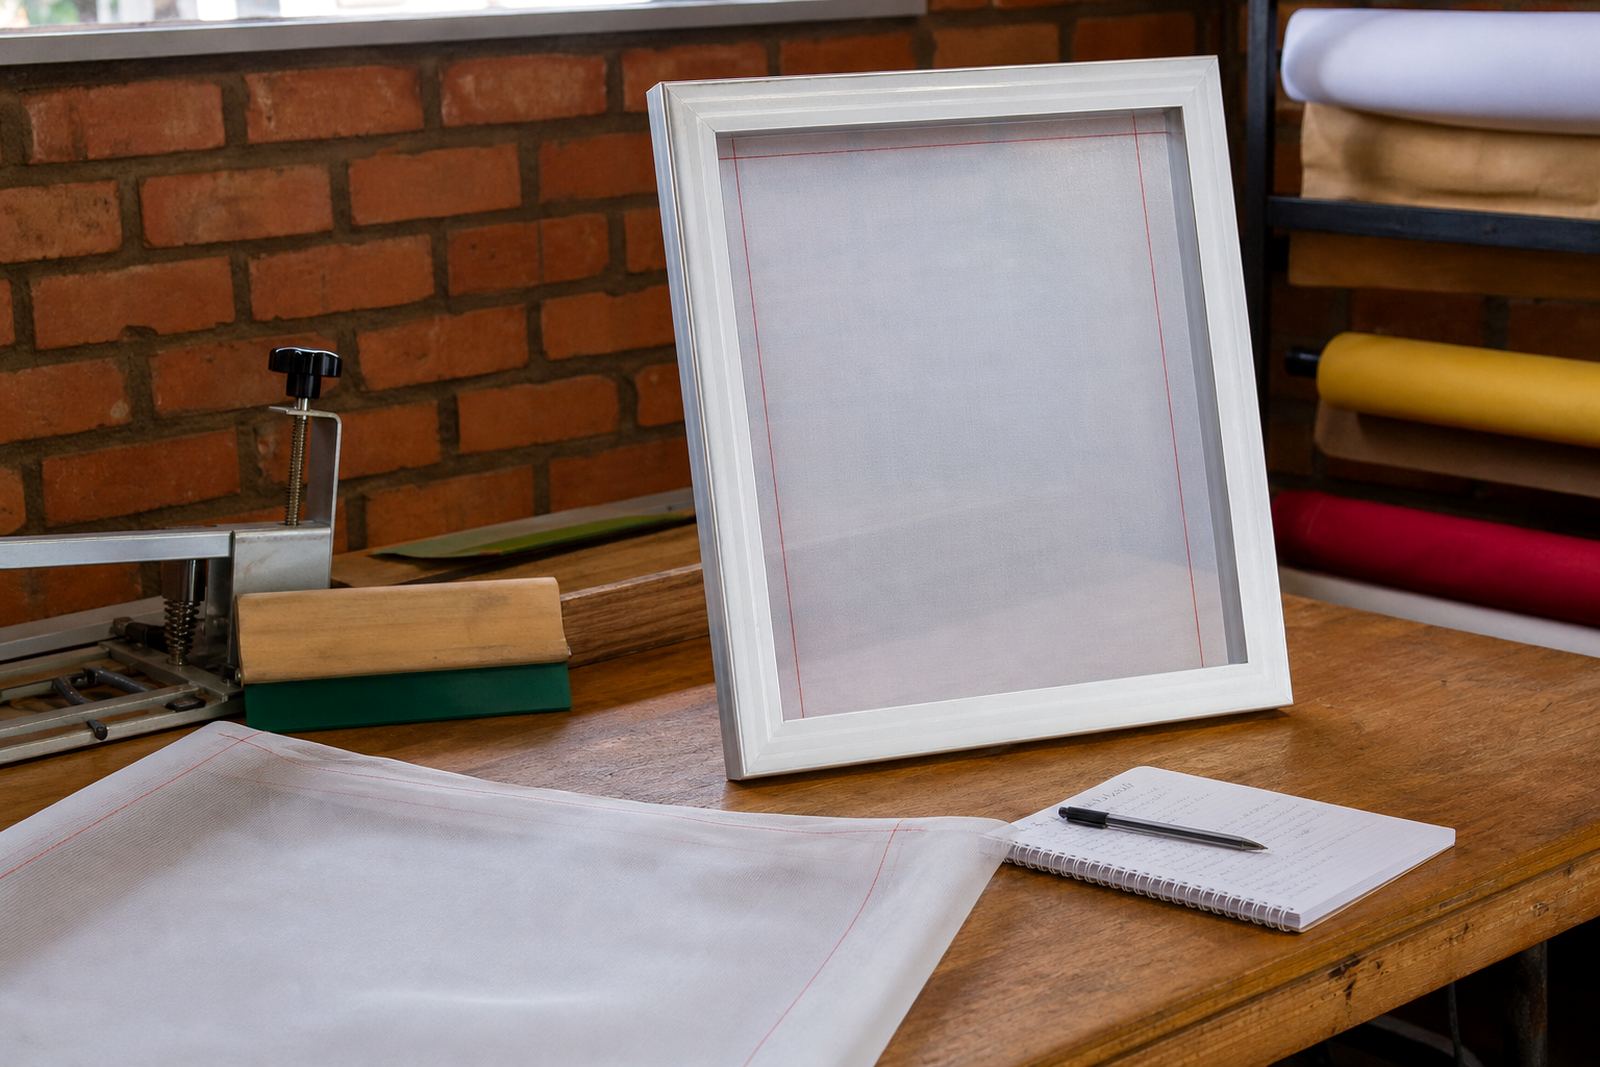
For beginners, this is where note-taking helps. Record the mesh count, frame size, stencil type, squeegee angle and result. After a few runs, the patterns become clear. You will see which combinations give clean detail and which ones let too much ink through.
- Use tighter mesh when fine detail is the main goal.
- Use a more open mesh when coverage is more important than detail.
- Adjust the mesh choice if the ink is drying too quickly or not flooding well.
On a busy shop floor in Germiston or Johannesburg, small notes like these save time. They also help when a repeat order comes in and you need to remake the screen with the same feel as before.
How to keep screens ready in South African conditions
Our local conditions can be hard on screens. Dust, heat, coastal humidity and repeated handling all affect mesh life. In Gauteng, dust from the yard or workshop can settle on stored screens. In Cape Town and Gqeberha, moisture can creep in and affect storage if the screens are left exposed. Good handling and clean prep make a noticeable difference.
Keep screens off the floor, away from direct sunlight and away from areas where they can pick up oil, powder or fine grit. Before coating or mounting, inspect the mesh and frame carefully. A clean frame gives better adhesion and reduces the chance of contamination at the stencil edge. That part is simple, but it saves trouble later.
- Store screens upright or safely racked so the mesh is not damaged.
- Keep them dry and dust-free between jobs.
- Inspect for pinholes, loose corners and frame movement before use.
Good screen care is not fancy, it is just steady workshop discipline. The better the screen is prepared, the easier the rest of the print run becomes.
A simple beginner’s path for a first screen order
If you are starting out, keep the first choices straightforward. Pick the mesh count based on the type of print, choose a frame size that suits your artwork, and make sure the screen is stretched evenly. If you are unsure, start with the job you print most often and build from there rather than buying random screens and hoping they fit later.
A common local example is a small Germiston shop taking on team shirts for a school event. The artwork is bold, one colour and needs good coverage. That job calls for a screen that gives enough ink deposit without losing the shape of the letters. If the same shop later prints a finer sponsor logo for a banner or a more detailed design for retail garments, the mesh choice may shift. That is normal.
Practical screen-making is about matching the tool to the task. Once you understand mesh count, tension and frame condition, your prints become easier to control and your waste drops. The learning curve is real, but it gets manageable once the basics are clear.