

Home / Journal / Frame Labelling Tips

Journal

Frame Labelling Tips

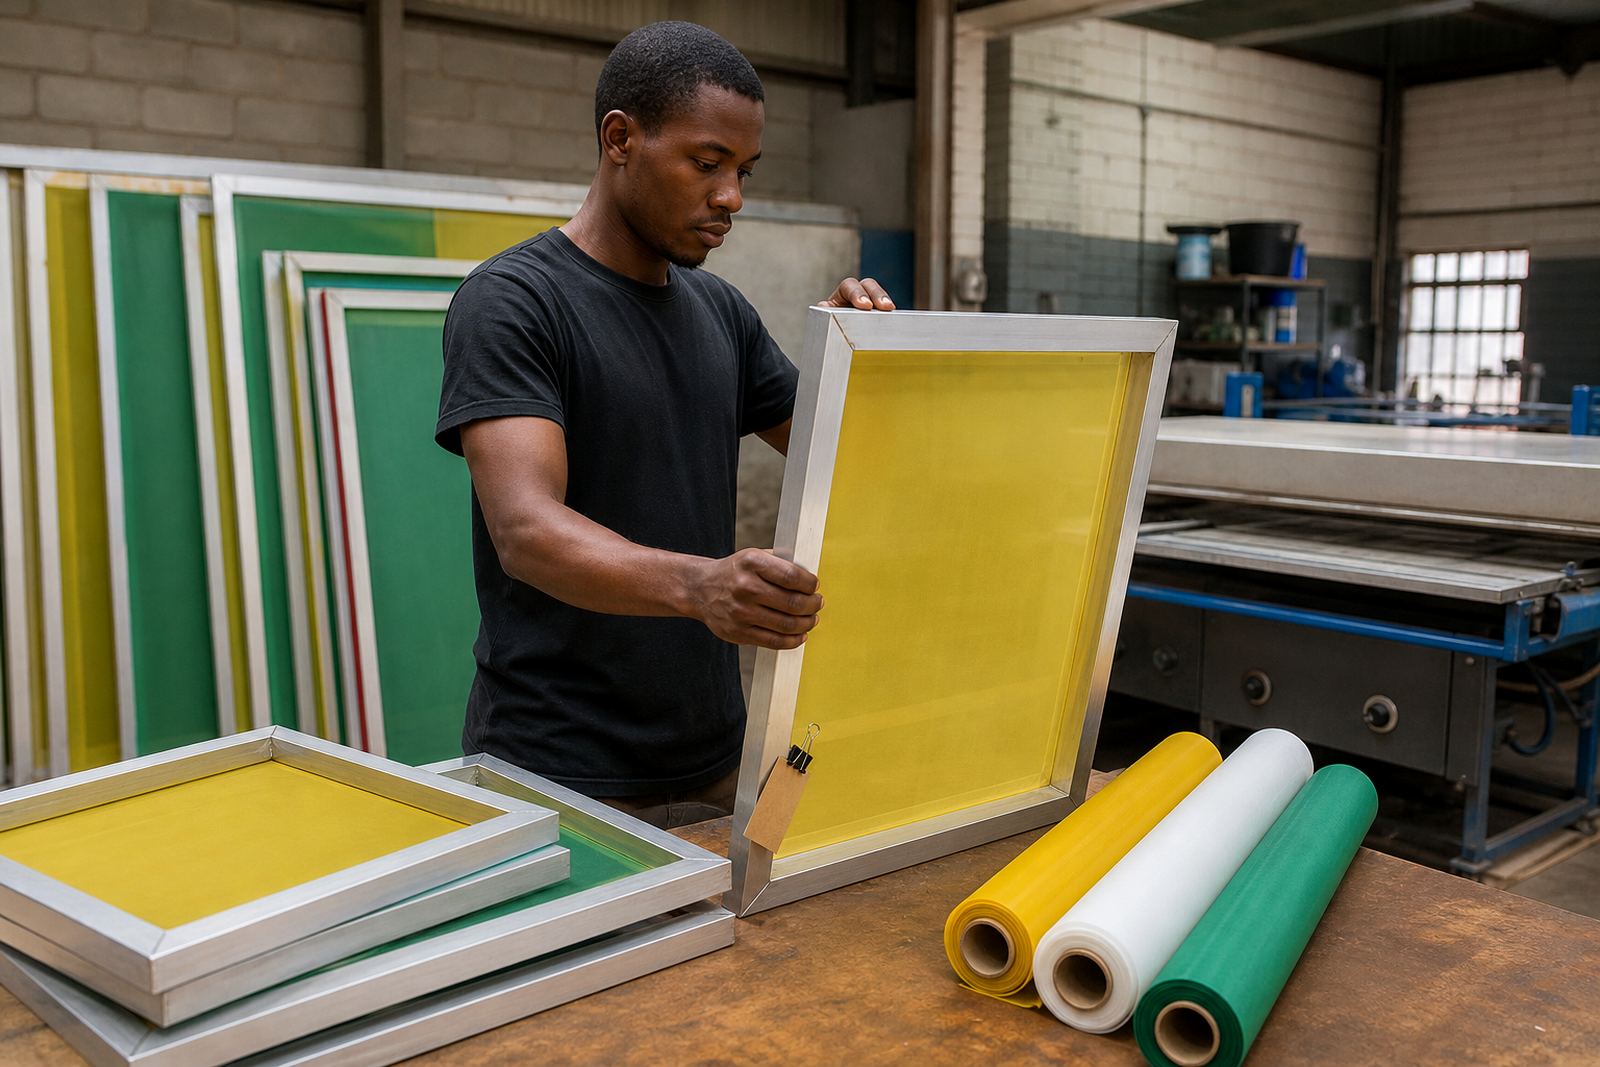
Clear labels save time when screens move between cleaning, re-stretching and print runs. A simple system makes it easier to spot mesh count, frame size and job use at a glance.

Frame Labelling Tips

Why labelling matters in a busy print room

In a print shop, a screen can pass through prep, coating, exposure, printing, washing out and storage in a single week. If the label is vague or missing, the wrong mesh count can end up on the press and that means poor detail, too much ink deposit, or a mesh that clogs too fast for the job.

Good labelling also helps when you are balancing work between branches or delivery points. A screen sent from Germiston to Johannesburg for repeat work should be easy to identify without opening every rack and checking by hand. That matters when you are handling short notice orders, tight dispatch times and more than one operator on shift.

  • Label each frame as soon as it is stretched or re-stretched.
  • Use the same format on every screen so the team reads it the same way.
  • Keep the main details on the outside edge where they can be seen quickly.

What information should go on the label

The best label is short, clear and repeated in the same place on every frame. You do not need a long story on the screen, just the details that help the next person choose the right one quickly. Mesh count, frame size and the job or use are the essentials. If the screen has a special tension requirement or was re-stretched recently, note that too.

Some shops use a small code for artwork type, for example fine detail, general print, or heavy ink deposit. Others add the date the frame was stretched. That can help when a screen has sat on the rack for a while and the team wants to know if it should be checked before use.

  • Mesh count, such as a fine or medium count used for detail or general work.
  • Frame size, written in the same units every time, ideally millimetres or metres.
  • Job name or repeat order reference.
  • Date of stretching or re-stretching.
  • Any note about tension checking or special use.

Simple label formats that work in practice

Keep the format plain enough that anyone on the floor can read it in a hurry. A label should still make sense after cleaning chemicals, handling and a dusty load-shedding week. Printed labels can work well, but a neat handwritten tag on a taped corner can also do the job if the ink is permanent and the writing stays legible.

A useful format is: mesh count, frame size, job code, date. For example, a screen might carry a note that shows the mesh count first, then the frame dimensions, then the use. That order helps because the most important selection point is usually the mesh count. A small workshop in Germiston may only have a few active screens on the rack, but once work starts moving to Pretoria, Durban or Cape Town deliveries, the same simple format becomes much easier to manage.

  • Use one line if space is tight.
  • Place the label on the same side of every frame.
  • Do not cover the mesh area or any part that could lift during cleaning.

Marking mesh count without causing damage

Mesh count labels must stay readable, but they should not weaken the frame or leave residue that gets in the way of cleaning. Avoid anything that flakes off easily or becomes soft in heat. In a Gauteng print room, screens can sit near windows, dryers or warm prep areas, so the marking needs to hold up without smudging.

If you are re-stretching a frame, check that the old label is removed cleanly before applying a new one. Mixed labels can cause confusion, especially when a finer mesh has replaced an older screen with a looser weave. If a screen is used for detailed artwork or finer halftone work, the wrong label can lead to poor results and wasted time on press. That is costly when production windows are already tight.

  • Use a label position that survives washing and handling.
  • Remove old tags before applying new ones on re-stretched frames.
  • Keep mesh count terms consistent across the whole shop.

How to note screen size so it is useful later

Frame size matters because it affects registration, storage and which press it can fit. A size written in the wrong way can confuse the team, so decide early whether you will use internal measurements, external frame size or a standard shop format. Then stick to it. Consistency matters more than the exact wording, as long as every operator understands it.

In practice, a clear size note helps when a customer asks for the same screen again, or when a frame is being matched to an existing set. It also helps with dispatch packing because the logistics team can group screens correctly and reduce handling damage. In coastal cities like Durban or Gqeberha, good pack notes matter as much as the label itself because humidity and transport can both affect how neatly a screen arrives.

  • Choose one size format for all screens.
  • Write size in the same place on every frame.
  • Add a job name when more than one screen has the same size.

A local example from a small Gauteng shop

Picture a print shop in the East Rand doing repeat work for a clothing run on Monday and signage on Wednesday. One screen uses a finer mesh for detailed artwork, another uses a coarser mesh for heavier ink deposit, and a third is kept as a backup. Without proper labels, the team has to lift each one and check it by eye, which slows everything down and can lead to mix-ups when the shop is busy.

With a simple label system, the right screen is picked first time. The operator sees the mesh count, the frame size and the date it was stretched. If there is a note about tension checking, they know whether the frame needs a quick inspection before it goes onto the press. That kind of habit saves time on the floor and gives the whole team a cleaner handover between shifts.

A quick checklist before screens go into storage

Before a screen goes onto the rack, do one last check. The label should be clear, the frame should be clean, and the mesh count should match the job note. This is also the right time to confirm that the frame was properly bonded and that there are no signs of loose edges, damage or poor tension.

If your team stores screens for repeat orders, a short checklist helps keep things orderly. It does not need to be complicated. It just needs to be used every time so the next person can identify the screen fast, even on a hectic Friday afternoon when dispatch is waiting and the press room is full.

  • Check the label is readable from the outside of the rack.
  • Confirm mesh count and size match the job note.
  • Inspect for clean edges, sound bonding and even tension.
  • Store the screen in the same position each time.

Questions we get asked

What details should be on a screen label?

The most useful details are mesh count, frame size, job name or code, and the date the screen was stretched or re-stretched. A short note on tension or special use can also help.

Where should the label go on the frame?

Place it where it can be read quickly from the rack, usually on the same side of every frame. Keep it clear of the mesh area and away from anything that could lift or stain.

Why is a consistent labelling system important?

It helps the team choose the right screen first time, reduces mix-ups during busy periods, and makes repeat orders easier to handle across different jobs and delivery points.

Planning something? Send the team a message.

Contact form