
What Mesh Count Means in Simple Terms
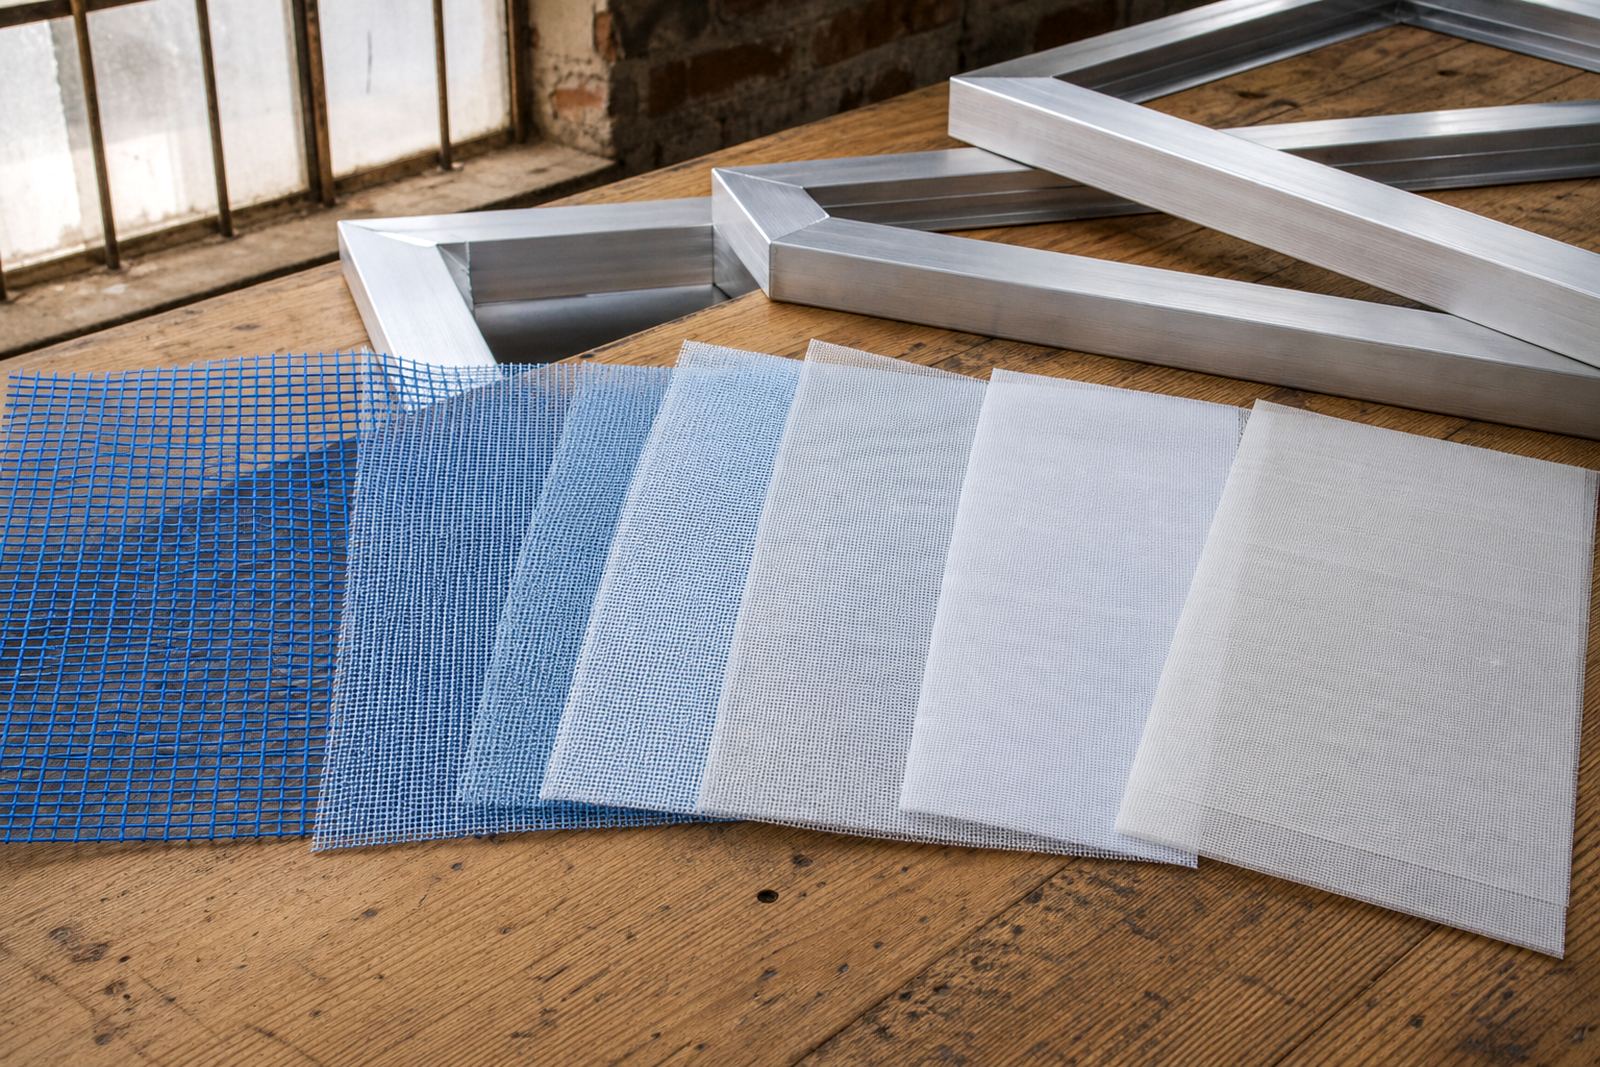
Mesh count refers to how many threads sit in a given space on the screen mesh. In practical screen-printing terms, it helps control how much ink passes through, how fine the detail can be, and how sharp the final print looks. A lower mesh count has larger openings and allows more ink through, while a higher mesh count has tighter openings and gives more control over small detail.
That choice matters whether you are printing bold logos on cotton T-shirts in Germiston or fine halftones for a promotion run in Pretoria. The wrong mesh can lead to heavy ink deposit, blocked detail, or weak coverage on the garment. The right mesh gives you a cleaner stencil release and a print that suits the job instead of fighting it.
Why Mesh Count Changes the Print Result
Mesh count affects more than detail. It also changes ink flow, drying behaviour and the feel of the print on the fabric or substrate. If the mesh is too open for the artwork, the print may feel thick and patchy. If it is too fine, the ink may sit too lightly and you can lose opacity on dark garments.
For most print shops, the decision comes down to balancing artwork detail with the ink being used. Water-based inks usually need a different approach from plastisol-type inks. A thicker stencil may also need a different tension and mesh choice, especially where the design has solid blocks, fine type or small lines. It is rarely one-size-fits-all, and that is why mesh count matching matters.
- Lower mesh count: more ink deposit, better for bold prints and heavier coverage.
- Mid mesh count: a practical middle ground for general garment printing.
- Higher mesh count: finer detail, smoother edges and better control on small artwork.
Choosing the Right Mesh for Common Work
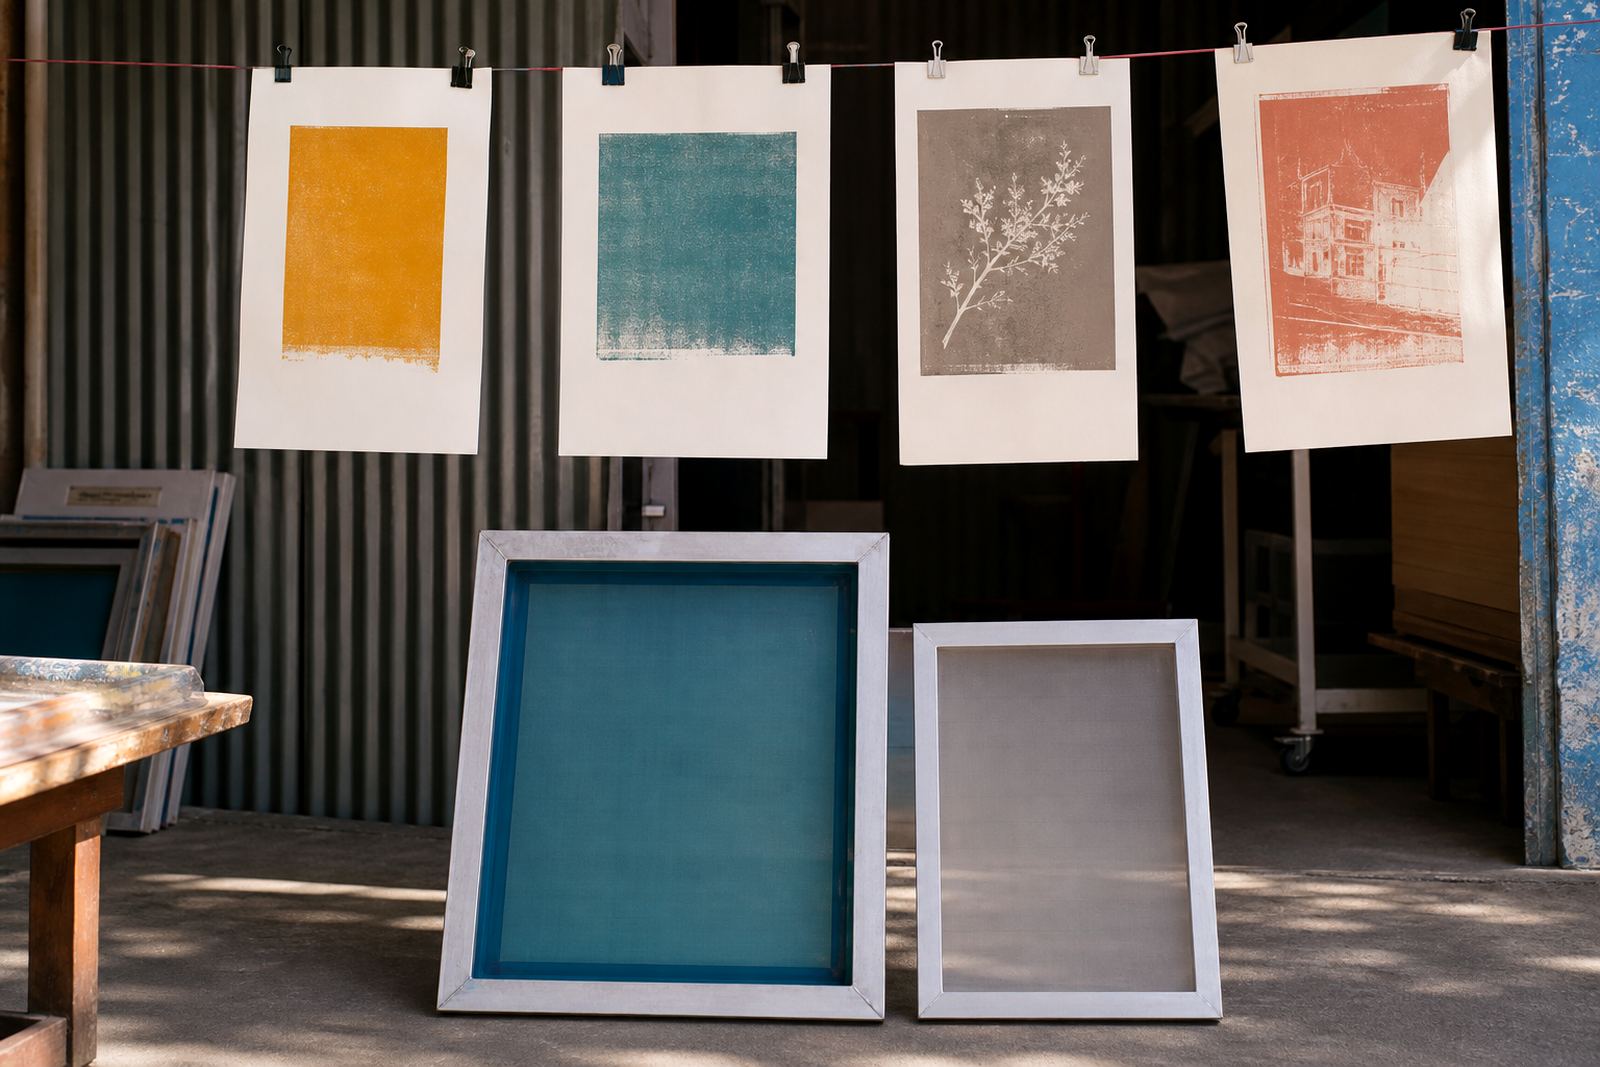
There is no single mesh count that works for every job. A shop doing simple one-colour prints on tote bags will not need the same mesh as a studio handling fine linework, process-style graphics or detailed lettering. Mesh choice should follow the artwork, the ink body and the look the customer expects when they pick up the order.
As a general guide, many print shops keep a few mesh ranges on hand for different work. Lower counts are often used for bold block prints and special effect inks. Mid-range mesh is common for everyday garment work. Higher counts suit finer detail, thinner ink deposits and cleaner edges. The point is to match the screen to the job, not force every design through the same setup.
- Use lower mesh for thicker inks and strong coverage.
- Use mid-range mesh for general-purpose garment printing.
- Use higher mesh for detail work, fine text and halftones.
How Tension and Stretching Affect Mesh Count
Mesh count alone does not decide the outcome. Tension matters just as much. A correctly stretched screen gives a cleaner snap-back, more even ink release and better registration. If the mesh is loose, even a suitable count can print poorly because the stencil flexes too much under the squeegee. If the tension is even and the frame is square, the image behaves more predictably across the whole screen.
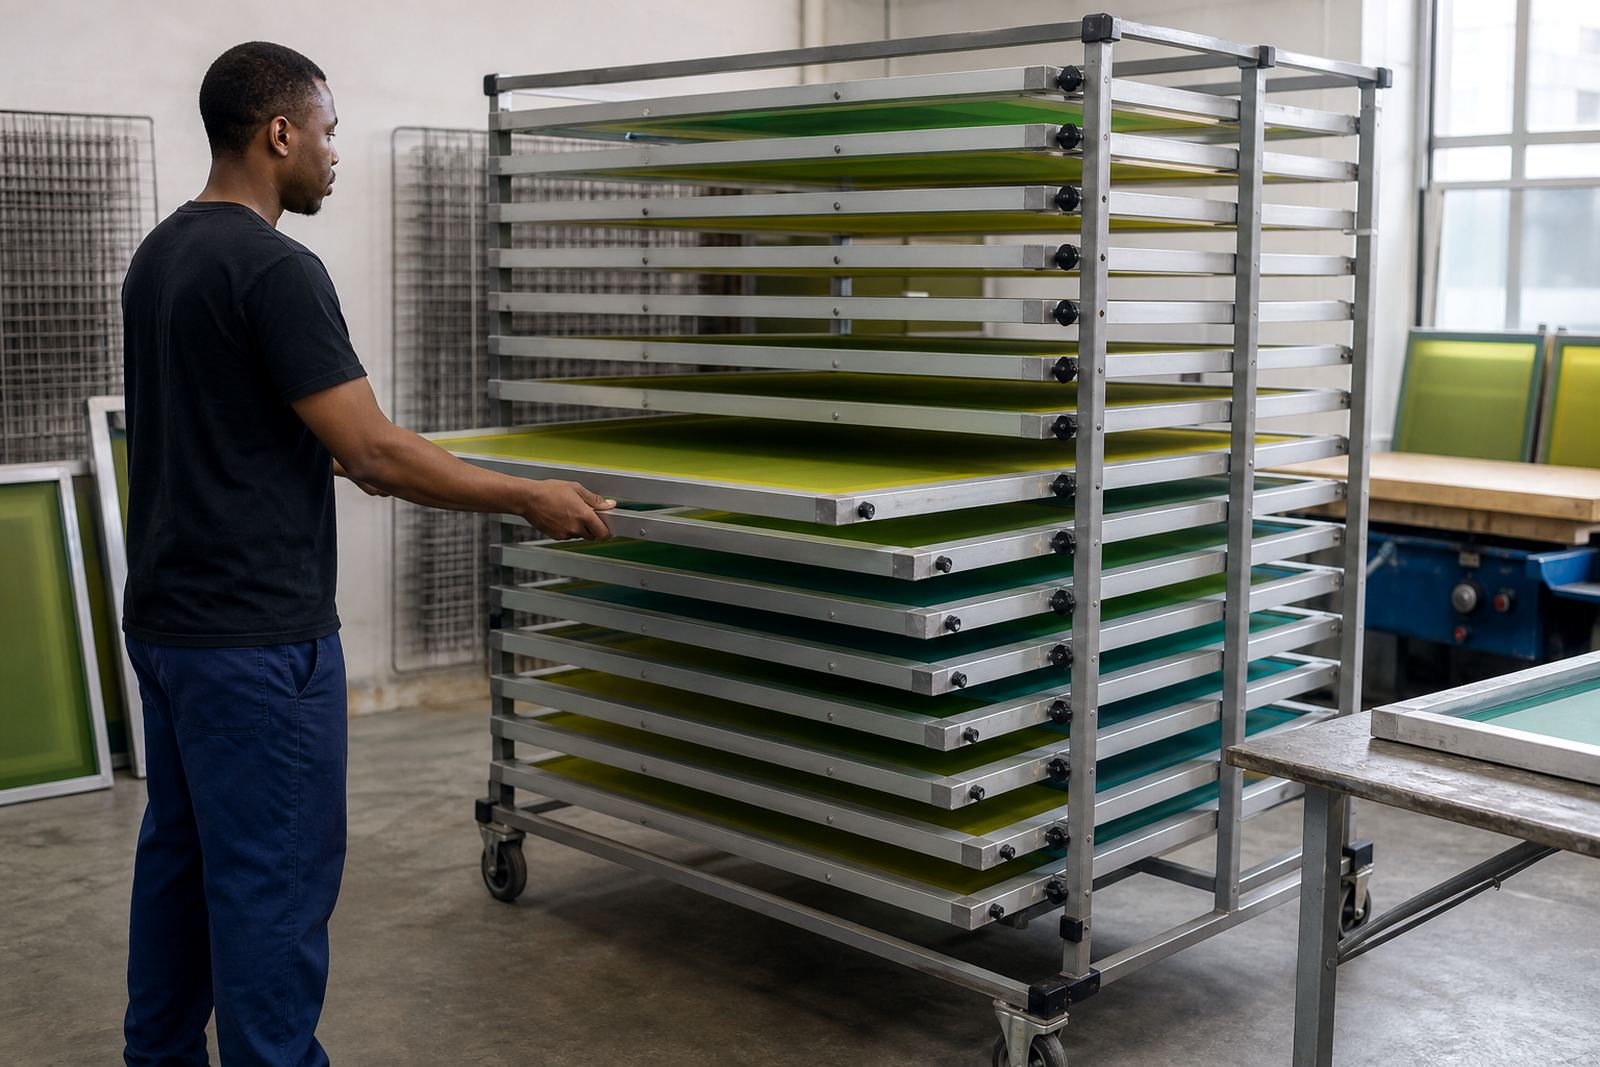
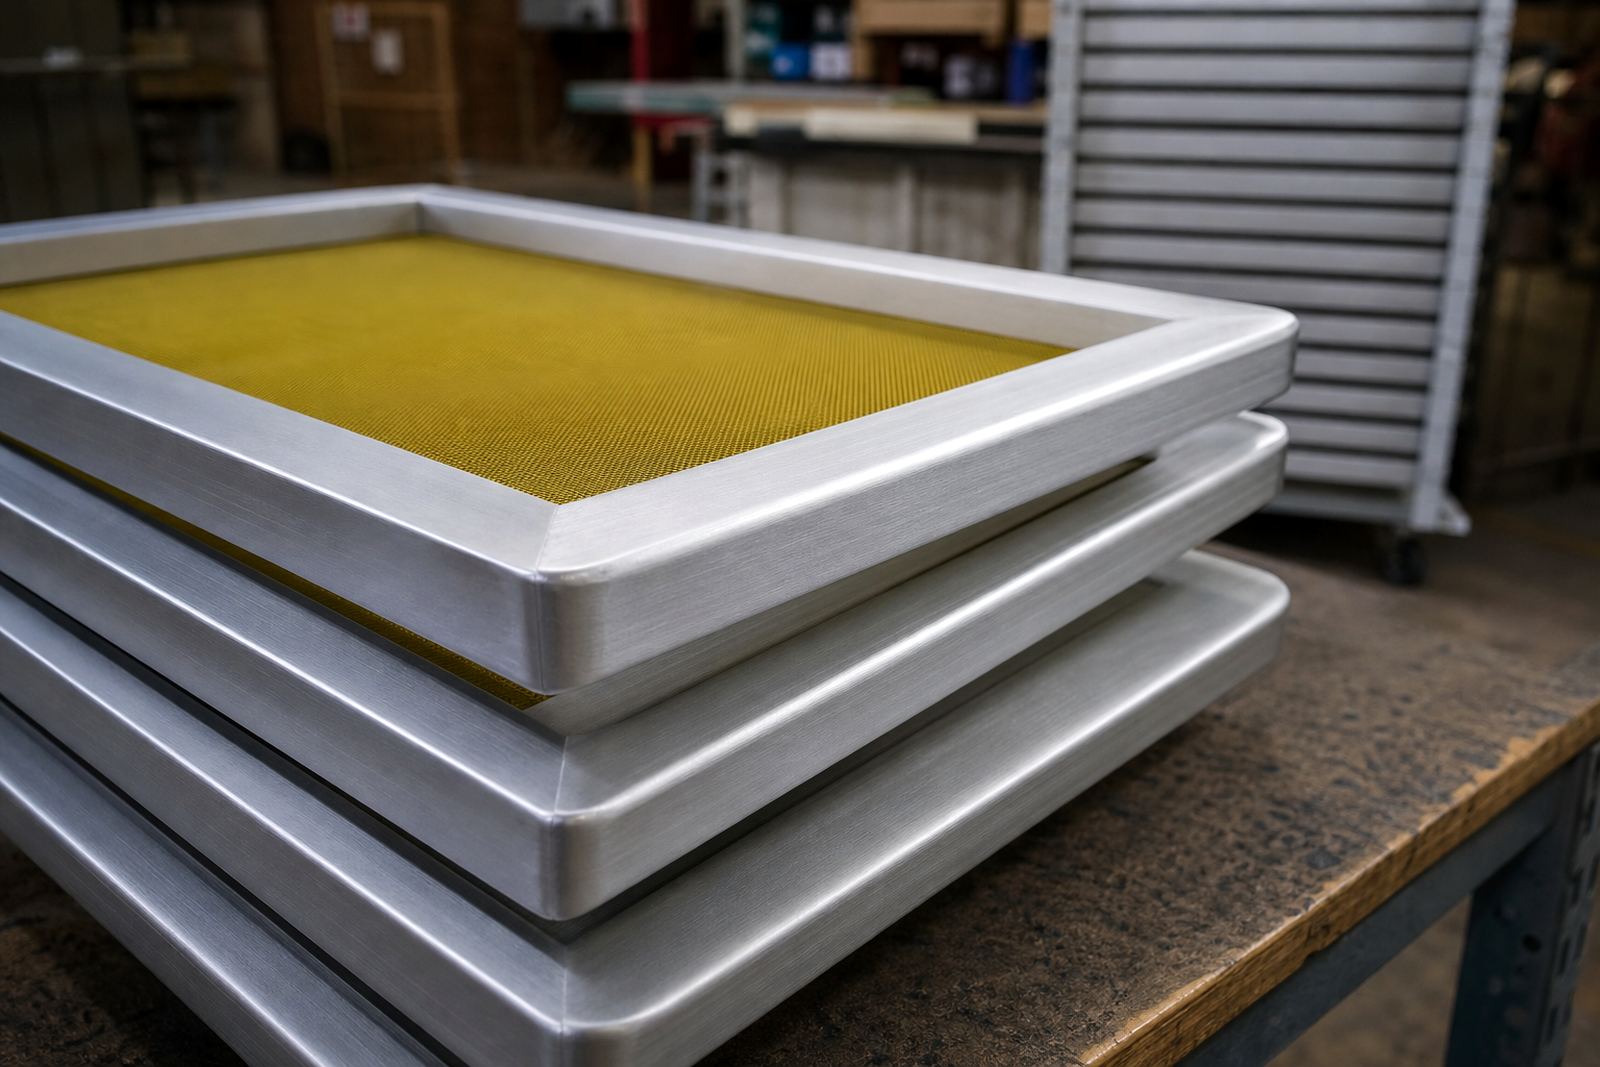
That is why pre-stretched aluminium frames are useful for regular production work. They help keep the mesh stable and reduce the chance of uneven prints, especially on repeat jobs where consistency is important. In humid coastal conditions such as Durban, stable stretching and proper frame preparation can make a real difference because moisture can affect screen behaviour over time.
For shops in Gauteng, where load-shedding can interrupt workflow, having screens ready in batches and checked before press time helps keep the day moving. A screen that is already tension-checked and prepared saves rework when the power comes back on.
A Local Example from Germiston to Gqeberha
Imagine a print shop in Germiston preparing two jobs on the same day: a run of bold promotional shirts for a business in Johannesburg, and a finer print for a school event heading to Gqeberha. The first job needs a mesh that can lay down enough ink for strong colour on darker fabric. The second needs tighter control so small text and thin lines stay readable. Using the same mesh for both can lead to one job looking heavy and the other looking weak.
That is where practical advice matters. If the artwork is being changed often, the shop should think about screen setup advice, batch screen prep and repeat order planning. A simple habit like keeping note of which mesh count worked on which print can save a lot of guesswork later, especially when orders come in from Pretoria, Midrand or Cape Town and the turnaround window is tight.
A Practical Mesh Count Checklist Before You Print
Before a screen goes on press, it helps to check a few points. These do not take long, but they can prevent poor coverage, pinholes and wasted ink. A proper check also makes it easier to keep the print consistent from the first shirt to the last.
- Confirm the artwork detail and the size of the image area.
- Match the mesh count to the ink type and the finish needed.
- Check that the screen tension is even across the frame.
- Look for clean mesh bonding and a neat frame edge.
- Inspect the screen for damage, residue or blocked openings.
- Make sure the screen has been cleaned and prepared properly before coating or printing.
Even a well-made screen can underperform if it is rushed into service. A careful setup gives you better results and fewer surprises on press.
What to Ask When Ordering Mesh or Frames
If you are ordering mesh or pre-stretched frames, it helps to be clear about the job you are doing. Not every print shop needs the same setup, and the best results usually come from matching the screen to the actual print requirements. Ask about the mesh count, the intended use, the frame size and whether the screen has been checked for tension before dispatch.
It also helps to know whether a screen is for first-use work, re-stretching, or a repeat order that needs matching to an existing setup. For shops across South Africa, that kind of detail saves time at receiving and keeps the workflow steady. If the screen is right from the start, the rest of the process becomes a lot easier.