
Start with the garment and the print finish
Not every garment takes ink the same way. A light cotton T-shirt for a one colour logo can usually handle a different screen setup than a heavy hoodie, a capped sleeve tee or a dark shirt that needs a white underbase. The fabric weave, texture and stretch all affect how much ink passes through the mesh and how clean the edges print.
For simple spot colour work, printers often choose a lower to mid mesh count because it lays down a fuller ink deposit. That helps on bold logos, block text and prints that need good coverage on dark garments. For finer detail, halftones or smaller lettering, a finer mesh gives more control and less ink build-up. If you are balancing sharp detail with solid coverage, the screen choice matters as much as the artwork prep.
In practice, it helps to think about the final look first. A soft hand feel, sharp edge and good opacity do not always come from the same screen setup, so the mesh has to match the job not just the design.
Common mesh counts for apparel work
Mesh count is one of the first decisions in garment screen printing. It tells you how open or fine the mesh is, which changes how much ink passes through and how crisp the image looks on the fabric.
- Lower mesh counts suit heavy ink deposits for block colours, underbases and prints that need good coverage on dark garments.
- Mid mesh counts are a practical choice for everyday T-shirt work, logos and general shop production.
- Higher mesh counts help with fine detail, halftones, small type and cleaner line work.
There is no one screen that does everything. A shop in Johannesburg doing school shirts, branded workwear and a few fashion tees in the same week may need more than one mesh count on hand. That way the printer can switch from bold coverage to finer detail without forcing one screen to do every job.
Mesh count alone is not the whole story either. Thread thickness, weave stability and how evenly the mesh is stretched all play a part in the final print. A medium count screen with poor tension can give worse results than a better stretched frame with the same mesh.
Why tension changes the print result
Good tension helps the screen snap back cleanly after the squeegee passes. That gives cleaner edges, better registration and less smudging. If the screen is too loose, the print can look heavy or uneven and the stencil may not release ink consistently. If it is over stretched or unevenly stretched, the mesh can become unstable and the screen may lose life sooner.
For apparel printing, stable tension is especially important on repeat runs and fine detail jobs. A well stretched aluminium frame holds its shape better during long production days, which is useful when the shop is working through a batch of hoodies or a mixed order of tees and sweat tops.
In Germiston and the East Rand, where many shops run busy schedules and deal with load shedding breaks, a screen that keeps its tension better is easier to trust when production starts and stops. If the frame is holding properly, the printer spends less time chasing print faults.
Choosing the right frame for your shop
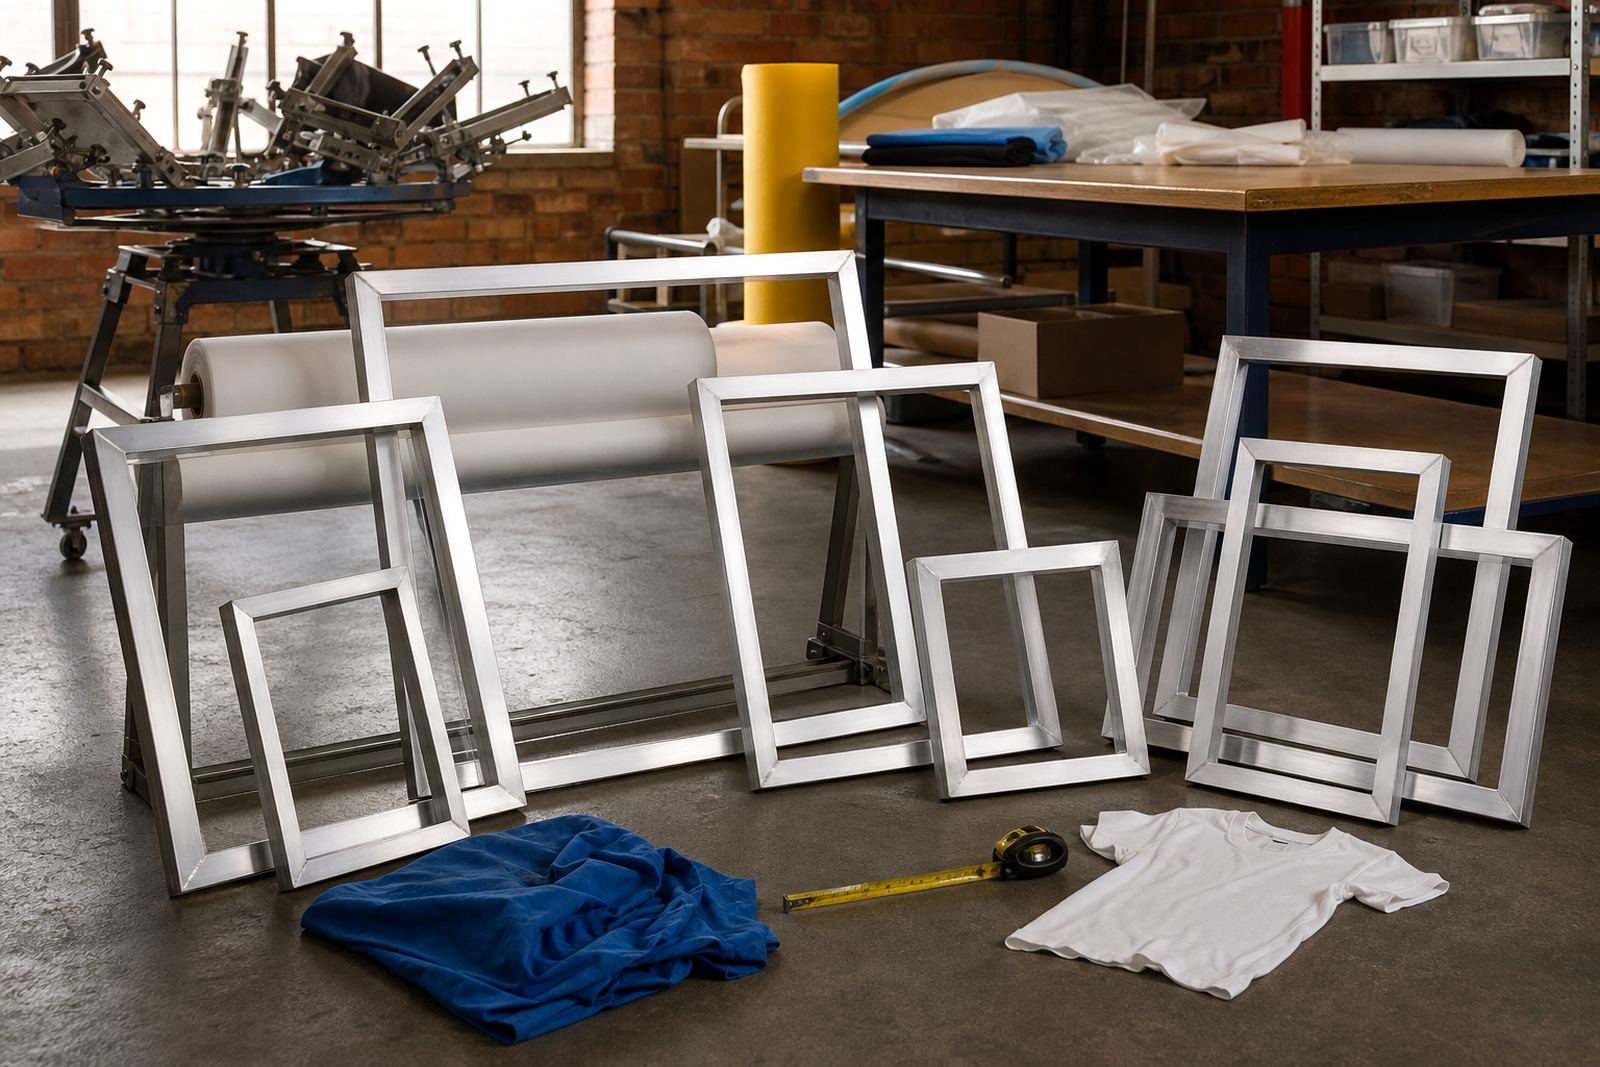
Pre-stretched aluminium frames are a practical option for screen printers who want consistency. Aluminium is light enough to handle easily yet stable enough for repeated use. It is also a sensible choice in humid coastal conditions, where wooden frames can move more and become harder to keep true over time.
When selecting a frame size, think about the garment type and the press setup. Larger screens give more room for bigger artwork and easier positioning, while smaller screens are handy for pocket prints, sleeve logos and compact designs. Custom frame sizing also helps when a shop has a specific platen size or a special production layout.
- Choose a frame size that matches your most common garment sizes.
- Leave enough margin around the artwork for clean exposure and easy alignment.
- Use the same frame type across similar jobs to keep results consistent.
- Check that the frame is clean before stretching or re-using it.
A frame that is straight, clean and properly prepared saves time during setup. That matters when a printer is moving from one job to the next and cannot afford to rework a screen because of old adhesive, residue or a twisted frame.
When to re-stretch instead of starting again
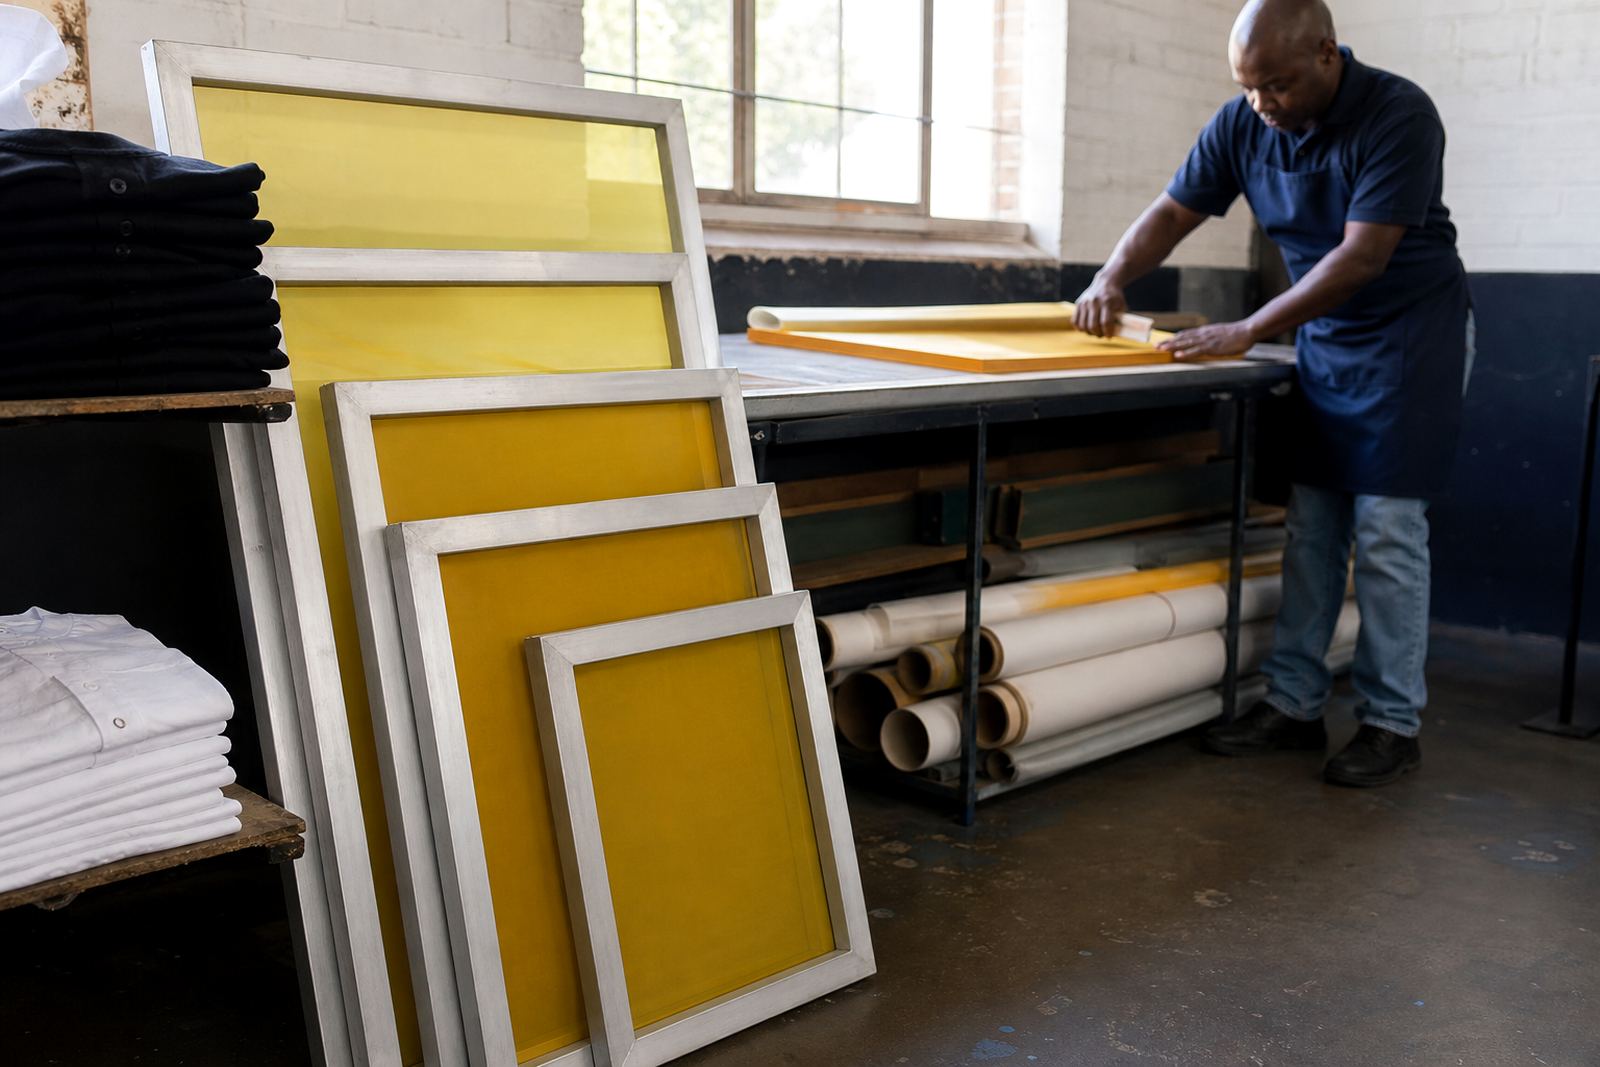
Not every screen needs to be replaced. If the frame is in good condition, frame re-stretching can be a sensible way to keep useful stock in rotation. This works best when the original frame is still square, the joints are sound and the surface is ready for a fresh mesh bond.
Re-stretching can be useful for shops that handle regular repeat orders or a steady mix of garment types. One week the job may call for a coarser mesh for a bold print, and the next it may need a finer screen for detail. Keeping frames ready for different mesh counts can make daily production simpler and reduce waiting time.
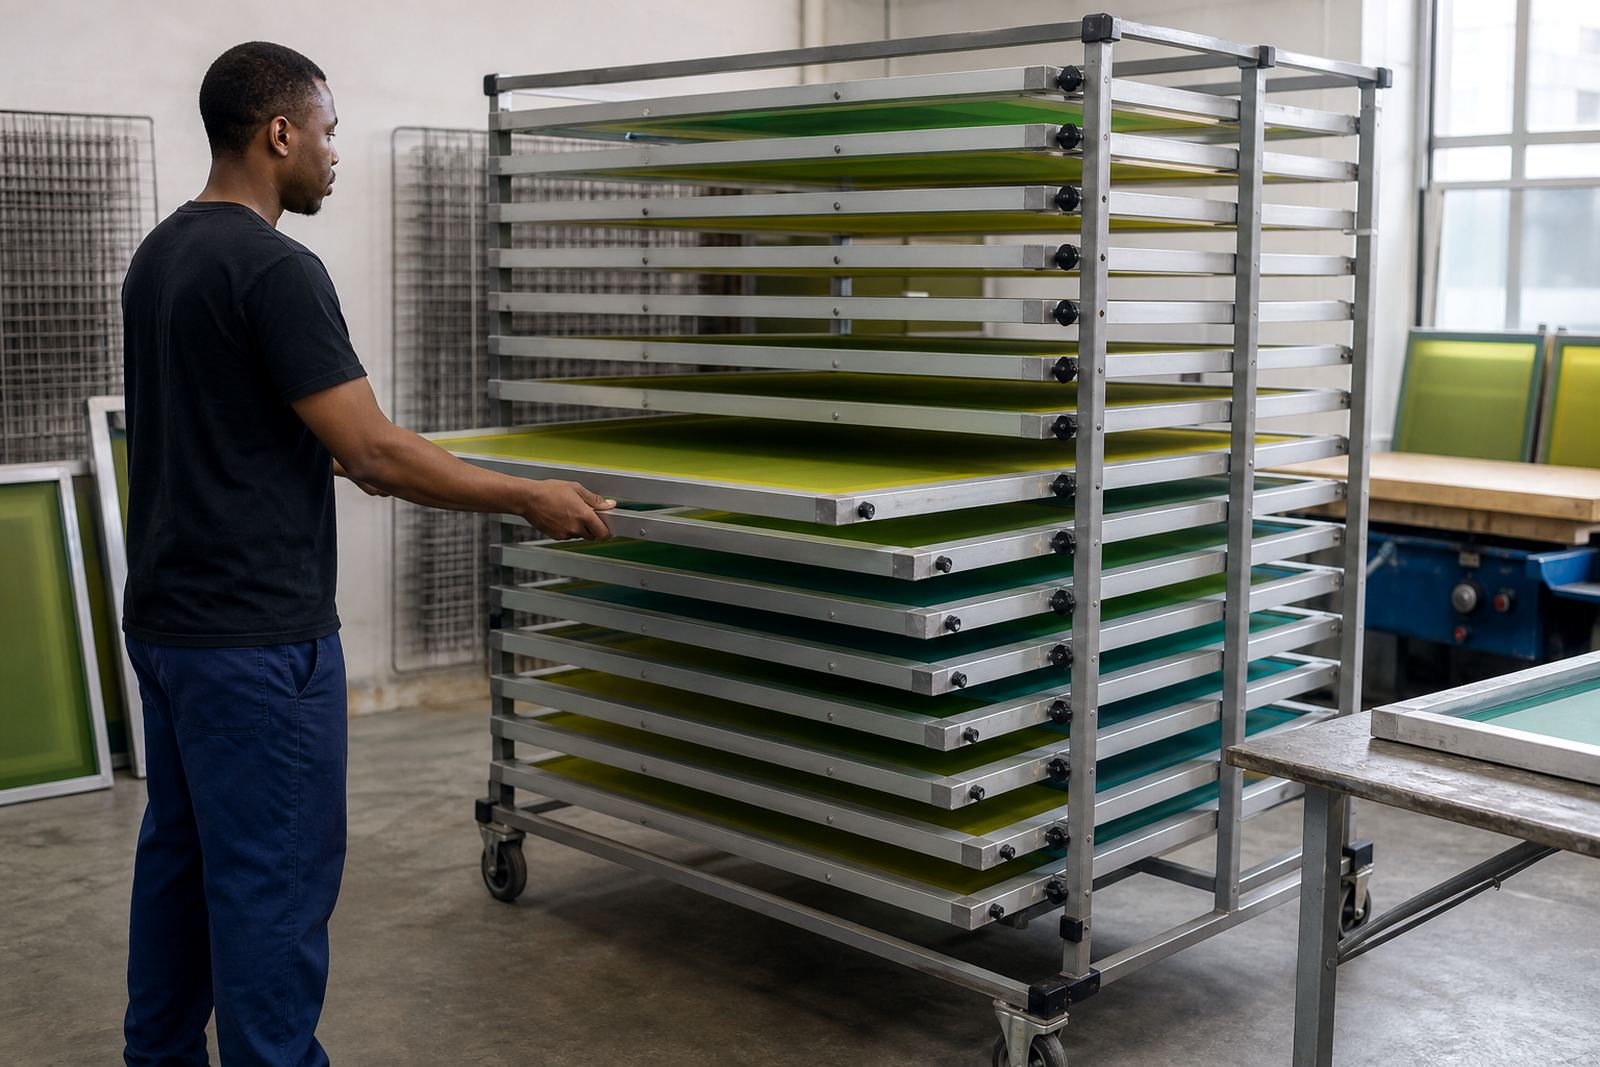
It is also worth checking the condition of the screen before each run. A small tear, weak bond or loose corner can spoil an entire batch. A quick inspection before exposure and print can save shirts, ink and time.
A local example from an East Rand print run
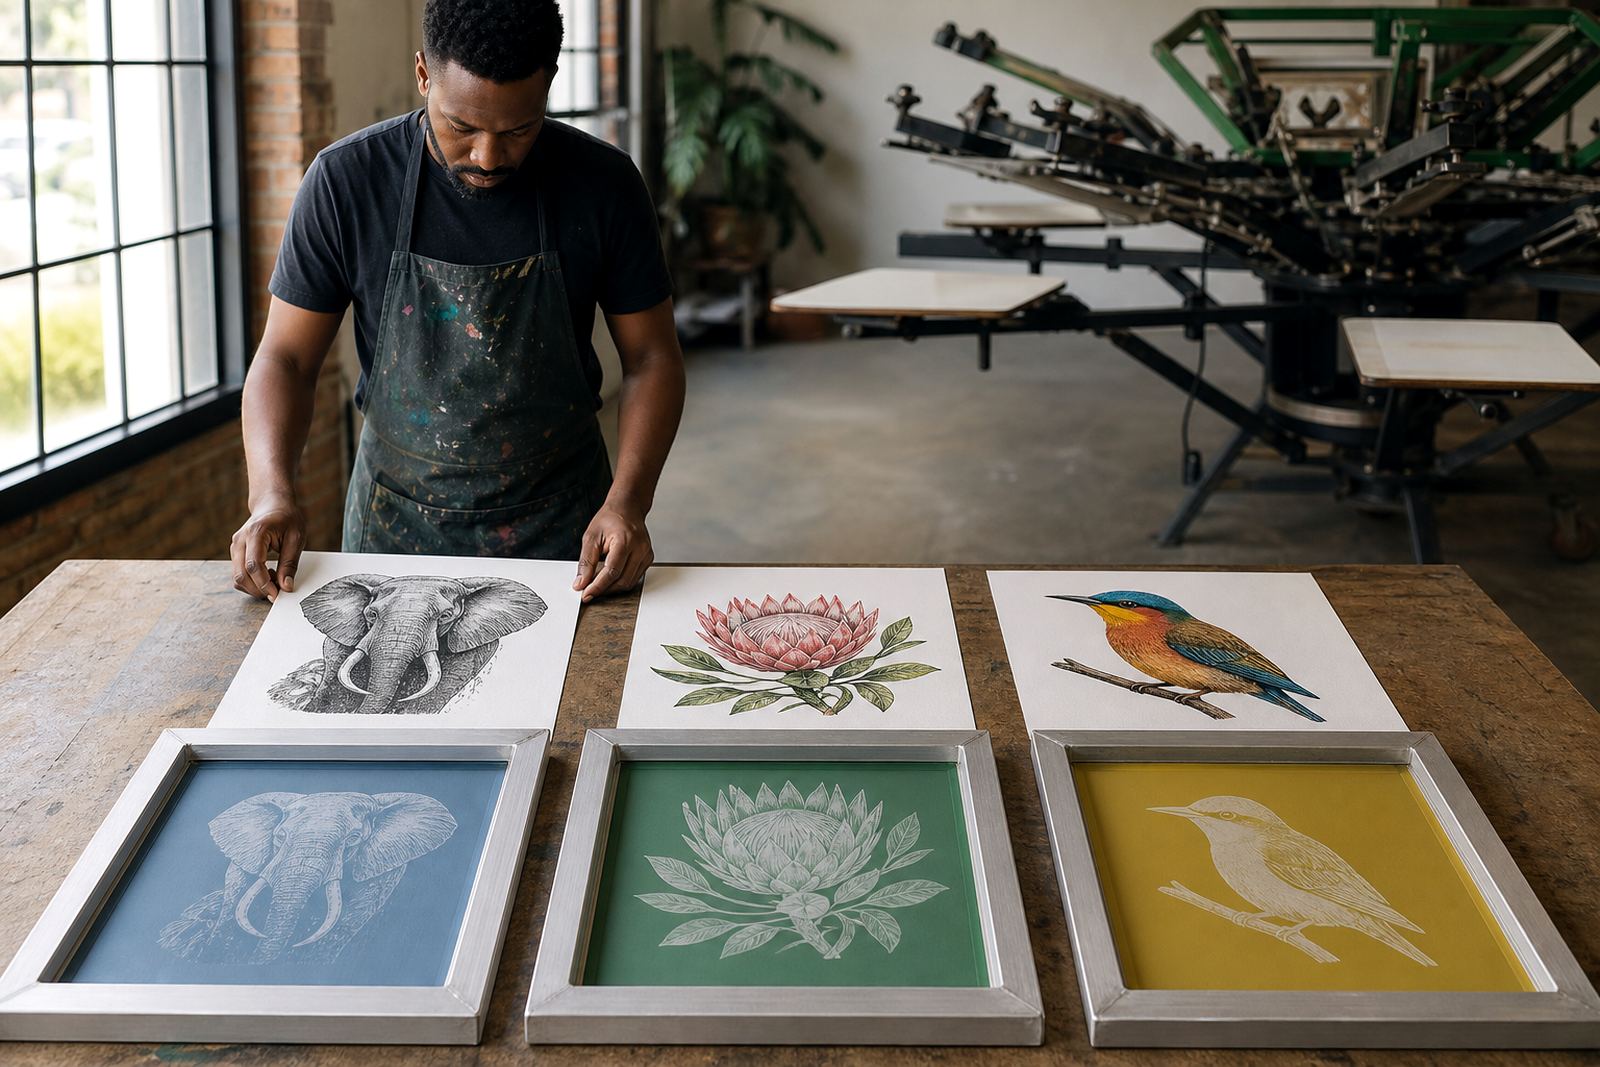
Consider a clothing brand in Boksburg preparing a mixed order of black cotton T-shirts and hoodies for a weekend market. The logo has solid colour blocks, a small line of text and a white underbase on the dark garments. In that case, one screen may be used for the underbase and another for the top colour, with the mesh selected to suit each layer.
A practical setup would use a more open screen for the underbase, then a finer screen where the detail needs a cleaner edge. The printer checks tension before starting, makes sure the frames are clean and keeps the screens separated so each layer prints consistently. If the artwork is updated later for a repeat order, the shop can return to the same screen setup and keep the result close to the first run.
This is where good planning pays off. The right screen choice does not just affect the first print, it affects the whole job from setup to packing. That is why many print shops keep a simple system for mesh count matching, tension checking and screen inspection before any garment run.
A simple checklist before you send the job to press
Before a garment order goes into production, a short screen check helps avoid wasted time. The aim is not to overcomplicate things, but to make sure the screen suits the print and the garment.
- Confirm the artwork detail and the ink type.
- Match the mesh count to the level of coverage or detail needed.
- Check that the frame is straight and clean.
- Test the tension and look for weak spots.
- Make sure the screen size suits the garment and press layout.
- Keep a repeat order note for future runs.
If you are printing for shops across Johannesburg, Pretoria, Durban, Cape Town or Gqeberha, this kind of consistency helps keep results steady from batch to batch. A good screen choice is not flashy, but it is what keeps the print looking right and the job moving.