
Start with the image area, not the outer frame
When people ask what frame size they need, the first question is usually the wrong one. The better starting point is the image area you want to print, because that tells you how much open space must sit inside the frame for the artwork, the margins and the tape-up around the edges. A frame can look large enough on paper, yet still leave you short on usable screen area once you factor in clamps, registration marks and the space needed to keep the mesh stable.
For most screen-printing work, the image area should suit the garment, substrate or panel first. A small chest print needs a different setup from a full back print or a long panel repeat. If the artwork sits too close to the frame edges, you lose room for handling and the screen becomes awkward to tape and reclaim. A practical rule is to leave enough border all round so the stencil is not crowded by the frame rails.
- Measure the printed image area before ordering the frame
- Allow margin space for tape, registration and cleaning
- Check that the usable area matches the actual job size
Press fit matters more than people expect
A frame that is technically the right size can still be a poor fit on the press. Clamp position, pallet size and screen clearance all affect how the frame behaves during setup. In a busy shop, a screen that sits comfortably on the press saves time and avoids unnecessary strain on the operator. If the frame is too small, clamps may sit too close to the print area. If it is too large, the screen can become heavy and awkward, especially when you are moving between stations.
On automatic or manual presses, the frame should give you enough room to register the print cleanly without fighting the machine. Taller frames can help with larger artwork, but they also need careful handling. In smaller shops, one person often carries, loads and cleans the screens, so a frame that is too big becomes a daily nuisance. The best choice is the one that fits the press, the print and the people using it.
- Check clamp clearance before finalising frame dimensions
- Make sure the frame sits comfortably on your press platens
- Consider who will lift, wash and store the screen each day
Think about mesh count and tension at the same time
Frame size planning should never be separated from mesh count and tension. A higher mesh count is often chosen for finer detail, thinner ink deposits or halftones, while a lower mesh count is usually selected for heavier deposits and bolder prints. That choice affects how much pressure the stencil will take, and how much support the frame needs once the mesh is stretched. If the frame is oversized for the job, tension may drop unevenly across the print area and the screen will not behave consistently.
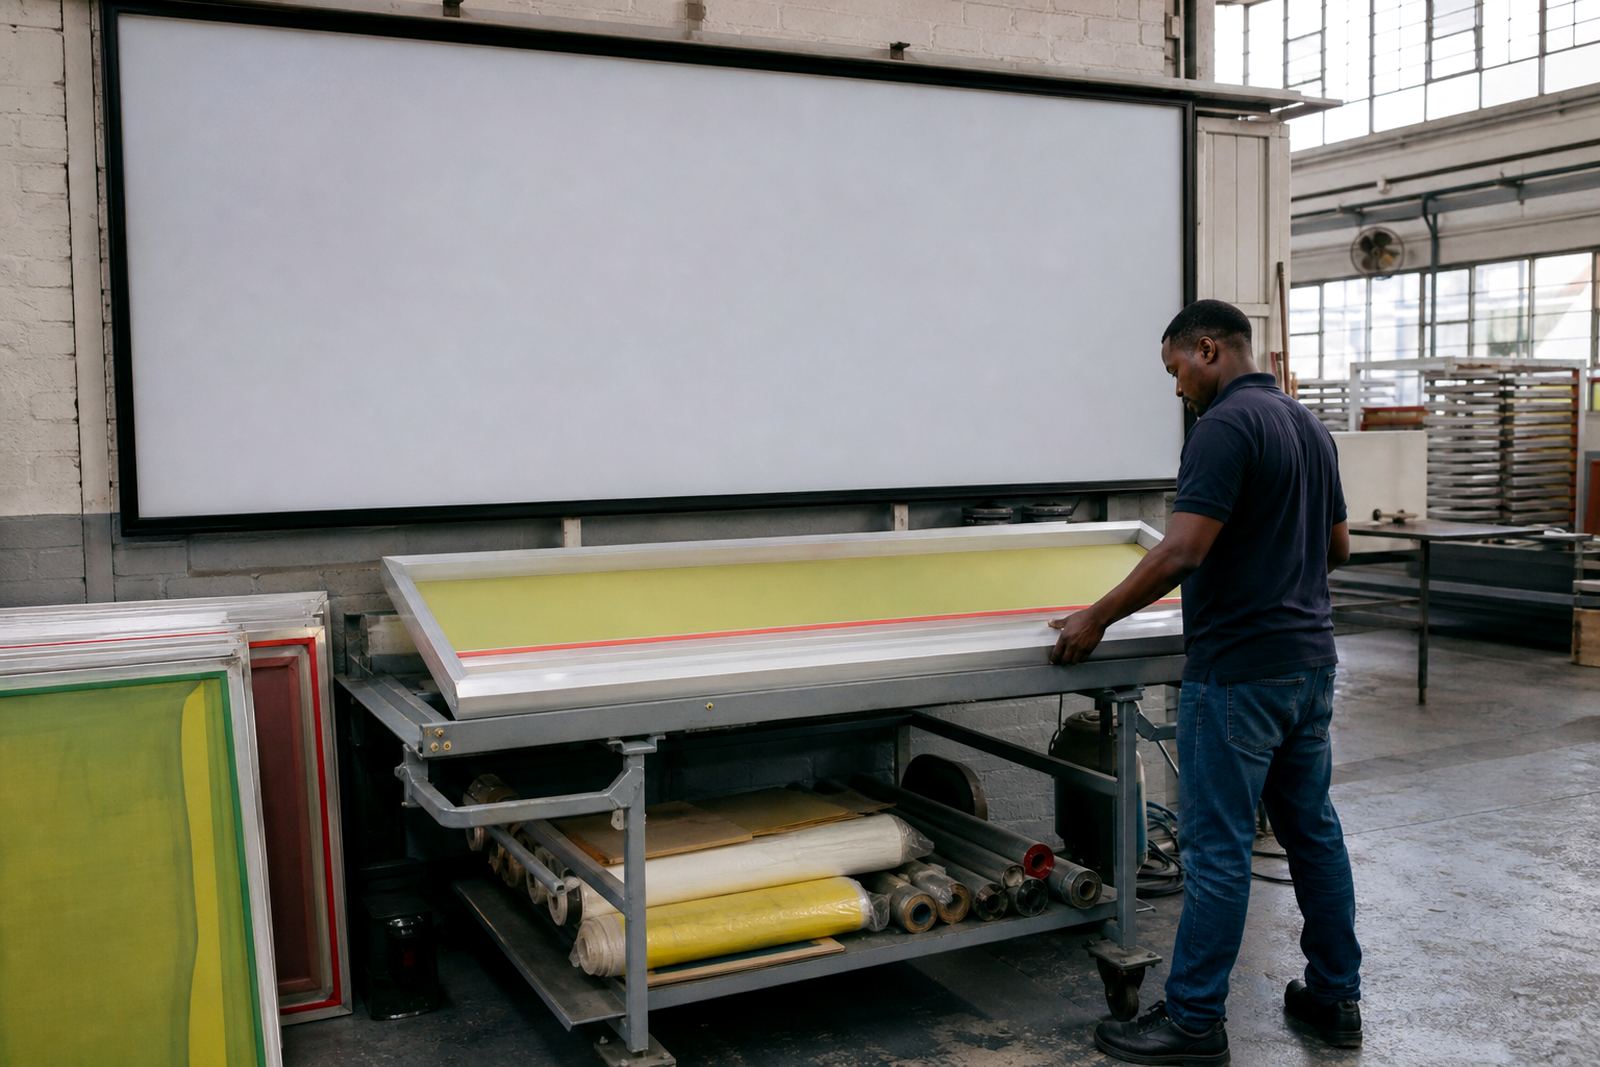
Tension is just as important as size. A well stretched frame should hold the mesh evenly so the print stroke feels controlled from one side of the screen to the other. If the mesh is loose, you may need extra pressure and the print can lose sharpness. If the tension is too high for the frame or the job, the screen becomes harder to handle and may be more sensitive to knocks during transport. Matching the mesh count, frame size and tension is standard screen-printing practice, not an extra.
- Fine detail usually asks for a finer mesh count
- Heavier ink deposits usually need a lower mesh count
- Even tension helps the print behave consistently across the frame
Allow for handling, storage and transport
In Germiston, Johannesburg and the wider East Rand, screens often travel between prep tables, presses, washout bays and storage racks several times a day. That means frame size is not only about print area, it is also about movement. A screen that is easy to carry and stack will save time and reduce damage. This matters even more if your team is managing multiple repeat jobs or sending screens between branches and delivery points.
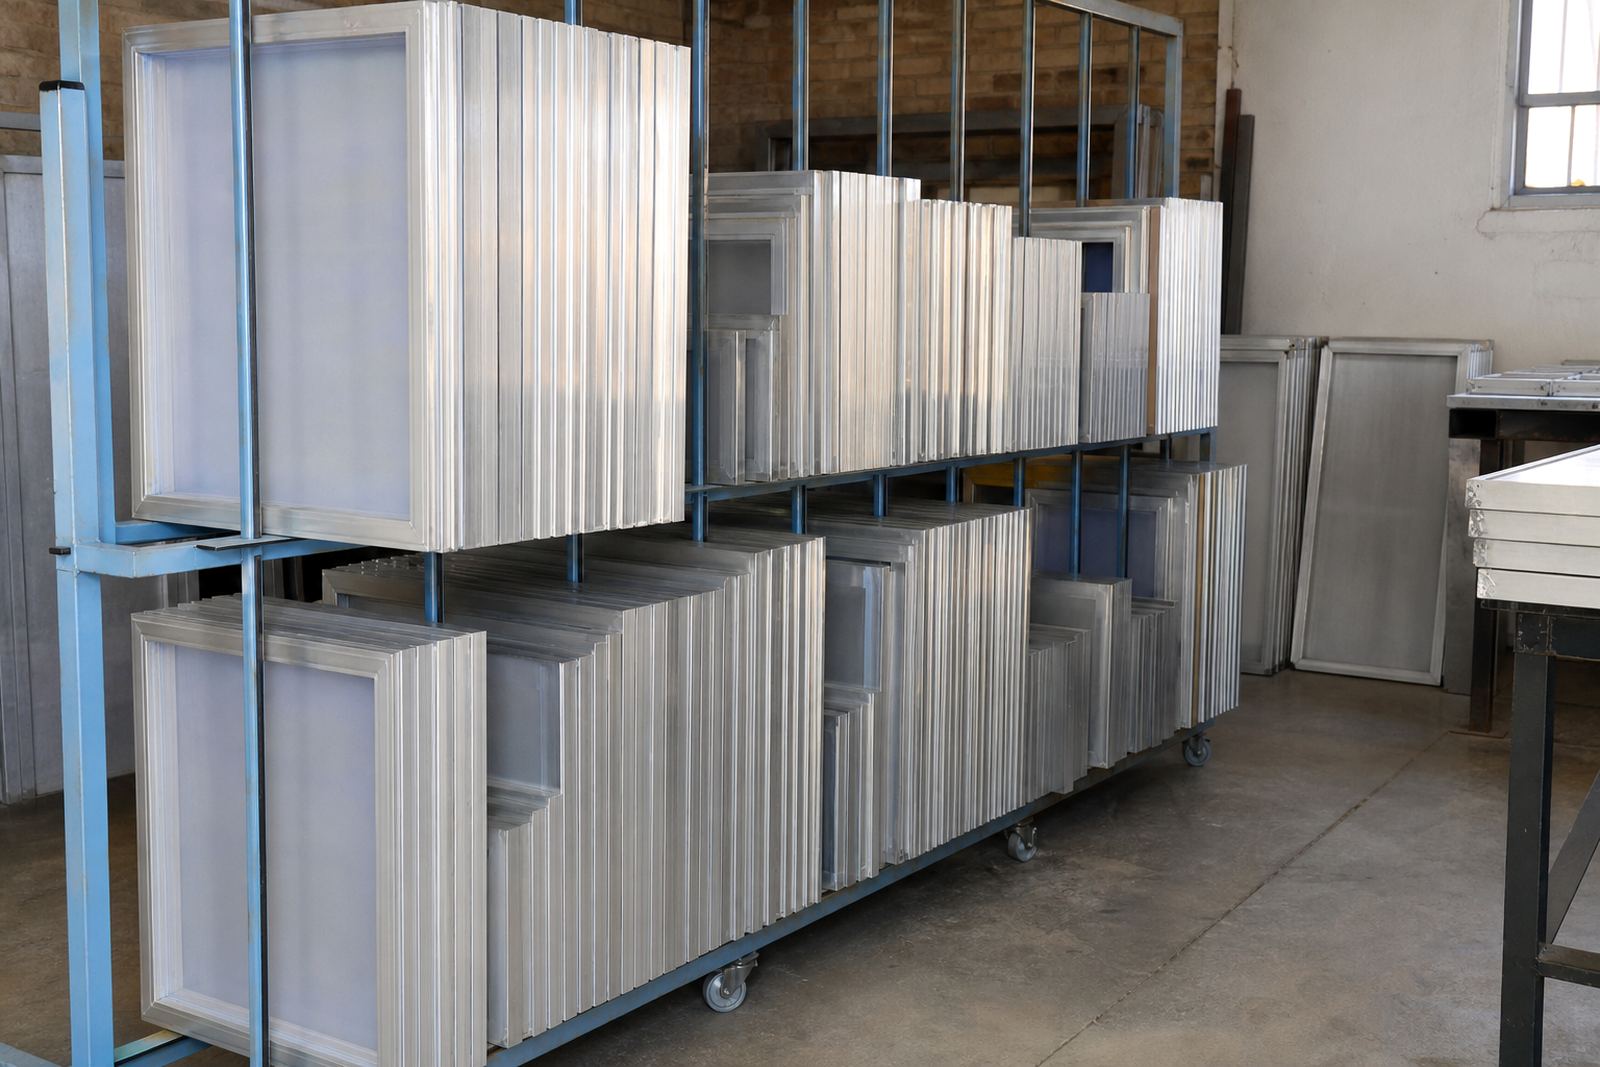
Handling becomes a bigger issue when the frame is wide, the mesh is high tension or the shop is short on space. In some workshops, screens are stored upright along a wall, in others they are stacked flat on racks. Either way, the frame should be manageable through doors, around corners and into the cleaning area. A neat fit on press means very little if the screen is awkward everywhere else.
- Check that the frame can pass through storage and wash areas
- Plan for safe lifting where one person may handle the screen alone
- Keep enough clearance for stacking, drying and dispatch packing
Choose a size that suits the job mix, not just one print
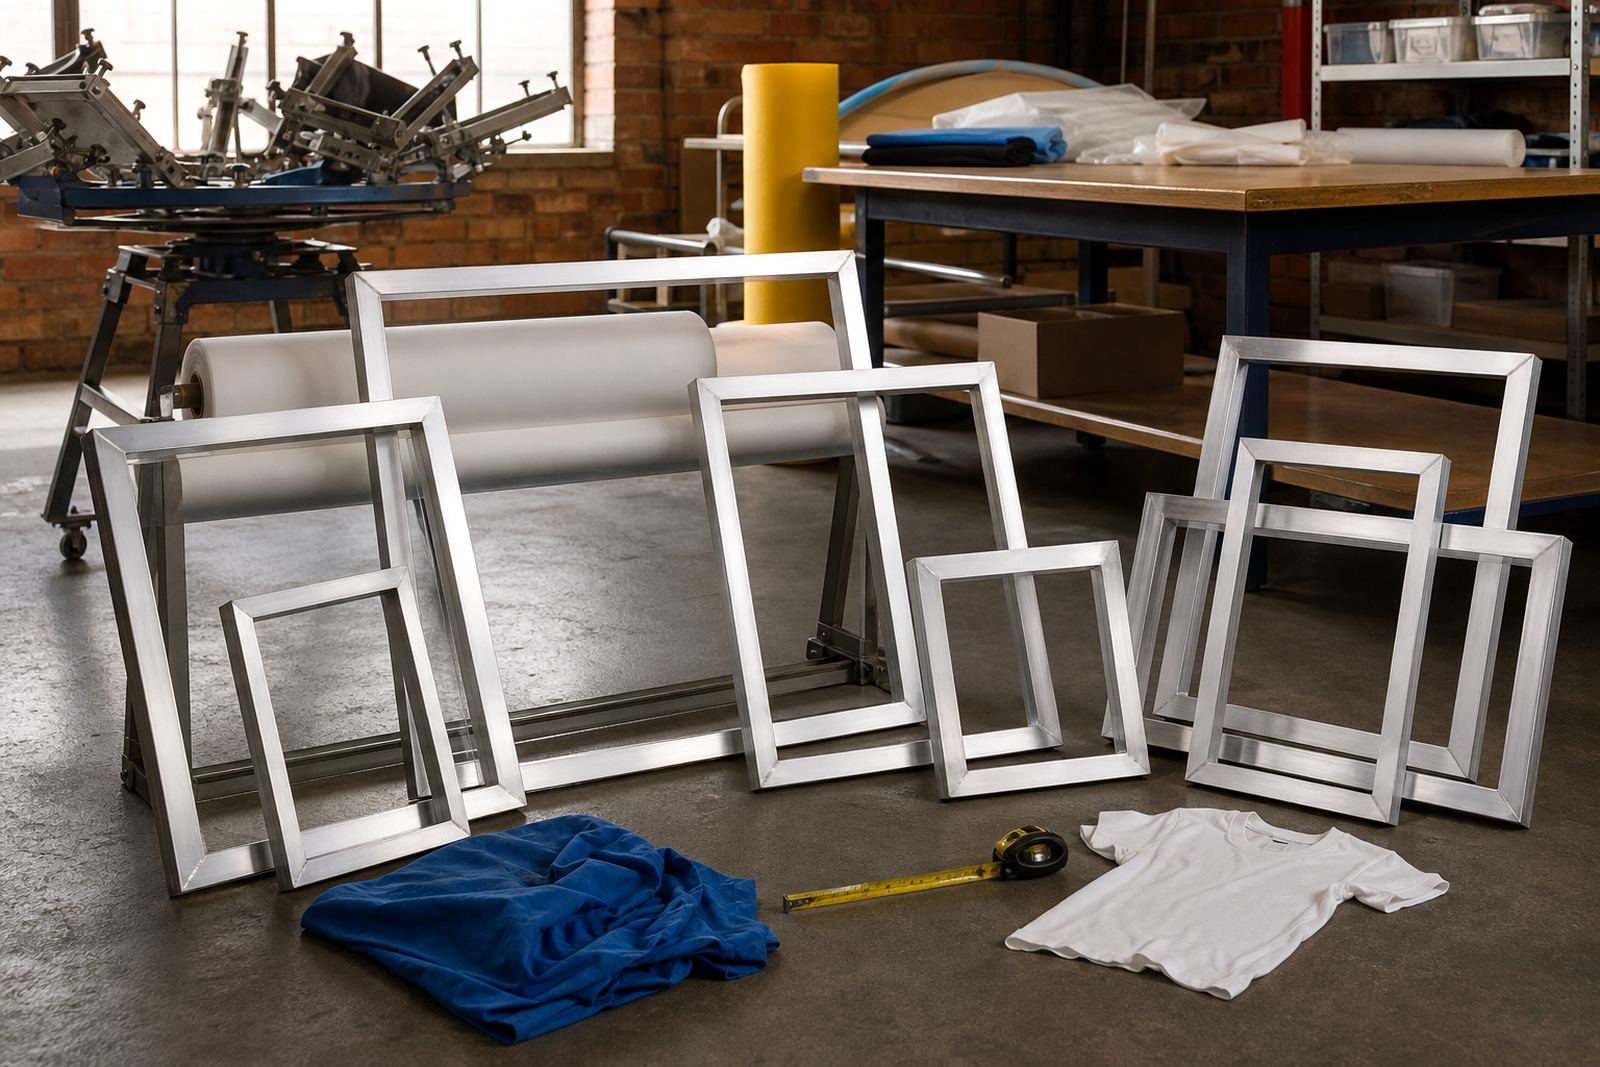
Many print shops work on more than one type of order, so the frame size should suit the range of work you actually do. If you print T-shirts one day and transfer jobs, signage panels or repeat artwork the next, a single frame size may not be enough. Some jobs need a wider image area, others need a more compact screen that loads quickly and wastes less setup time. The aim is to keep your screen room efficient without forcing every job into the same shape.
A good way to plan is to list your most common jobs and compare them against the usable screen area you need. If you often run standard chest prints, one set of screens may cover most work. If you also do large back prints or multiple-up layouts, you may need a second size to avoid cramming artwork too close together. Custom frame sizing is often the practical answer when a shop wants one screen built around its real work, not around guesswork.
A local example from a busy Gauteng shop
A print shop in the greater Johannesburg area might be handling school orders, promotional garments and a few repeat contract jobs in the same week. The team needs screens that load fast, stack neatly and keep registration simple during long runs. In that sort of setting, frame size planning is not a theory exercise. If the frame is too small, the operator has less room for tape-up and the artwork sits too close to the rails. If it is too large, it becomes slower to move and harder to keep tidy in a tight prep space.
When the screens are stretched to the right size from the start, the whole job becomes easier to manage. The mesh count matches the ink, the tension suits the press and the frame fits the workshop layout. That is especially useful when load-shedding cuts into production time and the team has to get a screen ready quickly before the next print run. In that kind of environment, planning saves more time than trying to force one screen to do everything.
What to confirm before you place an order
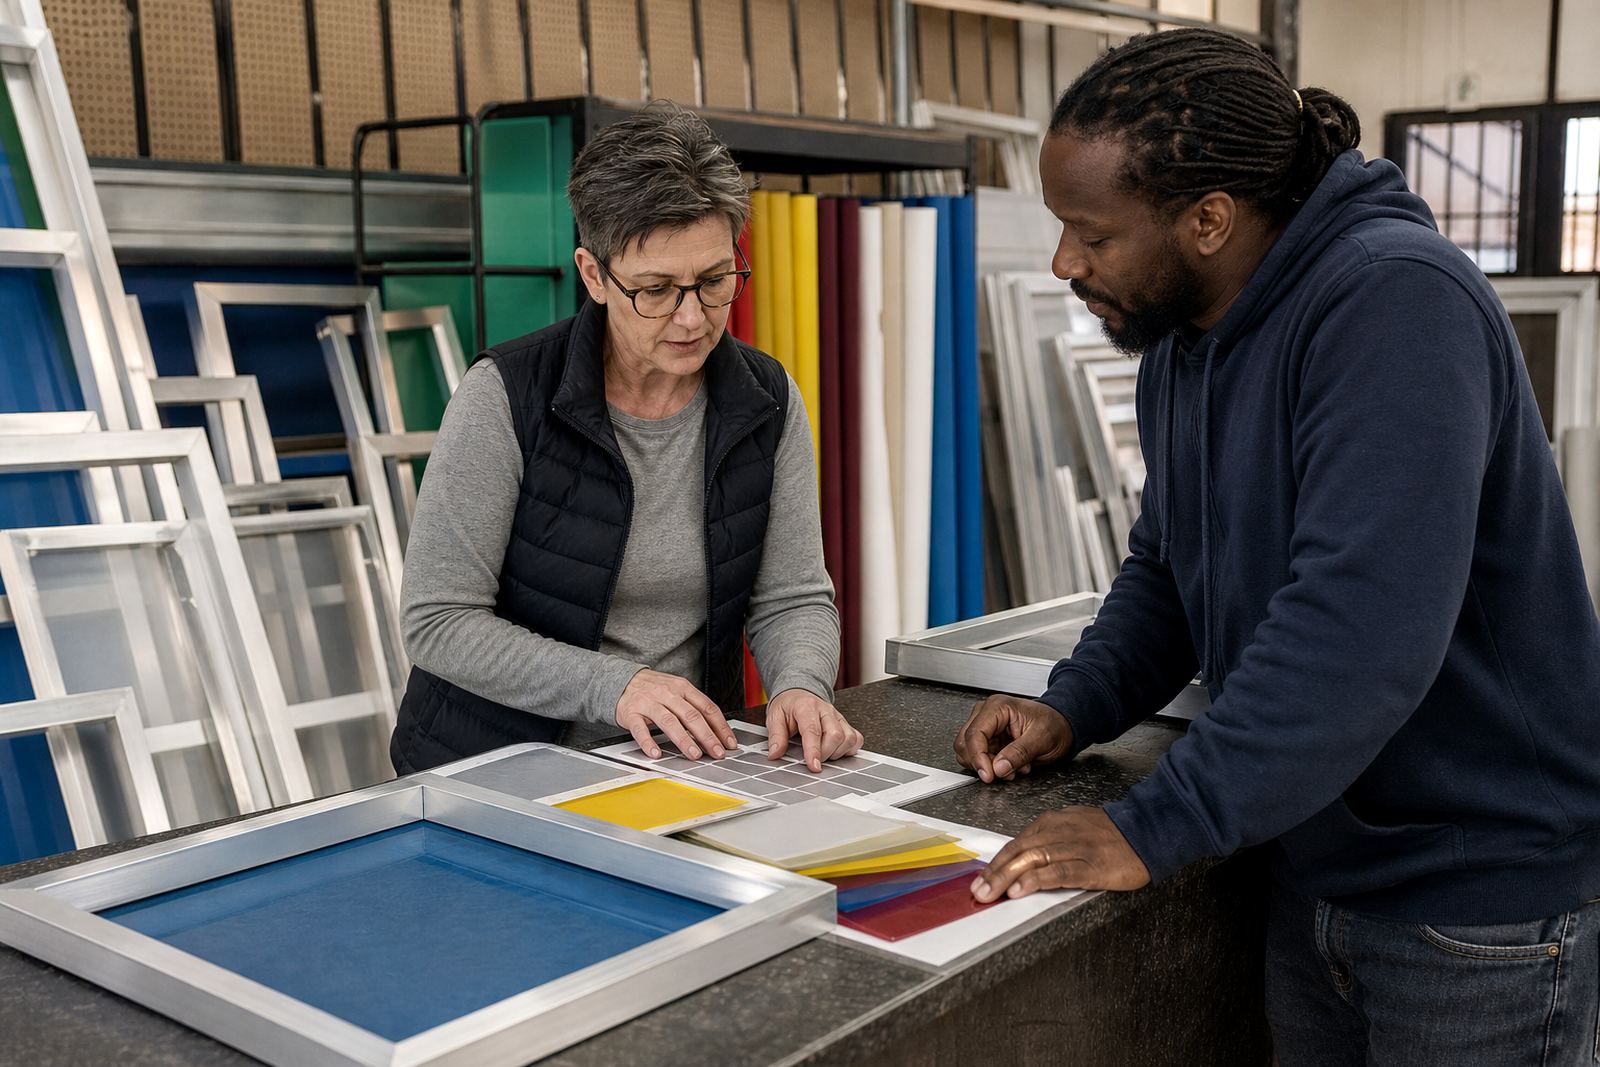
Before you order pre-stretched aluminium frames, it helps to have a short checklist ready. That keeps the job clear and reduces back and forth when you need a repeat size or a new setup. At MeshMaster, customers across South Africa use the enquiry form on the contact page to ask about new frame stretching, re-stretching, mesh count matching and screen setup advice. The more exact the brief, the easier it is to match the frame to the work.
- Artwork or image size
- Press type and clamp spacing
- Preferred mesh count
- Whether the screen must suit repeat orders
- Any handling or storage limits in the workshop
If the job is going to Durban, Cape Town or Gqeberha, it is worth thinking about transport and humidity too. Well prepared frames travel better when the mesh is correctly bonded, the tension is checked and the screen is packed with care. That kind of detail is what keeps the frame useful after delivery, not just on the day it leaves the shop.