
Why screen choice changes the final edge
When a design has small lettering, fine linework or tight halftones, the screen does more than hold ink. It controls how much ink passes through, how well the stencil sits on the mesh and how cleanly the image breaks away from the fabric or substrate. If the mesh is too open, detail can lose shape and edges may spread. If it is too fine for the job, the print may look starved and patchy.
In everyday South African print shops, the goal is not just to print something that works once. It is to keep the same result across repeat jobs, from a single run for a local school to a batch for a Johannesburg clothing brand. That is where mesh selection and frame condition start to matter.
Matching mesh counts to the artwork
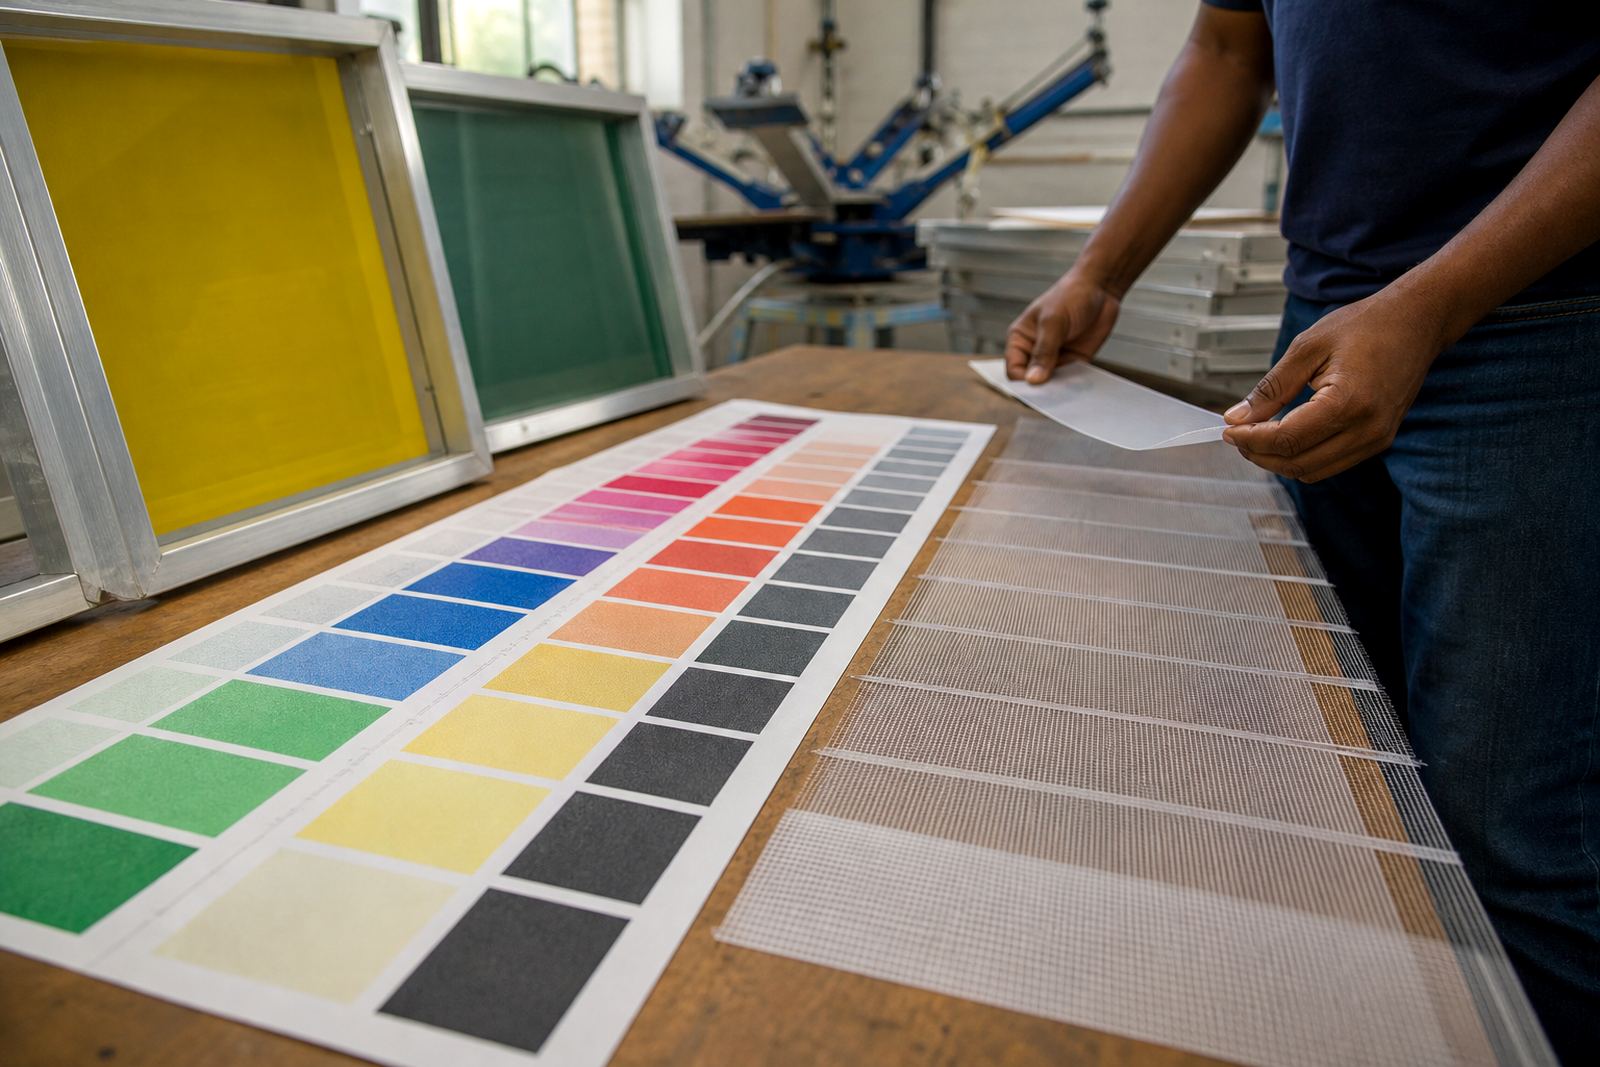
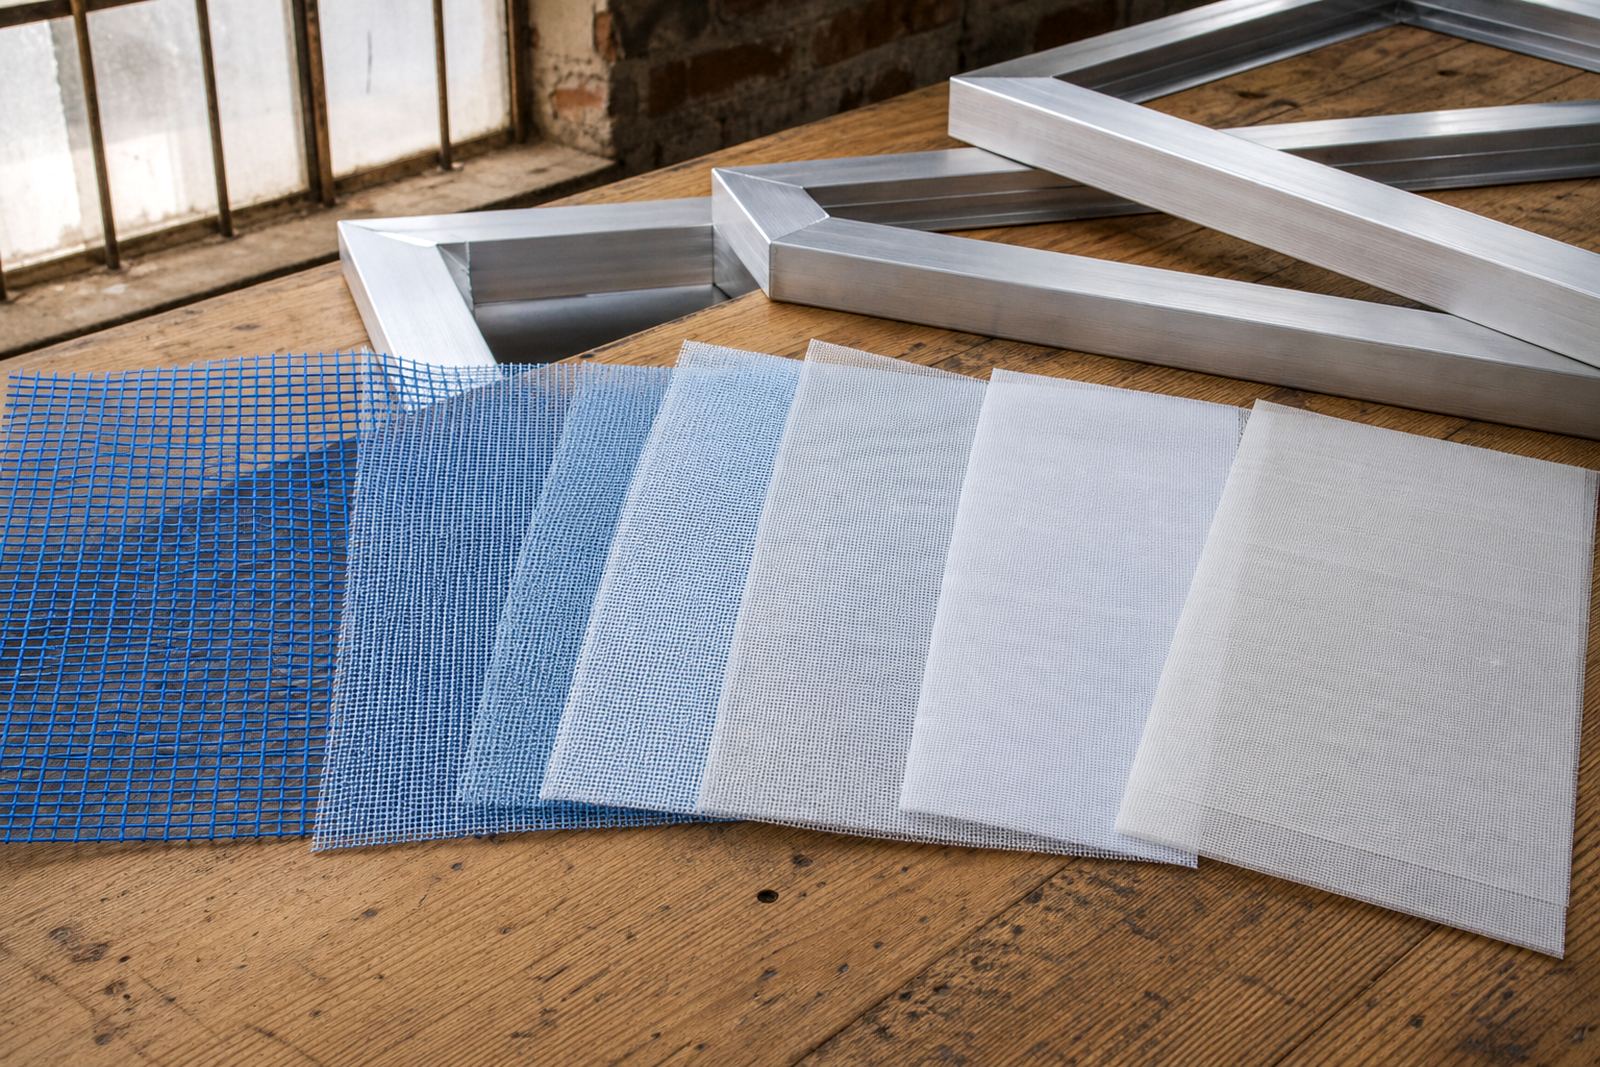
Mesh count is one of the first controls for detail. Higher mesh counts usually suit finer detail, thinner inks and sharper halftones. Lower mesh counts allow heavier ink deposits for bold graphics, block text and more opaque coverage. There is no one mesh that suits every job, so the print shop needs to match the mesh to the artwork and the ink being used.
- Fine text and small halftones often need a tighter mesh to hold the stencil edges properly.
- Bold logos and solid fills can often use a lower mesh for better ink deposit.
- Specialty inks with thicker body may need a different count again, depending on the substrate.
- If the design is borderline, test the screen before committing to the full run.
A common mistake is using the same mesh for every order because it is familiar. That may save time at first, but it usually costs more in reprints and touch ups.
How tension keeps outlines crisp
Even a suitable mesh count can print badly if the tension is uneven. Good tension helps the screen snap back cleanly after the squeegee passes, which supports sharper edges and reduces ghosting or smudging. Loose areas in the frame can create small variations across the print, especially on longer runs.
For shops working in humid coastal conditions, especially around Durban or Gqeberha, screen tension can change with storage and handling. Inland shops around Germiston or Pretoria often face different issues, with heat and dust affecting prep and storage. The practical answer is regular tension checking, careful stretching and proper frame handling before the screen goes on press.
- Check tension before exposing the stencil, not only after the screen is already in use.
- Look for uneven pull near corners and along the long sides of the frame.
- Replace or re-stretch frames that no longer hold consistent tension.
Frame condition and clean prep matter more than many shops think
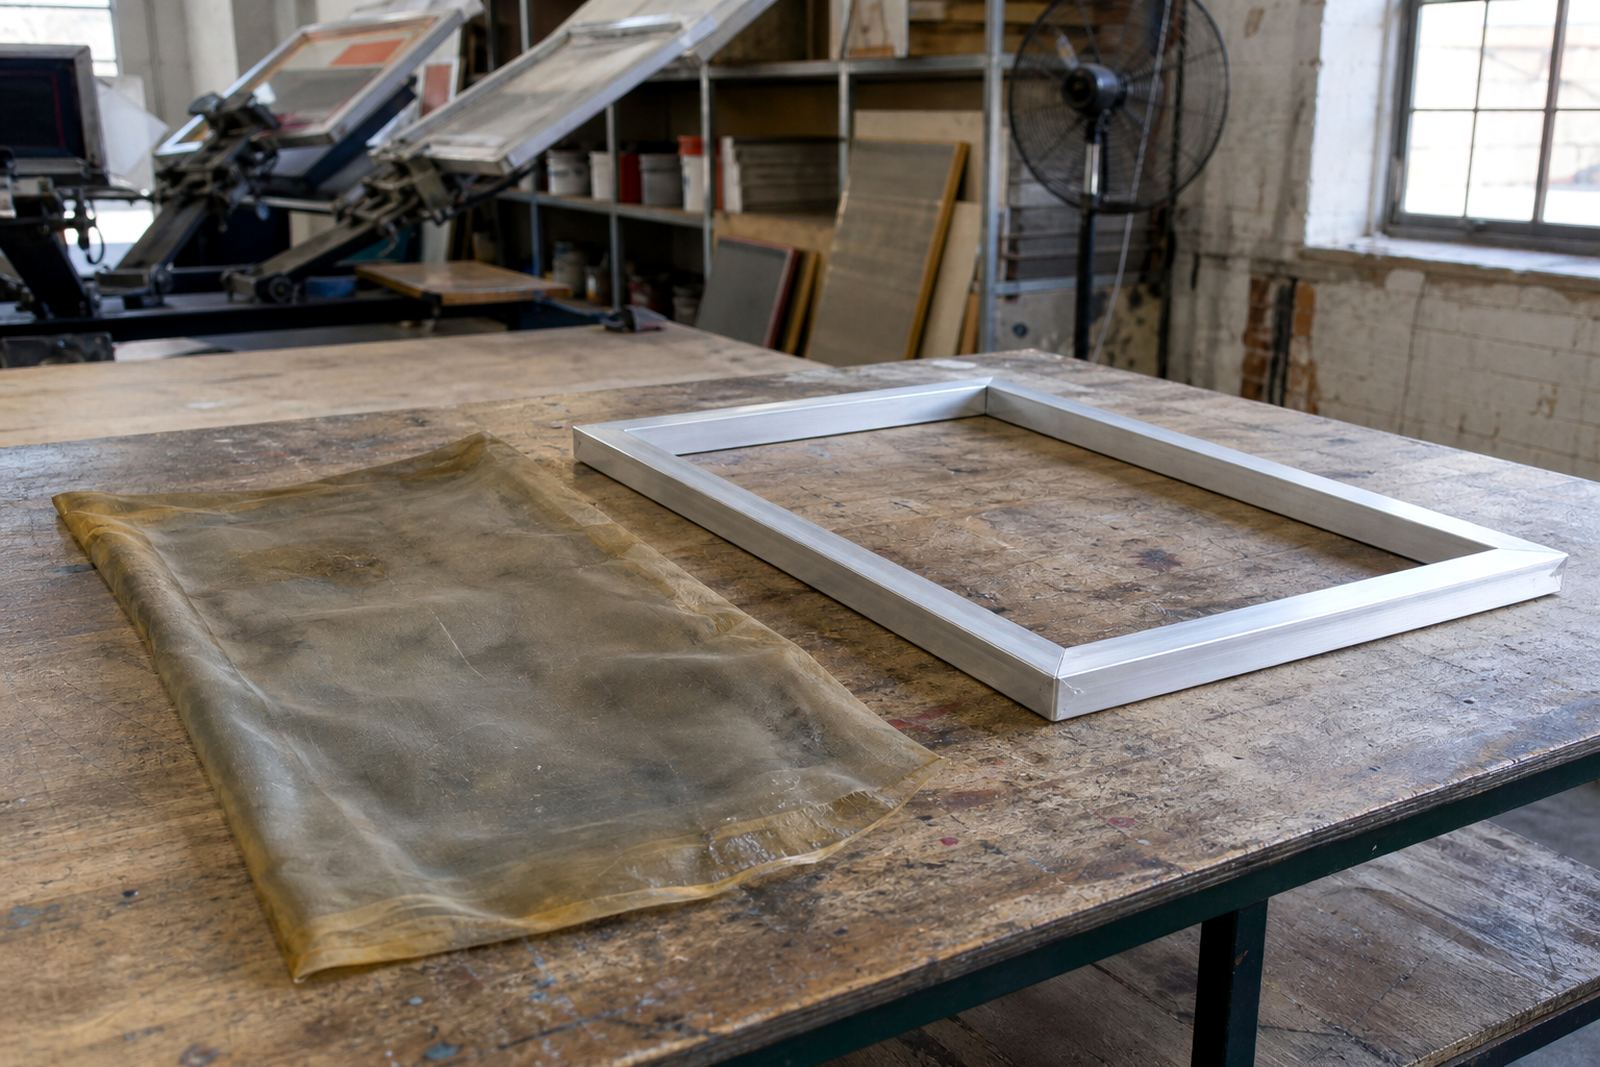
A frame that has old ink residue, dried emulsion or damaged bonding points can affect the way the mesh behaves under pressure. Clean prep gives the mesh a better surface to bond to, which helps with consistency when the screen is exposed, washed out and printed. When the frame is well prepared, the stencil sits flatter and the print usually behaves more predictably.
Pre-stretched aluminium frames are often chosen because they are light, stable and easier to handle in busy shops. They also help with repeatability when the same artwork comes back later. If a shop keeps a set of matched frames for common sizes, setup becomes quicker and the result is easier to repeat.
A Germiston example from artwork to press
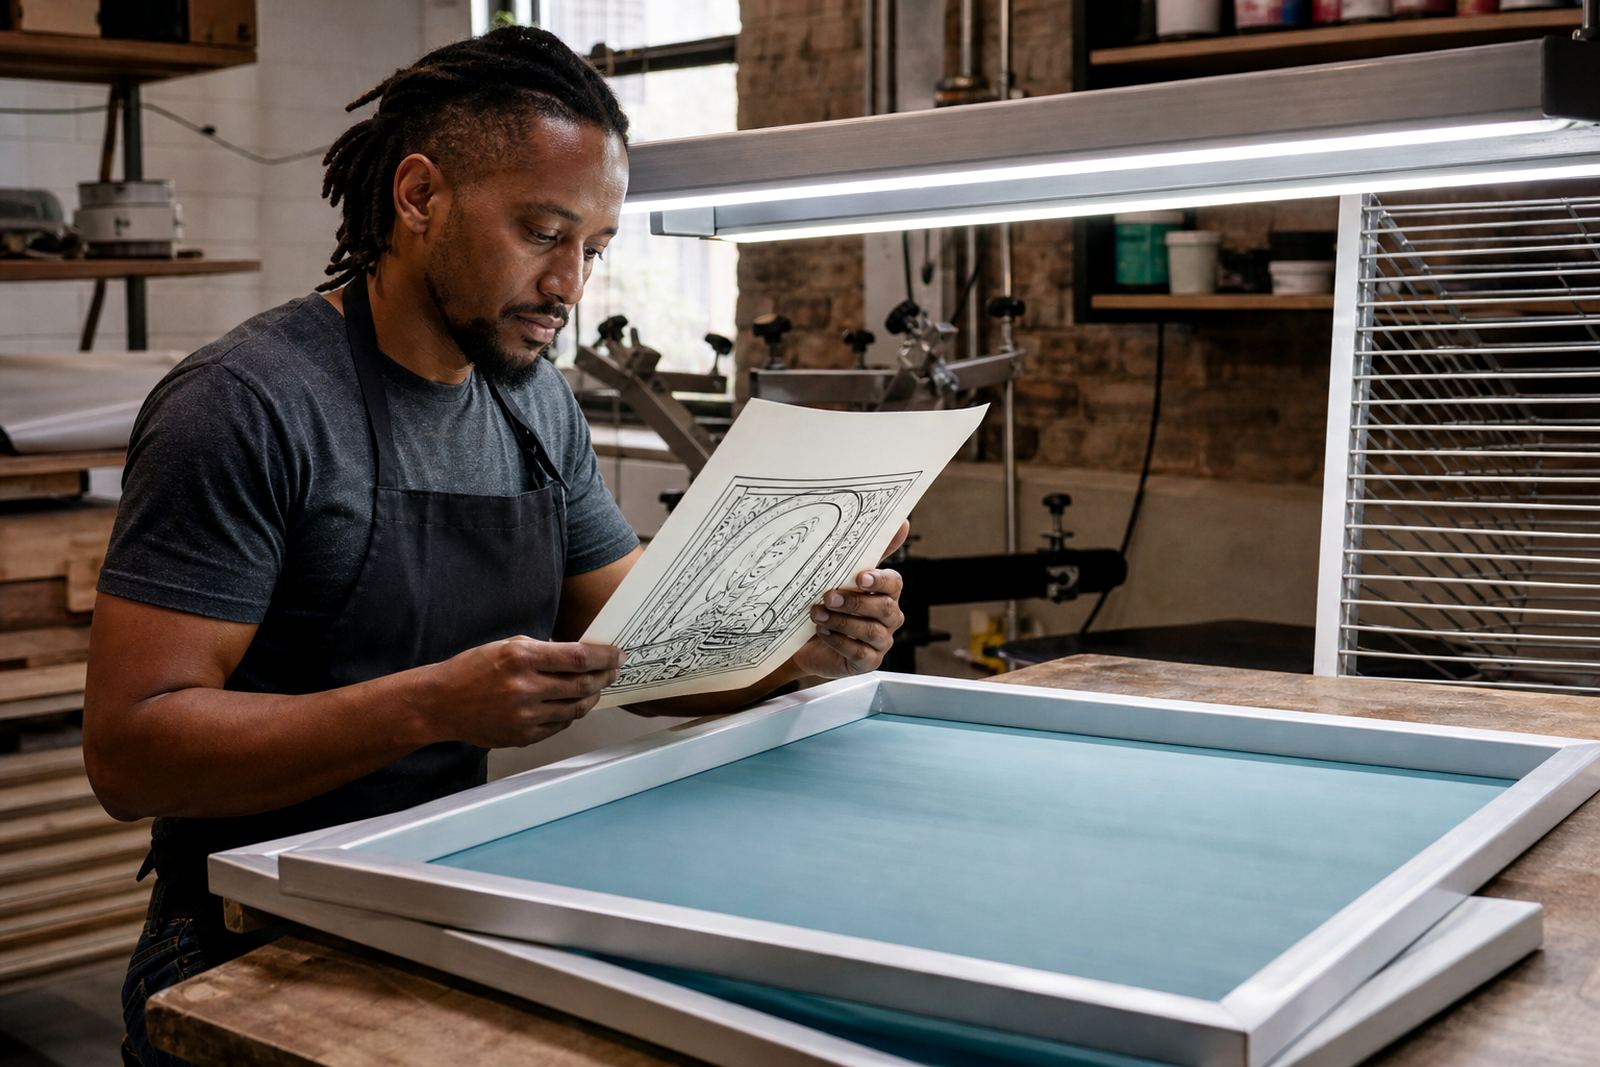
Take a printer in Germiston preparing job work for a retail client in Cape Town. The artwork has small type, a thin border and a few halftone areas in the background. The shop wants clean edges, but also needs enough ink deposit to show colour on a dark substrate. In that case, screen choice becomes a balance between detail and coverage.
The printer may start with mesh count matching, then check the frame tension before exposure. If the screen is uneven, the border will show it. If the mesh is too open, the small type can fill in or blur. If the mesh is too fine, the print can look weak. The best result usually comes from a screen that has been stretched properly, cleaned well and checked before the first pull.
For repeat orders, this sort of routine matters even more because the client expects the same look each time. That is where careful screen setup saves time on press and reduces waste.
Practical habits that protect detail on press
Good screen detail is not only about buying the right mesh. It also depends on how the screen is handled from prep to dispatch. Simple habits in the print room can make a big difference to the final image and help keep runs consistent across Johannesburg, Pretoria, Durban, Cape Town and Gqeberha.
- Store screens in a dry, clean area away from direct sun and excessive moisture.
- Keep mesh clean before coating so dust does not create pinholes or weak spots.
- Use the right squeegee angle and pressure for the artwork, rather than forcing one setting on every job.
- Inspect the first few prints closely and adjust before the full run starts.
- Keep a clear record of which mesh count worked best for each common artwork type.
In load-shedding conditions, it also helps to have a simple prep routine that does not depend on rushed equipment changes. Good screen discipline keeps the job moving even when the day does not go to plan, which local printers know all too well.
Choosing a supplier who understands repeat work
Screen printers do better when the supply side understands how print detail behaves in real production. That means matching mesh counts carefully, checking tension, and preparing frames with repeat use in mind. It also means having support for new frame stretching, frame re-stretching, custom sizes and batch screen prep when a job calls for it.
From Germiston Supply and East Rand work to Johannesburg Delivery, Pretoria Delivery, Durban Delivery, Cape Town Delivery and Gqeberha Delivery, the need is the same: screens that help the print hold its shape and the artwork stay readable. When a screen is prepared properly, the press operator gets a cleaner starting point and the finished print has a better chance of holding detail from the first sheet to the last.
That is the practical side of controlling print detail. Start with the screen, check the tension, match the mesh to the job and keep the frames in good condition. The artwork will thank you for it.