
Why hoodie printing needs a different setup
Printing onto hoodies is not simply a matter of using the same setup you would for light cotton tees. The thicker fabric changes how the screen lands on the garment, and the raised surface around seams, cuffs, drawcords and kangaroo pockets can affect coverage. On fleece hoodies, especially brushed fabric, you also need to think about fibre lift, ink deposit and whether the print needs a brighter underbase.
For shops in Johannesburg, Pretoria, Durban, Cape Town and Gqeberha, hoodie work often comes in with colder-season jobs, school wear, workwear and branded retail runs. That means print teams need a repeatable method for mesh selection, frame tension, registration and curing. If the frame is uneven or the mesh count is wrong, the print can look patchy or heavy on one side.
Good hoodie printing starts with matching the garment to the artwork. A large front print on a heavyweight pullover will behave differently from a small chest logo on a zip hoodie. If the layout does not allow for the garment features, the job becomes harder to keep clean and consistent.
Mesh count choices for heavier garments
Mesh count affects how much ink passes through the screen and how much detail you can hold. For hoodie printing, many shops work with a lower to mid mesh count when they need a fuller deposit for bold spot colours or an underbase. If the artwork is fine detail, halftones or smaller lettering, a higher mesh count may be better, but it still needs to suit the ink and the garment texture.
There is no single mesh count that suits every hoodie job. A thick, dark hoodie with a large print usually needs a different approach from a light fleece hoodie with a simple left chest mark. If you are setting up for multiple garments in one run, mesh count matching helps keep results consistent across sizes and colours.
- Use a lower mesh count when you need stronger coverage on dark hoodies.
- Use a higher mesh count when detail matters and the print area is smaller.
- Check that the mesh is evenly tensioned before exposure and production.
- Keep a note of which mesh was used for repeat orders so setup is faster next time.
Frame tension matters as much as mesh count. A loose screen can cause poor edge definition, soft prints and heavier ink build-up in the wrong places. For hoodie work, that becomes noticeable very quickly because the garment surface already gives you less forgiveness. It is also worth checking the frame for any signs of damage or glue failure before stretching a new mesh.
Frame prep and tension for cleaner contact
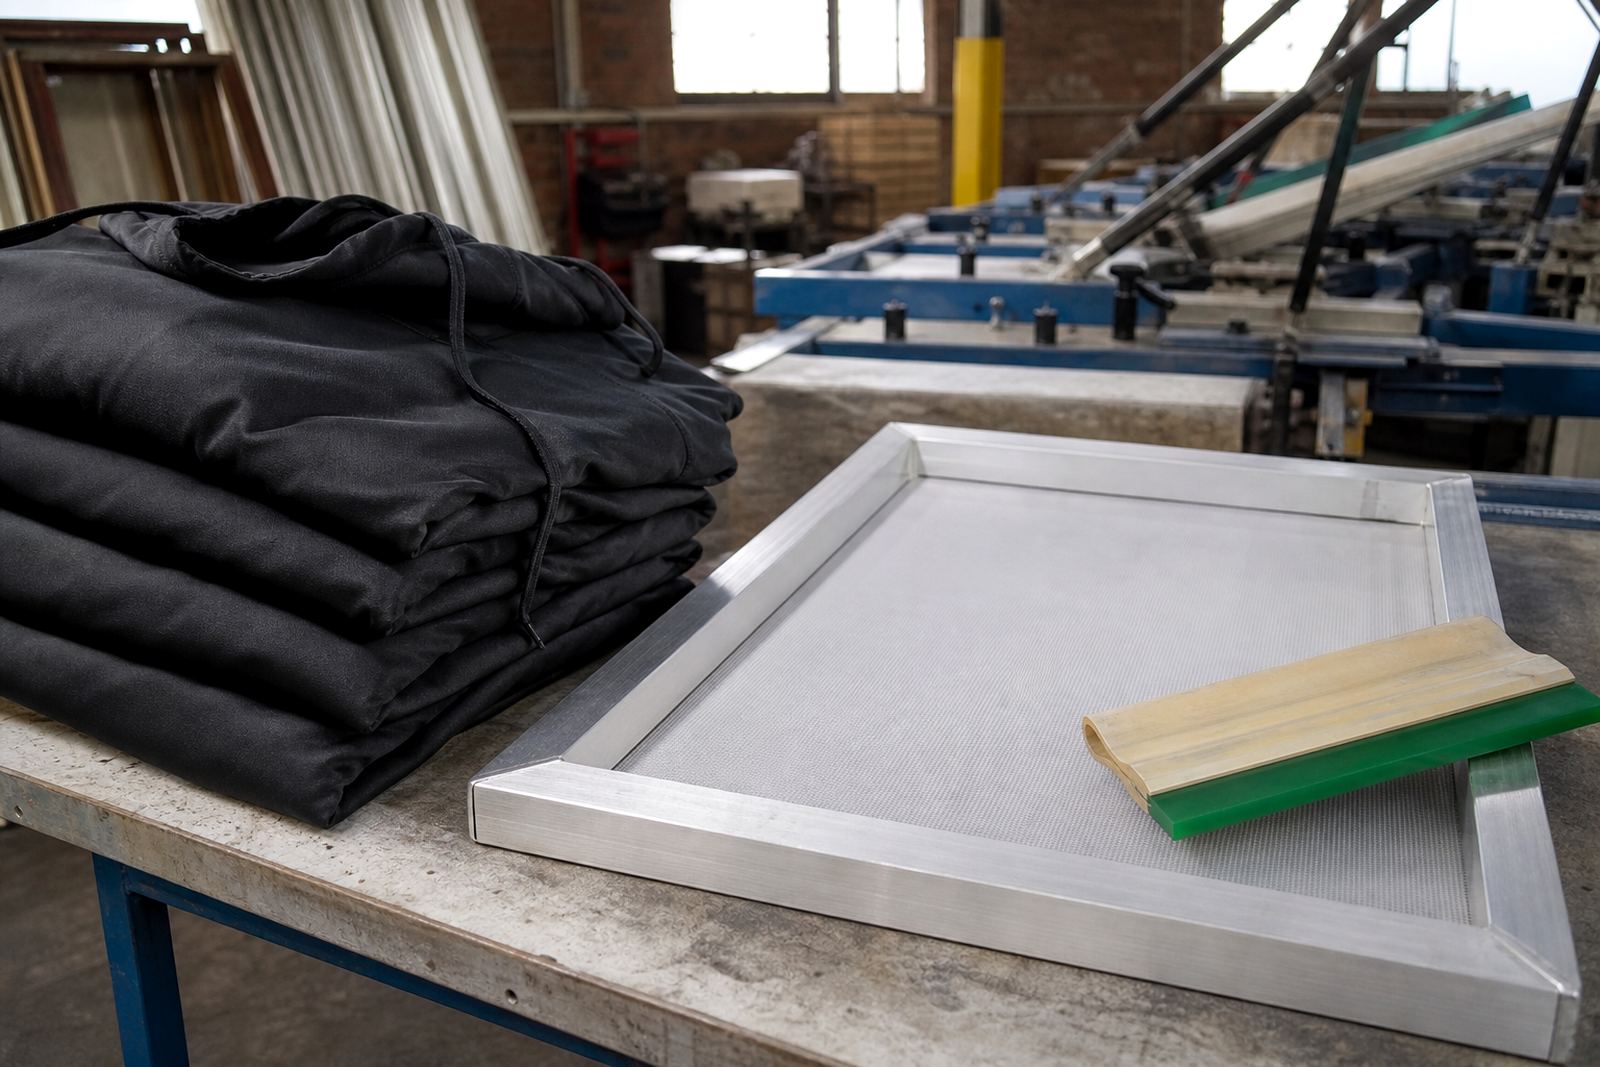
Pre-stretched aluminium frames are useful for hoodie work because they hold tension more reliably and handle repeated use better in a busy print room. When a frame is stretched and bonded properly, you get a more stable print stroke, better registration and cleaner release. That helps when you are printing on thicker items where pressure and contact need to be controlled closely.
Before stretching, the frame should be clean and properly prepared. Old adhesive, ink residue and dust can affect the bond. In coastal areas like Durban and Gqeberha, humidity can also affect storage and drying times, so frame prep and mesh bonding need a bit more care. A rushed prep job often shows up later as a screen that relaxes or lifts at the corners.
If you are re-stretching existing frames, inspect the corners, the bond line and the overall flatness. A screen that looks fine at a glance can still pull unevenly once it is under load. That is where tension checking is worth the time, especially for shops running repeat hoodie orders through the season.
Artwork layout and print placement on hoodies
Hoodie layout needs practical planning before the first print goes down. The pocket, centre seam, zip line and drawcords all affect where the design can sit. If the artwork is too low on a pullover hoodie, it can clash with the pocket. If it sits too high, it may look cramped under the collar. On zip hoodies, you need to allow for the opening in the middle so the design does not split awkwardly.
When planning a hoodie run, it helps to work from the garment size range, not just the artwork size on paper. A print that looks balanced on a large hoodie may sit too low or too wide on a small size. That is why screen setup advice and batch screen prep matter, especially where a job includes mixed sizes and colours.
- Check the pocket height on pullover hoodies before finalising the artwork position.
- Allow space around zips, seams and drawcords so the print sits flat.
- Keep left chest and back positions consistent across all sizes.
- Test one sample before running the full batch, even if the job is familiar.
For colder-weather workwear and school hoodies, repeatability is often the priority. Customers want the same placement from size to size, and they notice when one item is higher or lower than the rest. A careful screen inspection before dispatch can save reprints later on.
Common mistakes that show up on thick garments
One of the most common mistakes is using too much pressure in an effort to force the ink through the fabric. On hoodies that can distort the print, fill in details or leave a heavy feel on the garment. Another issue is underestimating how much contact is needed across the full print area. If the platen setup or garment placement is uneven, one side of the print may look fuller than the other.
Another problem is using a mesh count that is simply wrong for the job. Too fine and the print may look weak. Too open and the print can become heavy or lose sharp edges. Incorrect drying or curing is also a risk, especially for print rooms dealing with load-shedding and interrupted production. If the curing stage is rushed, the print may wash down or crack too early.
Some shops also forget to factor in the feel of the final print. A hoodie is already a heavier garment, so an overbuilt print can feel stiff and uncomfortable. That may be fine for certain workwear jobs, but for retail or school items, the customer usually expects a cleaner finish.
Budget ranges for hoodie print preparation
Budgeting for hoodie printing should include more than the ink and garment. Screen preparation, mesh selection, frame stretching, re-stretching and inspection all play a part in the final result. For a small local run, many shops work within a tighter setup budget, while larger repeat orders allow for more careful prep and better screen control. The exact Rand amount depends on the artwork, the number of colours and the garment mix.
As a practical guide, it helps to separate the job into prep, production and repeat run costs. If the screens are already in good condition, the setup may stay simpler. If new frames are needed, or if the job needs a different mesh count for underbase and top colours, the prep cost will be higher. That is normal for hoodie work because the garment demands more from the screen room.
For Durban and coastal areas, keep in mind that storage and handling can affect the condition of screens between runs. For inland jobs in Germiston, Johannesburg or Pretoria, dust and transport handling are more often the issue. Either way, a screen that is clean, tensioned and packed properly is cheaper to use again than one that needs rework.