
When Fine Mesh Makes Sense
Fine mesh is used when the print needs more control over how much ink passes through the stencil. That matters on small text, halftones, fine lines and artwork with sharp edges. In screen printing, the right mesh count helps reduce ink build-up and gives cleaner edges, but it also demands better setup and steadier printing.
As a general rule, lower mesh counts move more ink and suit bold graphics, while higher mesh counts are better for detail. The exact count depends on the ink type, artwork detail and fabric or substrate. A shop printing on smooth plastics will often choose differently from a shop printing on textile work, so there is no single answer for every job.
Picking the Right Mesh Count for the Job
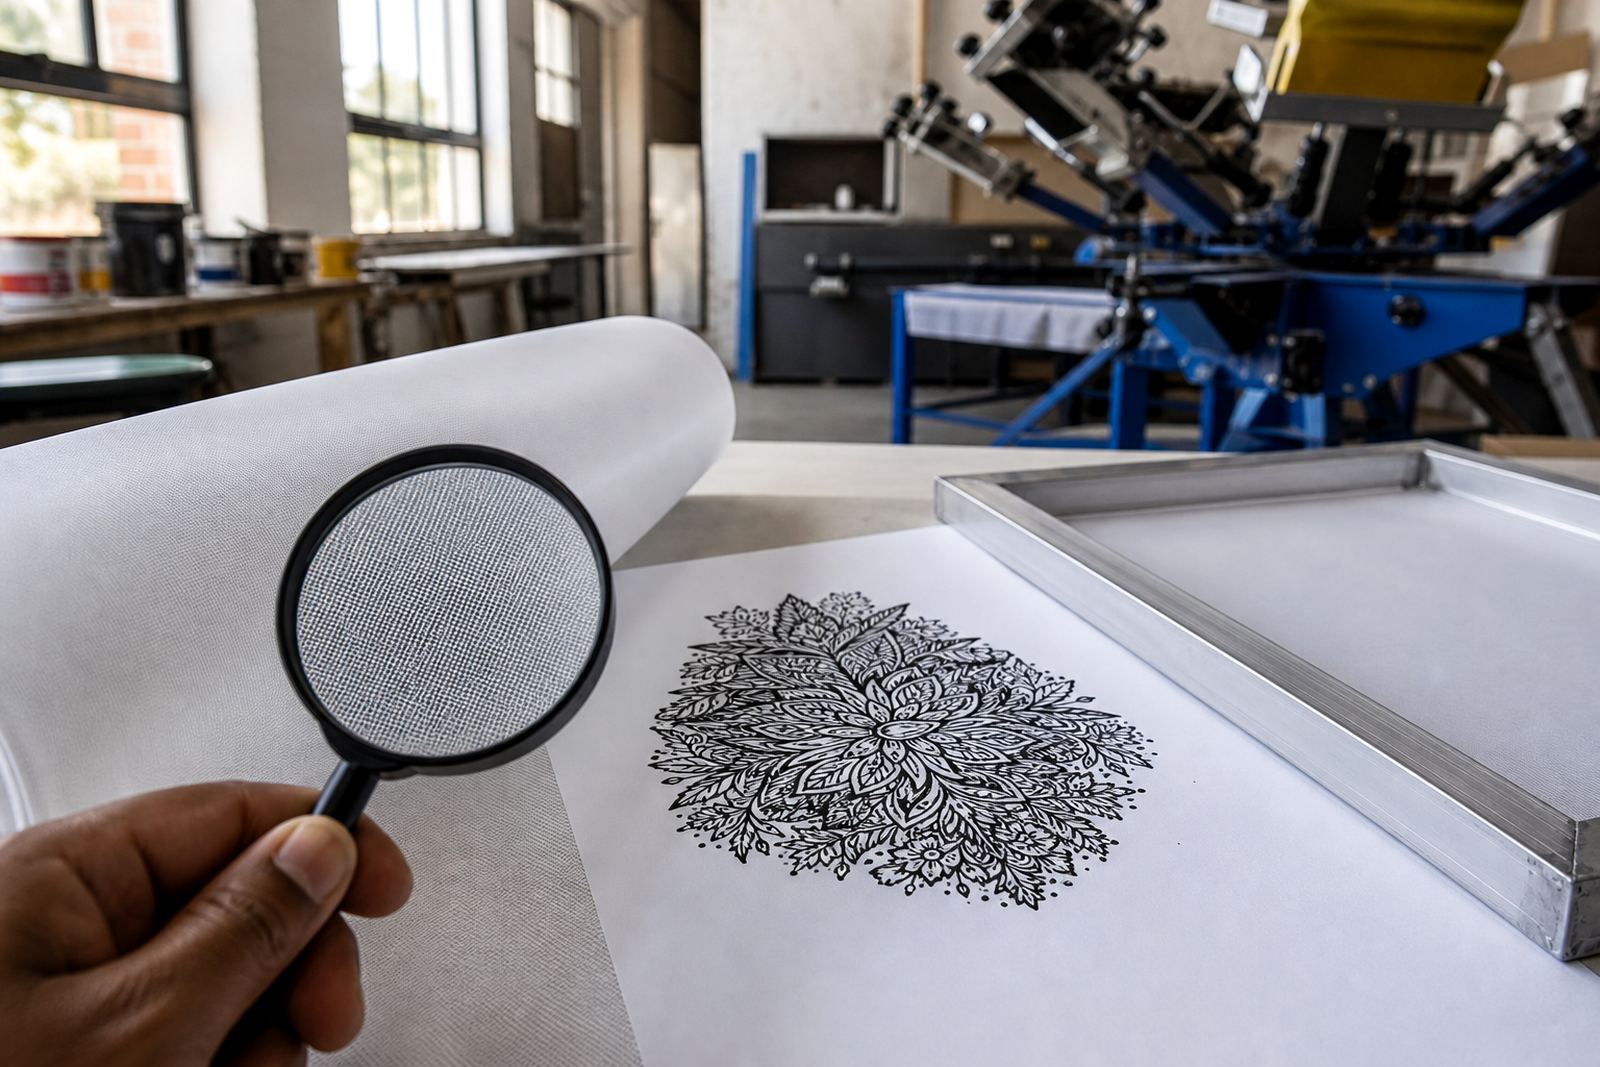
Mesh count refers to how many threads are woven into a set area of the screen. Higher counts have smaller openings, so less ink passes through. That is useful when you need cleaner detail, but the screen must be well stretched and the stencil made accurately or the detail can close up.
- Use lower counts for heavy deposits and blockier graphics.
- Use mid-range counts for general-purpose textile work and standard spot colour printing.
- Use fine counts for fine text, detailed linework and tighter halftones.
- Match the mesh to the ink body, because thicker inks may not pass cleanly through very fine mesh.
If a design has both solid areas and fine detail, speak to the team about balancing the mesh count with the stencil thickness and print method. Sometimes a slight change in artwork or mesh choice gives a better result than forcing one screen to do everything.
Why Tension Matters More on Fine Mesh
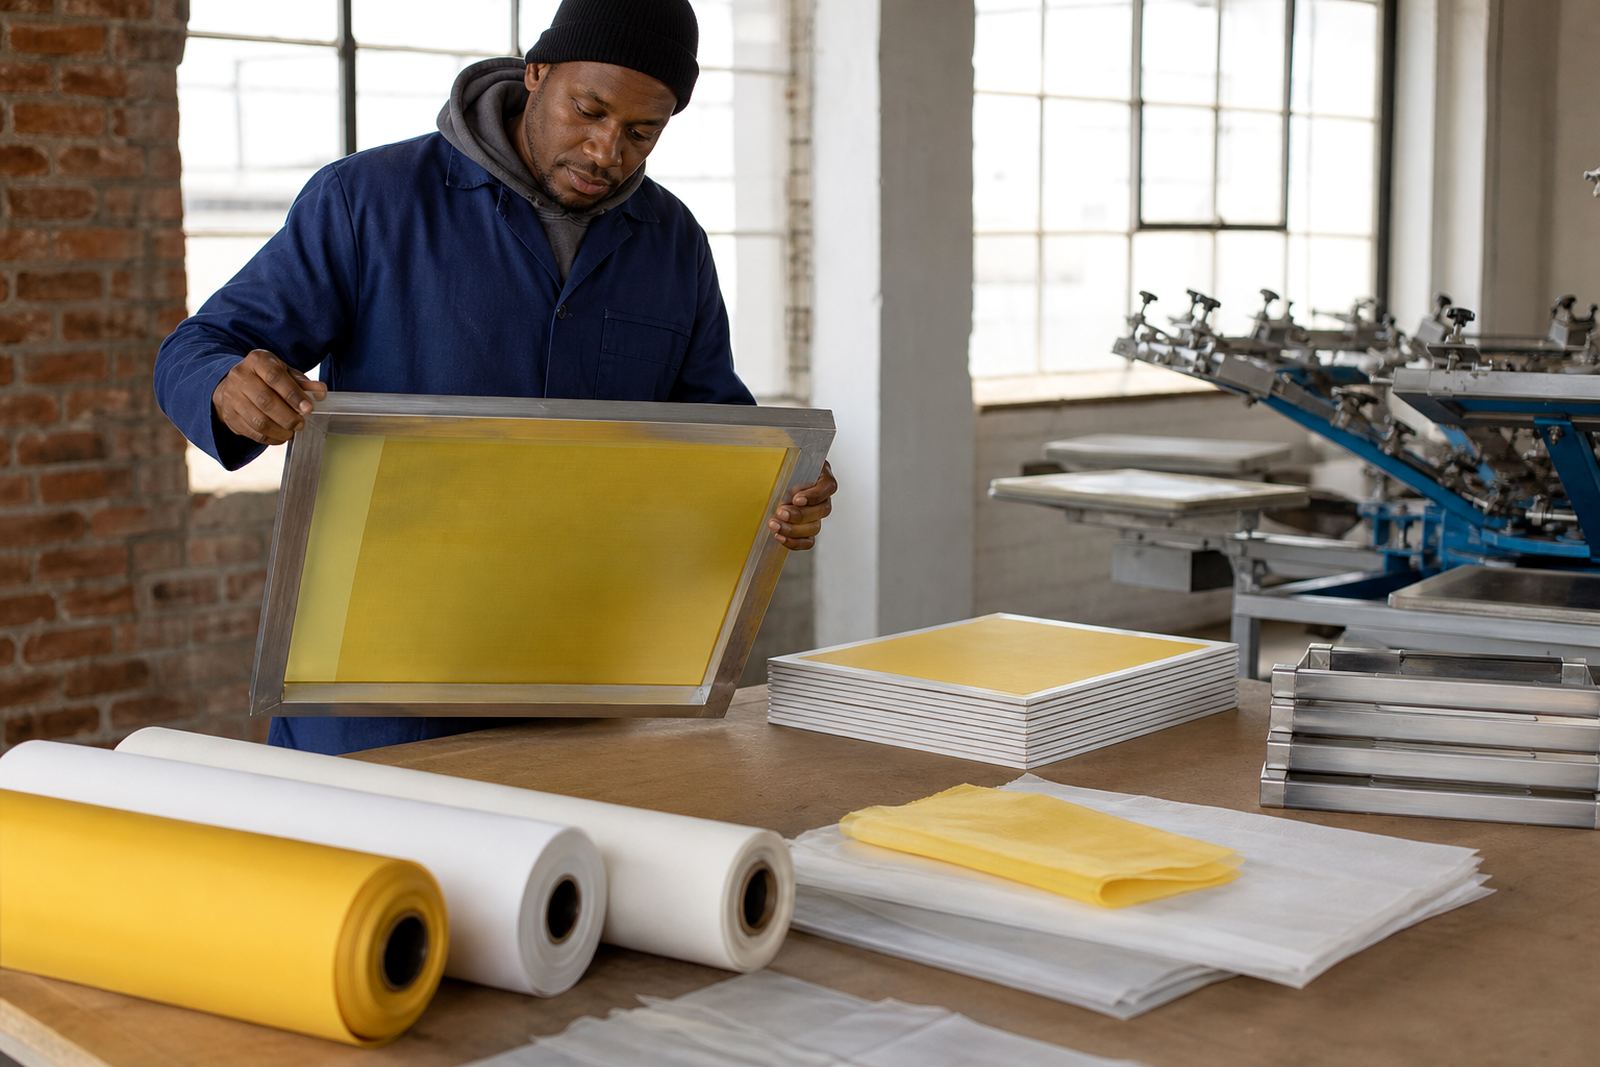
Fine mesh only performs well when tension is consistent. If tension is low or uneven, the print can blur, the off-contact behaviour changes and the squeegee pressure becomes harder to control. On pre-stretched aluminium frames, good tension gives a steadier print path and helps the screen snap back after each pass.
For work done in Gauteng and along the coast, remember that temperature swings and humidity can affect how screens behave over time. A screen that felt right in the morning can behave differently later in the day, especially in Durban or Gqeberha where moisture in the air is part of the routine. That is why regular tension checking is part of proper screen prep, not an extra step.
Before a run, check for:
- Even tension across the full mesh area
- Loose corners or uneven frame pull
- Pinholes, cuts or areas where the mesh has lifted
- Any frame distortion from previous use or poor storage
Frame Prep Before Stretching or Re-Stretching
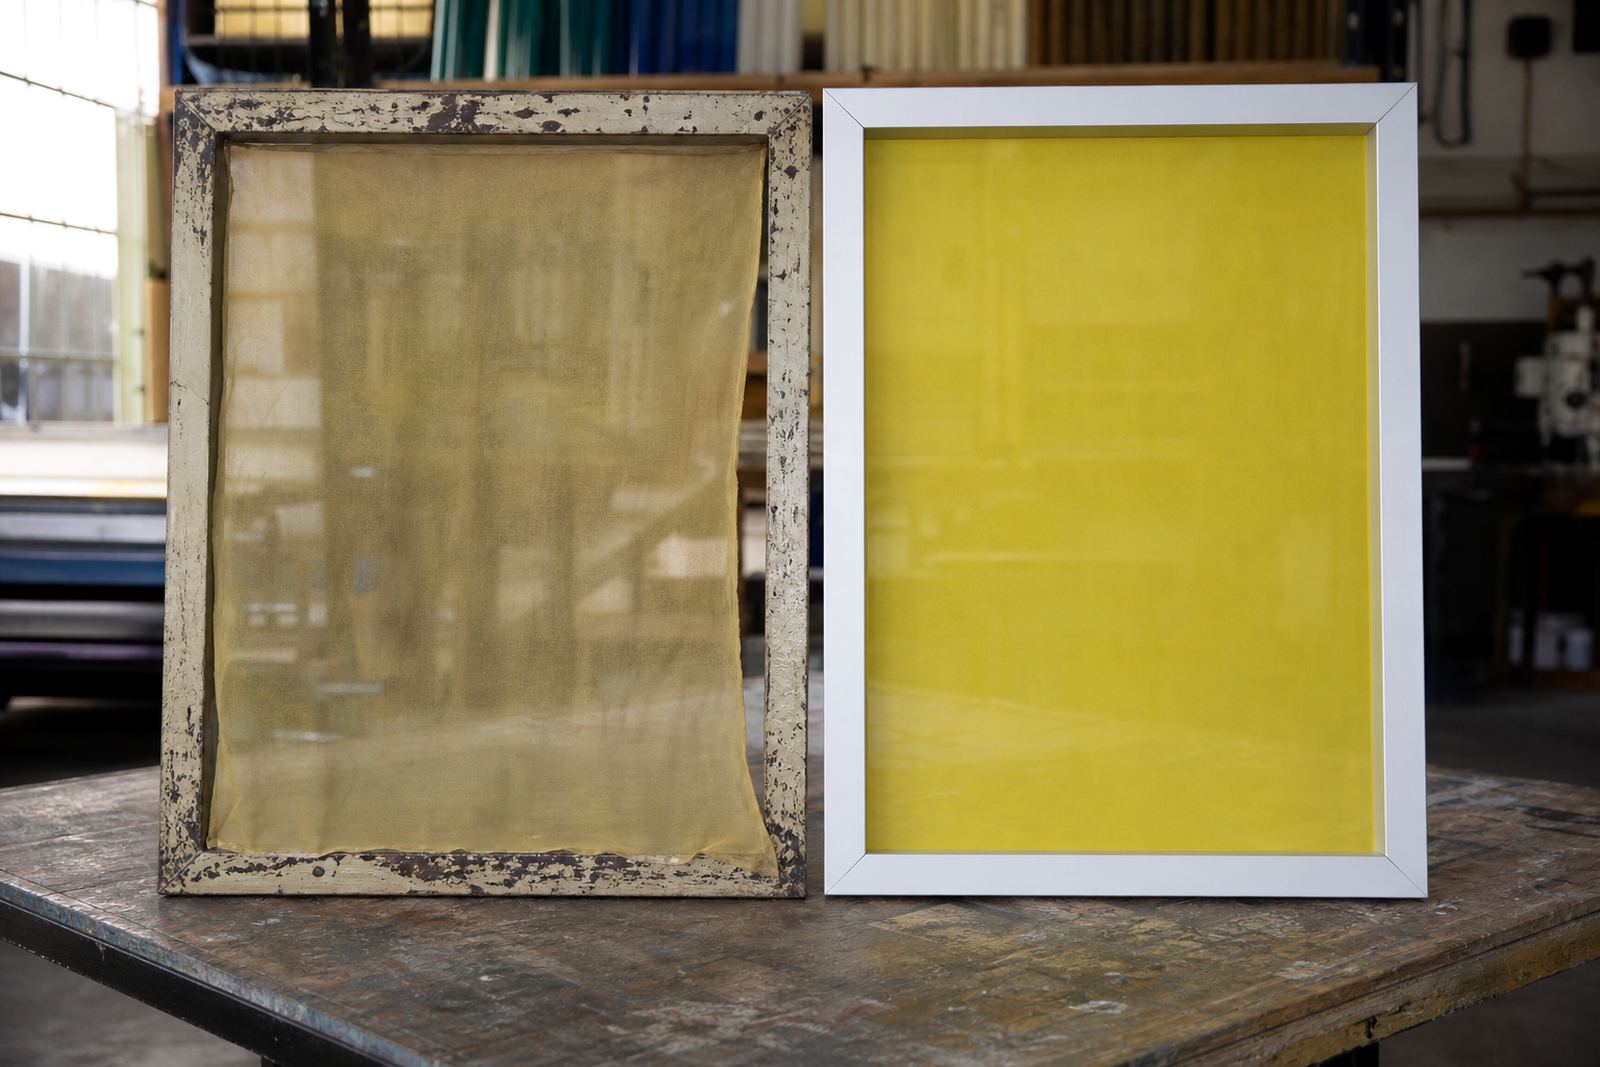
A clean frame gives the adhesive and mesh a proper surface to bond to. Dust, ink residue and old glue can cause weak edges, which then show up as lifting or uneven tension during printing. Frame clean prep is worth doing carefully, especially on repeat jobs where old screens are being brought back into use.
When a frame is being re-stretched, check the aluminium for dents, warping and corner damage. If the frame is sound, a new mesh can still perform well once it is cleaned, bonded and stretched correctly. If the frame is damaged, it may hold tension poorly and cause ongoing print problems no matter how good the mesh is.
- Remove all ink, tape residue and loose adhesive
- Inspect corners and joints for movement
- Confirm the frame is square before stretching
- Allow proper curing time after bonding
Simple Setup Checks Before Production
Before you start a production run, do a short inspection on the screen and artwork alignment. This is where small issues get caught before they become waste. A careful check can save both ink and time, and it is especially useful on fine mesh where the margin for error is smaller.
Use this quick checklist:
- Confirm the mesh count matches the job requirement
- Check tension in all areas of the frame
- Inspect the stencil edges for break-up or undercutting
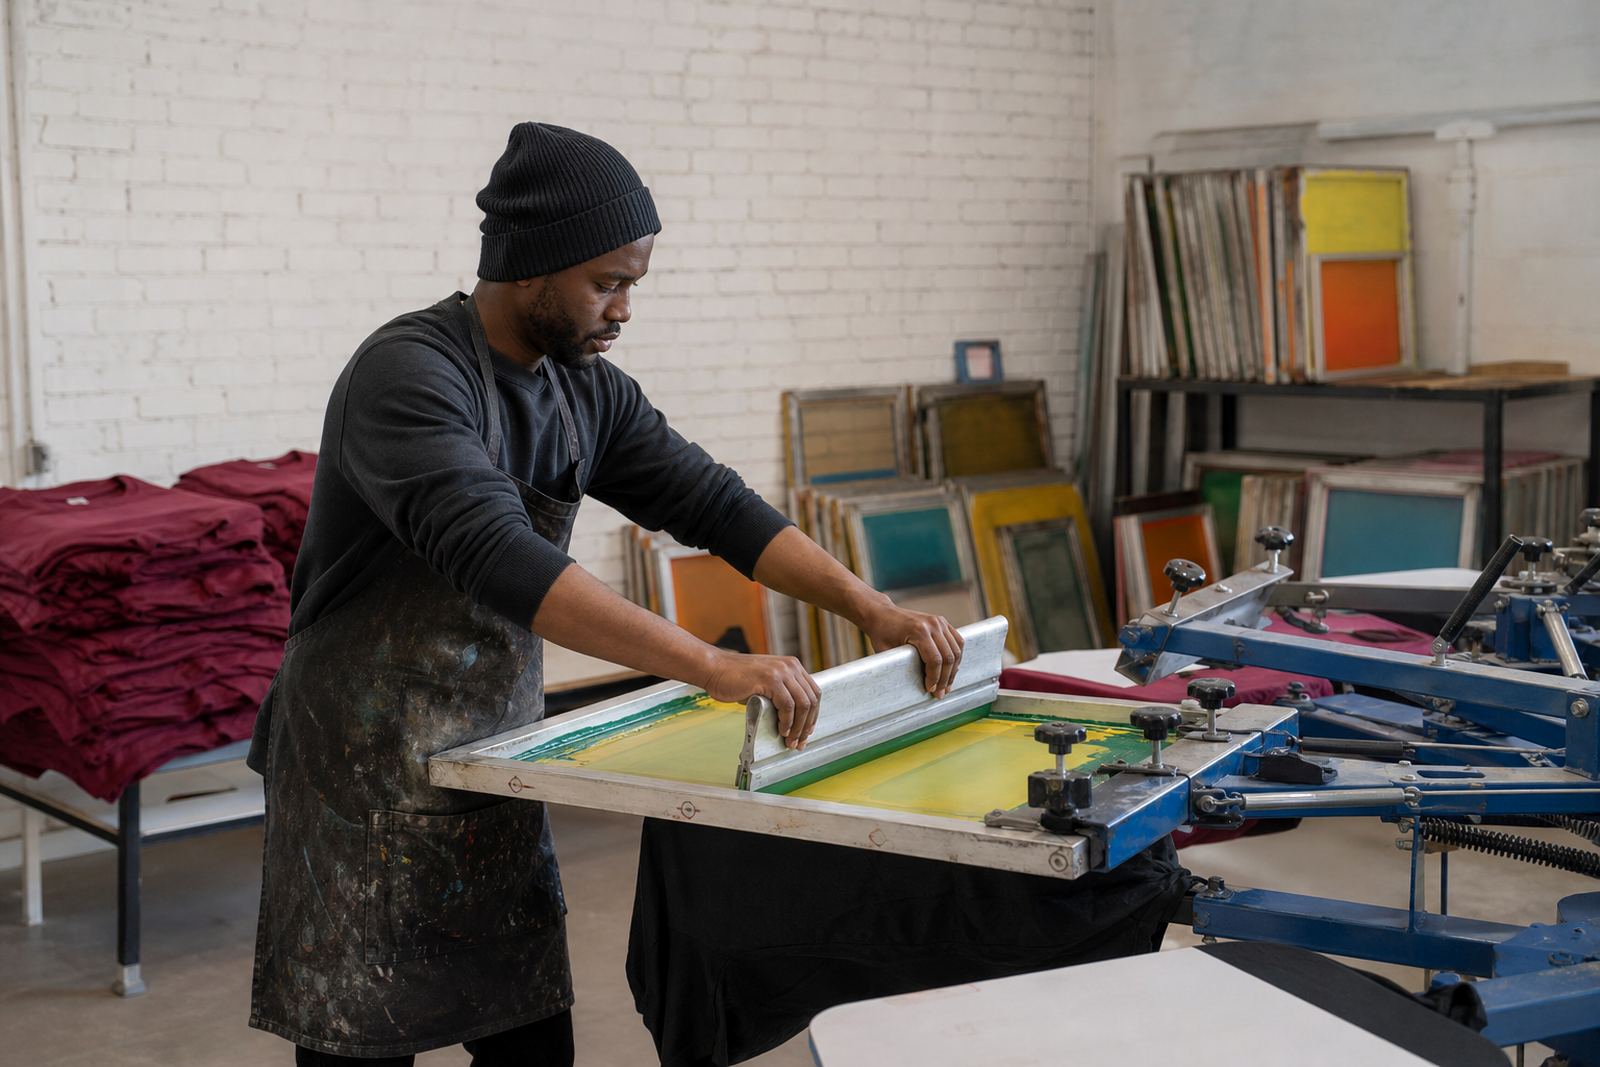
- Test the squeegee angle and pressure on a sample sheet
- Make sure the screen is clean and dry before printing
If the print is feathering or the detail looks soft, do not just push harder. Review the mesh count, stencil thickness and off-contact first. With fine mesh, small changes often make the biggest difference.
Storing Fine Mesh Screens in South African Conditions
Screen storage matters as much as stretching. Fine mesh can be affected by heat, dust and moisture, and screens stored badly can lose performance faster than expected. In Johannesburg and Pretoria, dust and dry air are common concerns. In coastal areas, humidity can affect the mesh and adhesive bond if screens are not stored properly.
Keep screens upright or safely racked, away from direct sunlight and heavy stacking. Do not leave them where they can twist, knock or collect grime. If load-shedding interrupts production, cover prepared screens properly so dust does not settle on the stencil and frame while the shop is offline.
- Store screens in a dry, shaded area
- Keep them off the floor and clear of traffic
- Avoid leaning them at awkward angles for long periods
- Label repeat screens clearly for faster setup later
Getting the Best Results from Repeat Orders
Repeat jobs go smoother when the screen is prepared the same way each time. That means matching the mesh count, checking the tension, and keeping notes on what worked on the last run. For print shops serving clients across Johannesburg, Durban, Cape Town and Gqeberha, consistency can make scheduling much easier.
Our repeat order service supports that routine with mesh count matching, tension checking, custom frame sizing and screen inspection before dispatch. If a design needs the same result every time, it helps to keep the screen setup as consistent as possible from one run to the next. A good screen is not just about the first print, it is about what it does on the tenth sheet and the hundredth as well.