
Start With the Print Job, Not the Screen
Before you pick a mesh count, look at the artwork, the paper stock and the ink you plan to use. A poster with bold blocks of colour asks for a different setup to a fine line art print with small type or halftone detail. The screen should suit the job, not the other way round.
As a general rule, lower mesh counts pass more ink and suit heavier deposits, while higher mesh counts hold finer detail and give a cleaner print on smoother paper. On art prints, that often means balancing crisp line work with enough ink deposit so the colour still reads properly on coated or uncoated stock. If the mesh is too open, edges can blur; if it is too fine, the print can look dry or weak.
- Check line thickness, small text and any halftone areas.
- Match the mesh count to the ink body and the paper surface.
- Allow for registration accuracy if the job has multiple colours.
- Make sure the screen size gives enough margin around the image area.
Choosing Mesh Counts for Posters and Art Prints
Paper printers often work with a few common screen ranges, then fine tune from there. Lower counts are useful for bold posters, solid fills and heavy coverage. Mid range counts are often the best starting point for general poster work because they keep detail while still moving enough ink. Higher counts are better for detailed illustration, fine text and tighter halftones.
Mesh choice also depends on the ink type and the finish you want. A heavier ink may need a more open mesh, but that same mesh can let too much ink through on a sharp art print. If you are unsure, compare two test screens side by side and inspect the edges, density and drying behaviour. It is worth checking both the first pull and the finish after drying because some issues only show once the sheet is dry.
- Low mesh count: bold posters, heavy ink deposit, less fine detail.
- Mid mesh count: general poster work, mixed text and graphics.
- High mesh count: art prints, line work, halftones and fine type.
- Test on the same paper stock you will use for the full run.
Why Pre-Stretched Aluminium Frames Matter
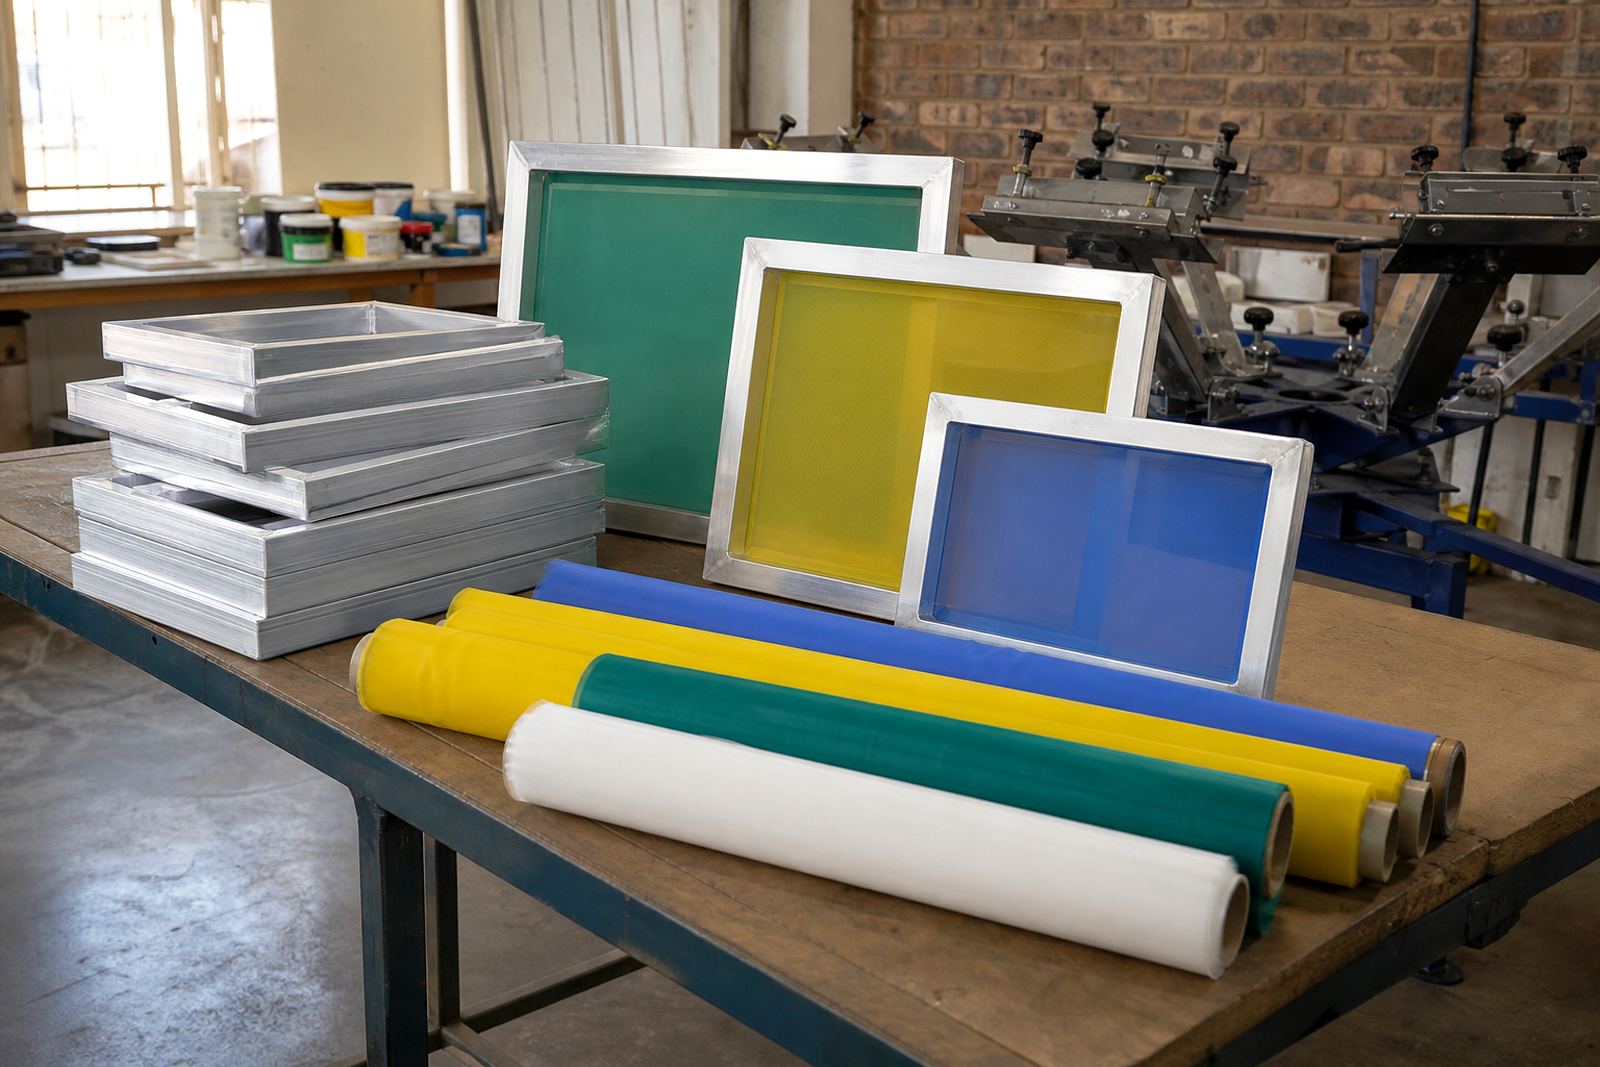
A good frame gives the mesh a stable base, and that matters on paper work where detail and repeatability count. Pre-stretched aluminium frames are popular because they hold tension well, stay light enough to handle in production and resist warping better than many wood options. In a busy shop, that can save time during setup and help keep repeat jobs consistent.
Frame size should suit the image area and the press you are using. A frame that is too small can limit your margins and make registration harder. A frame that is too large can be awkward to store and slow down changeovers. For jobs with repeated editions, having the same frame size and mesh count makes it easier to keep the settings steady from one run to the next.
- Use a frame size that leaves enough clearance around the artwork.
- Check that corners are square and the surface is clean before coating.
- Choose aluminium when you need regular repeat use and stable tension.
- Keep spare frames ready if you run mixed paper jobs in batches.
Tension, Stretching and What to Look For
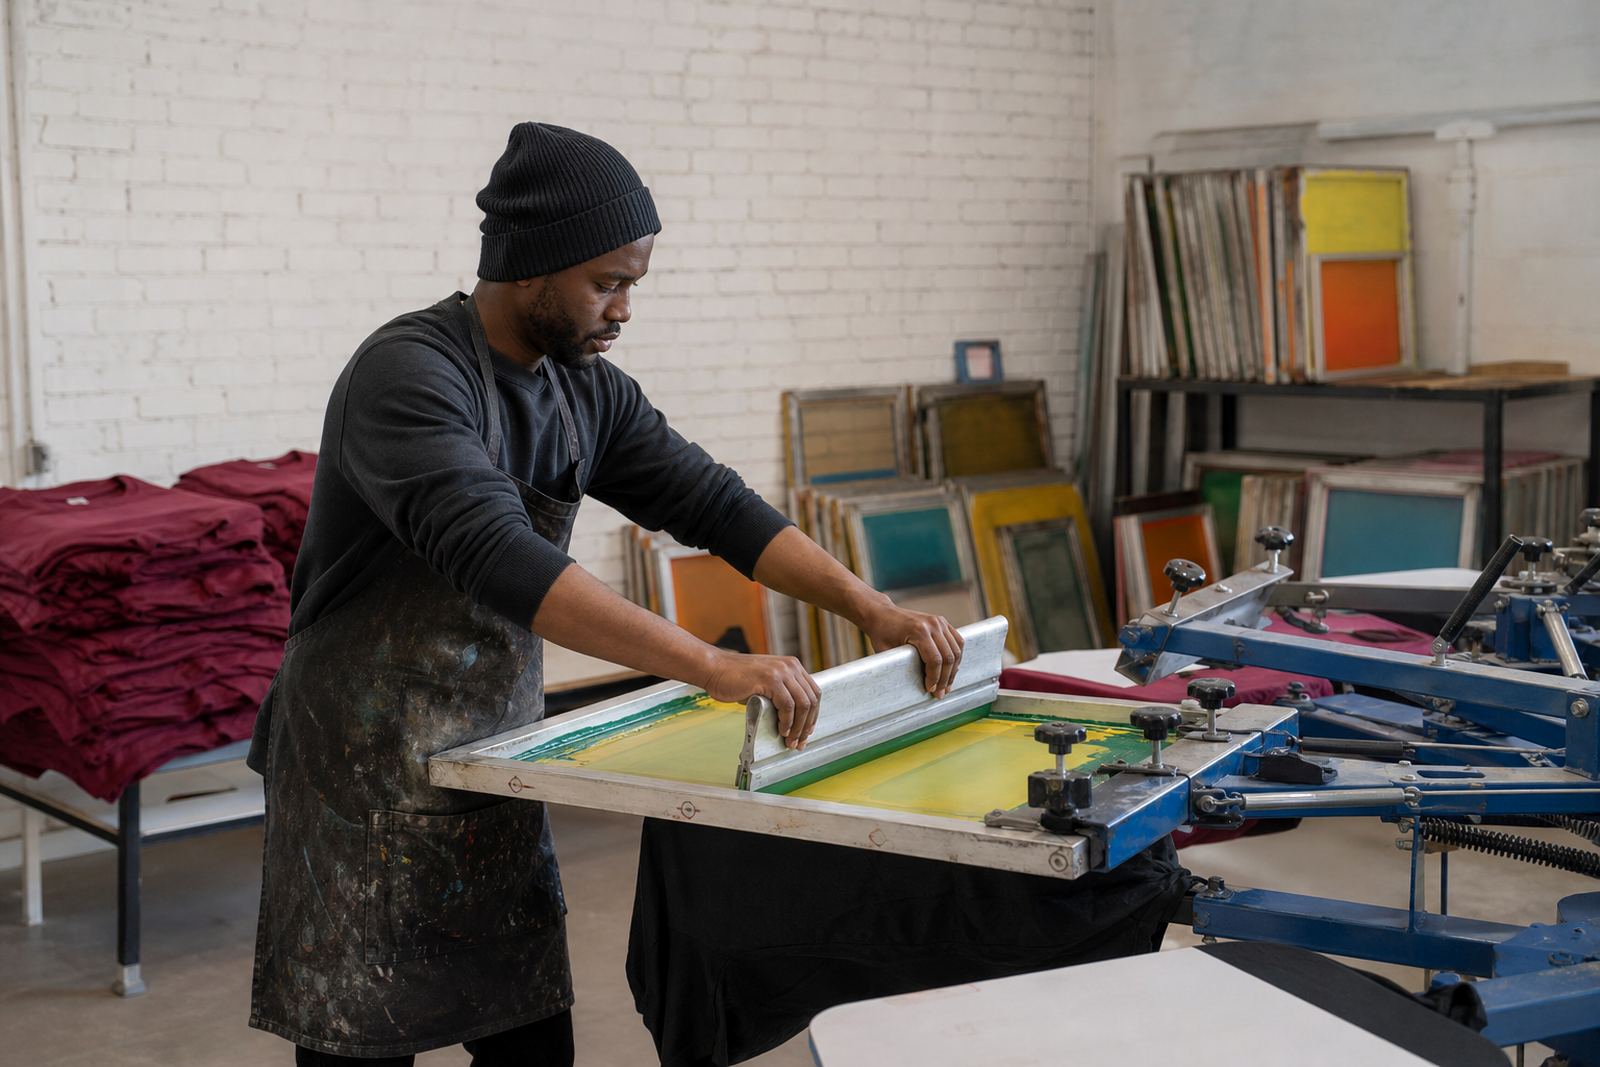
Tension affects how cleanly the screen prints. A well stretched mesh gives a sharper print edge, more reliable registration and a smoother release of ink during the stroke. Uneven tension can show up as slight distortion, flooding issues or inconsistency across the sheet. That is why new frame stretching and re stretching both matter for paper printers working to tight detail.
When checking tension, look for a uniform feel across the whole screen, not just in the centre. A loose corner or soft side can throw off a fine print, especially on long runs. After stretching, the mesh should sit flat and even on the frame with no visible ripples. If the screen has been used before, inspect for wear, bonding problems and any sections that have gone slack. A quick tension check before production can save a lot of paper and time, especially when the job is due out same day.
- Check tension at the centre and near all four edges.
- Look for uneven bounce when the mesh is lightly tapped.
- Watch for old adhesive failure or damaged mesh at the edges.
- Keep a note of which frame and mesh count worked best on each paper job.
A Simple Screen Comparison Checklist
When you are comparing screen options for posters and art prints, use the same questions every time. That keeps the decision practical and helps your team choose faster. It also makes repeat orders easier because you are not guessing which setup worked last time.
Use this checklist before you commit to a run:
- Does the artwork need bold coverage or fine detail?
- Is the paper coated, uncoated, textured or smooth?
- Will the design use solid fills, halftones or small type?
- Do you need one colour or a multi colour setup?
- Is the current frame size large enough for proper registration margins?
- Is the mesh clean, properly tensioned and ready for coating?
If the answer changes from one job to the next, the screen spec should change too. That is normal in print work. What matters is matching the screen to the job at hand, not forcing one setup to do everything.
Working Conditions That Affect Paper Printing
Paper screen printing is sensitive to shop conditions. Heat, dust and humidity can all affect drying, coating and print behaviour. In coastal areas like Durban and Gqeberha, moisture can influence how the mesh behaves and how quickly screens dry. In Gauteng, dry air and dust can still cause problems if screens are left exposed or handled roughly. If load shedding is part of the day, plan your drying and reclaim steps so the work does not sit half done.
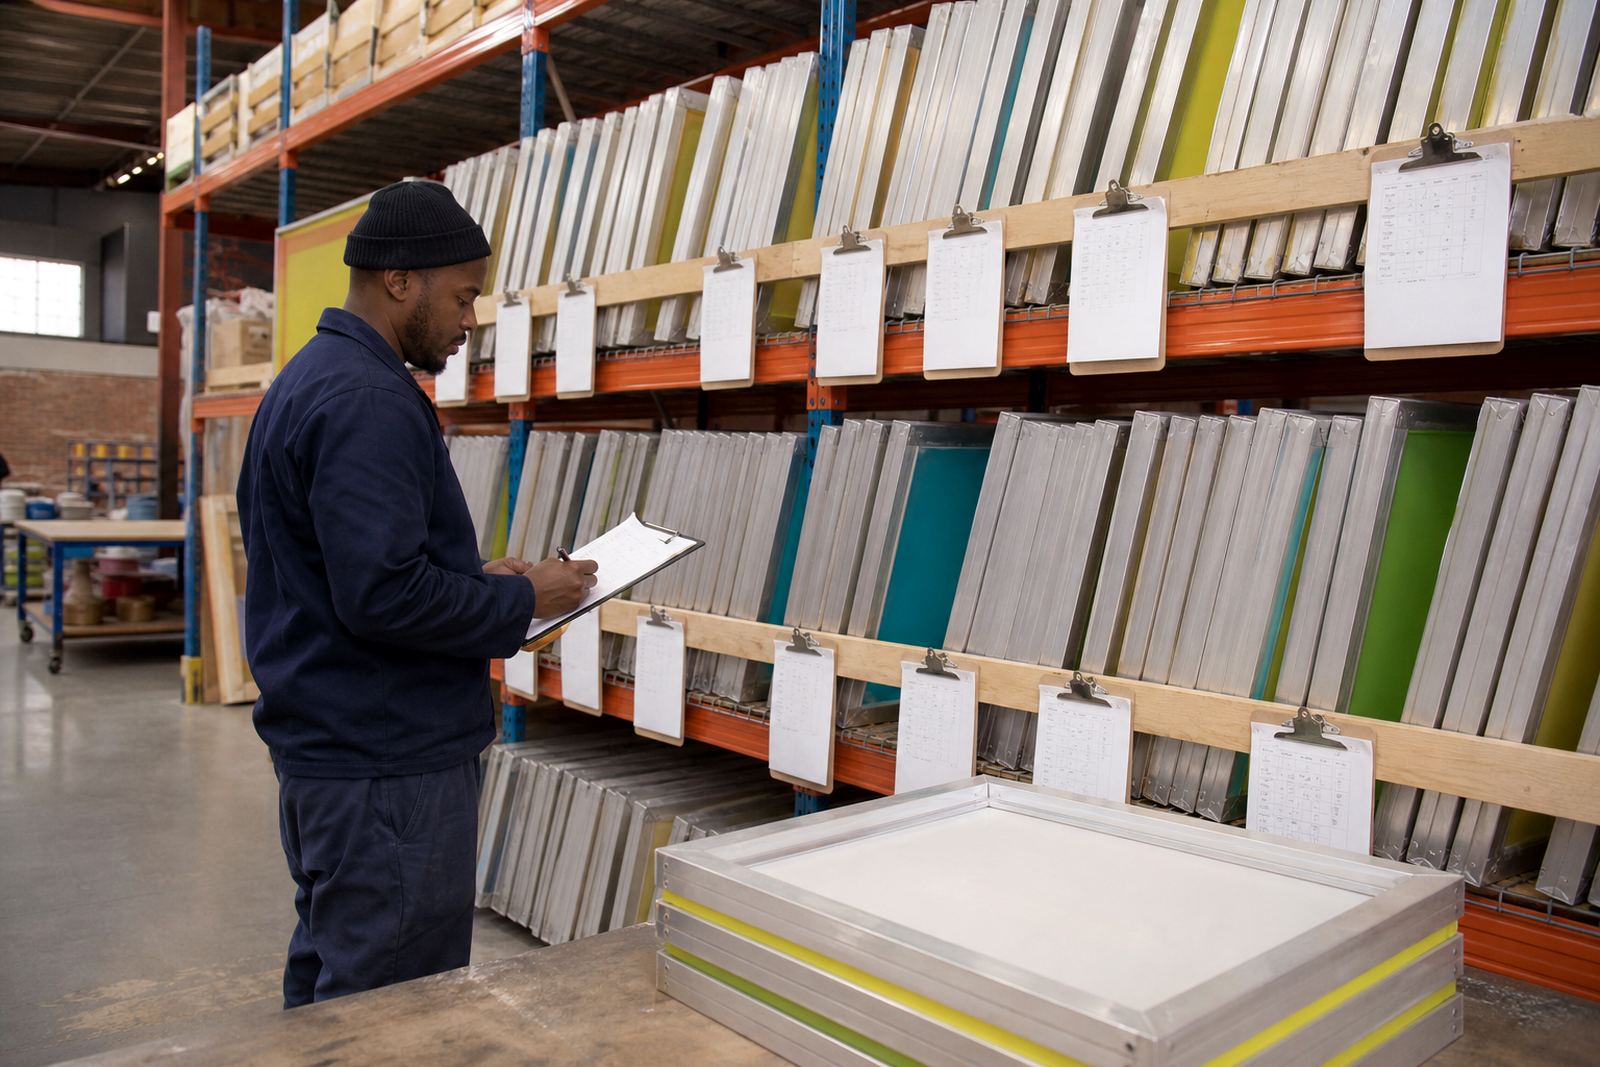
Good screen care makes a difference. Store screens flat or properly racked, keep the mesh clean between jobs and inspect the frame before each setup. For municipal compliance and shop housekeeping, keep rinse water and cleaning residue controlled so the work area stays orderly and safe. A tidy prep area makes repeat paper work easier, and that matters when orders are moving between Johannesburg, Pretoria, Durban, Cape Town and Gqeberha.
How MeshMaster Supports Paper Printers
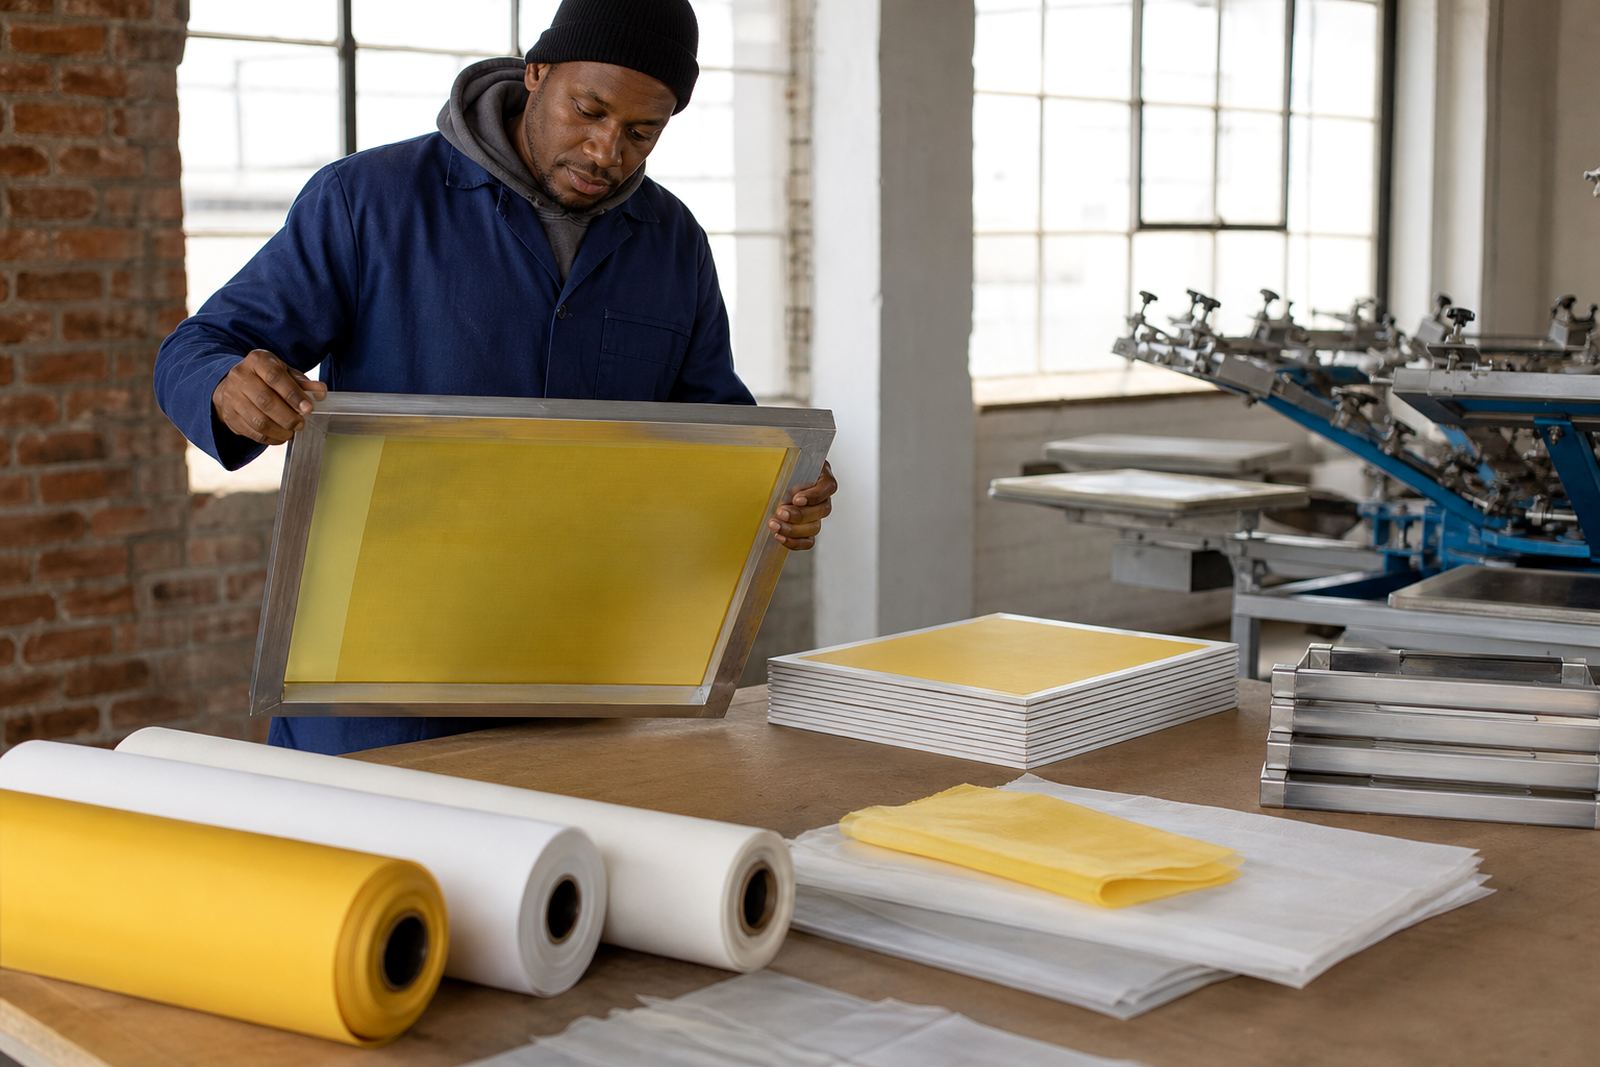
MeshMaster supplies screen-printing mesh and pre-stretched aluminium frames from Germiston, Gauteng to print shops across South Africa. Our work includes new frame stretching, frame re-stretching, mesh count matching, tension checking, frame clean prep, mesh bonding, custom frame sizing, batch screen prep, screen inspection, dispatch packing, repeat order service and screen setup advice. The aim is straightforward: give printers the screens they need for poster and art print work without guesswork.
If you are comparing screen options for a new paper job, send an enquiry through the contact page and we can help with the practical side of the setup. Whether you are printing bold posters for a campaign or fine art editions that need more detail, the right mesh and frame combination makes the run easier to manage. A small mistake at the screen stage can cost a lot later, so it pays to get it right first time.