
Start with the job before you pick the mesh
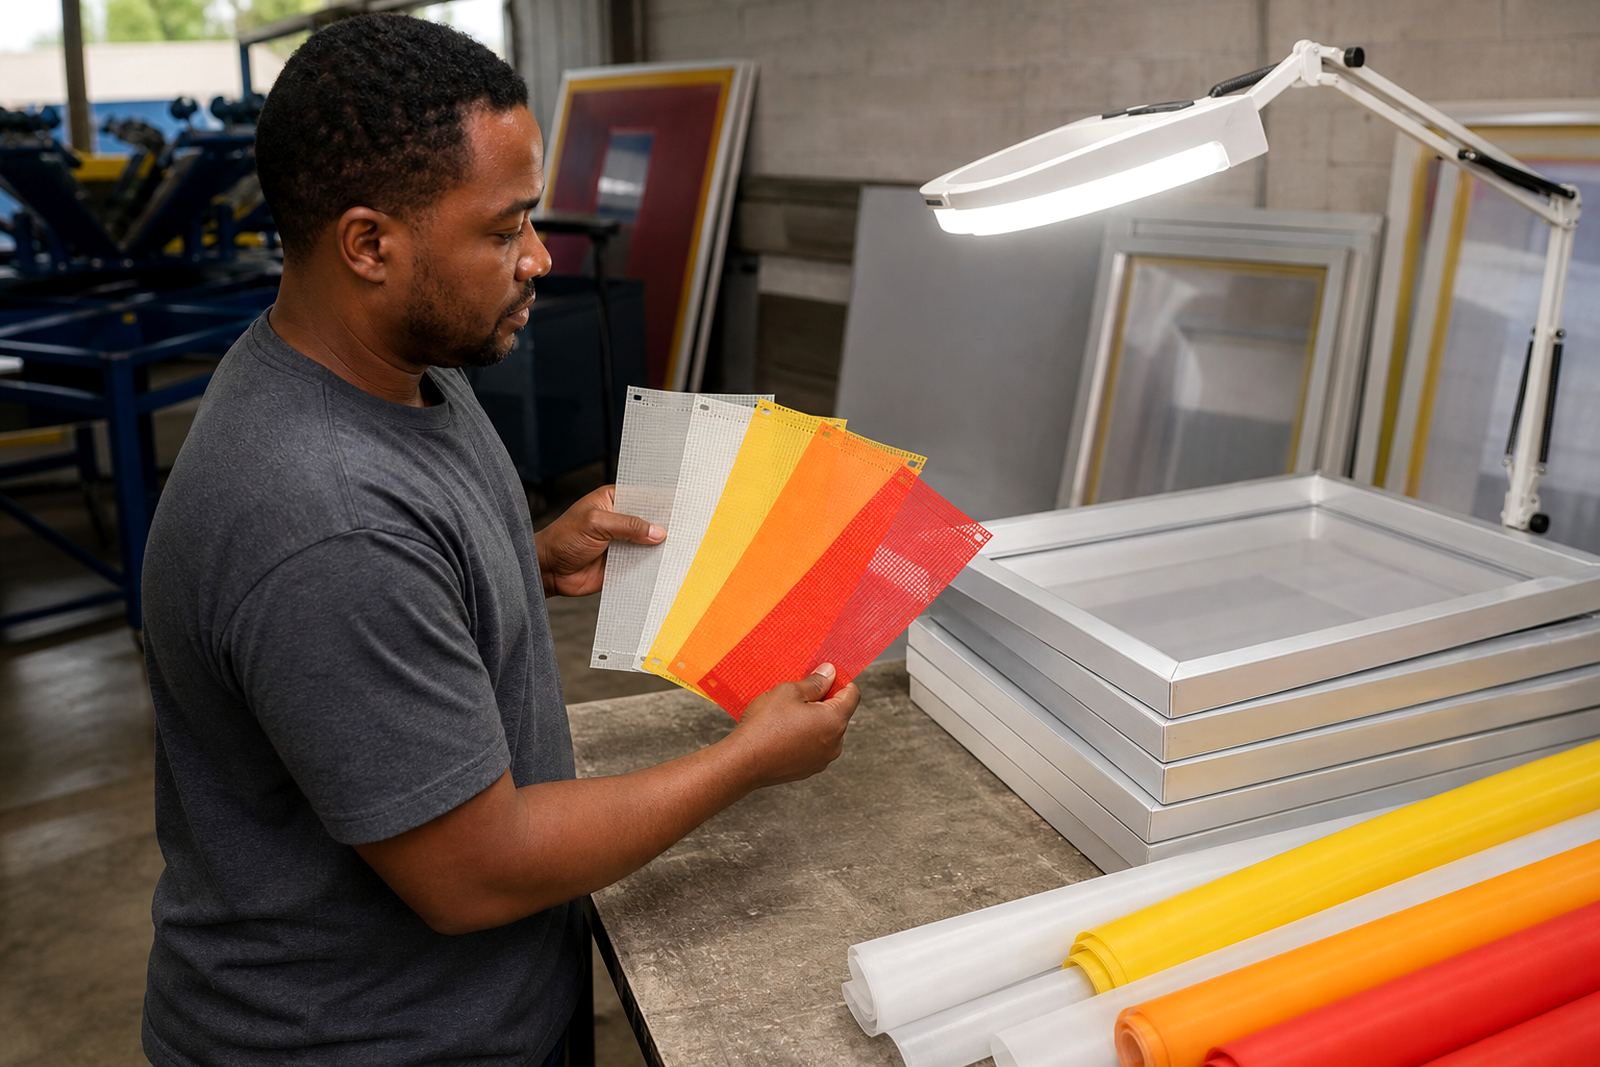
A mesh count should always match the print, not the other way around. Before you choose, look at the artwork detail, the substrate, the ink body and the finish you need on the final product.
In practical terms, a lower mesh lets more ink through and suits bolder graphics, heavier deposits and some specialty inks. A higher mesh gives finer detail and a cleaner print edge, but it can hold back thicker inks and require a more careful squeegee stroke. If you are printing across Johannesburg, Pretoria or Durban where workshop conditions change from dry inland air to coastal humidity, the right mesh choice also helps keep the print stable through the day.
Common mesh ranges and where they fit best
There is no single mesh count that suits every shop, but some ranges are commonly used for broad jobs. Think of them as starting points, then adjust for ink and artwork.
- Coarser mesh: useful for bold solid areas, heavier ink deposits and some textile work.
- Mid-range mesh: a good all-round choice for general garments, simple logos and everyday print runs.
- Finer mesh: better for fine detail, halftones and thinner ink layers on smoother surfaces.
If you are unsure, match the mesh to the smallest detail in the artwork and the viscosity of the ink. A sign shop in Germiston may prefer a different count for panel work than a garment printer in Cape Town working with softer fabric and slightly more humidity.
How substrate and ink change the choice
The surface you are printing on matters as much as the design. A textured substrate needs enough open area in the mesh to release ink properly, while a smooth substrate can take a finer mesh for tighter detail.
Ink type matters too. Thicker inks usually need a more open mesh, while thinner inks can work well through finer counts. For high detail artwork, the print may need a fine mesh and a well controlled stroke. For prints where coverage matters more than detail, a lower count is often the better call.
- Thick ink: choose a more open mesh so the print fills properly.
- Fine detail: choose a tighter mesh to hold the image edges.
- Large solid areas: choose a mesh that balances coverage and clean release.
- Special effects: check the ink body before matching the screen.
Check frame tension before you blame the mesh
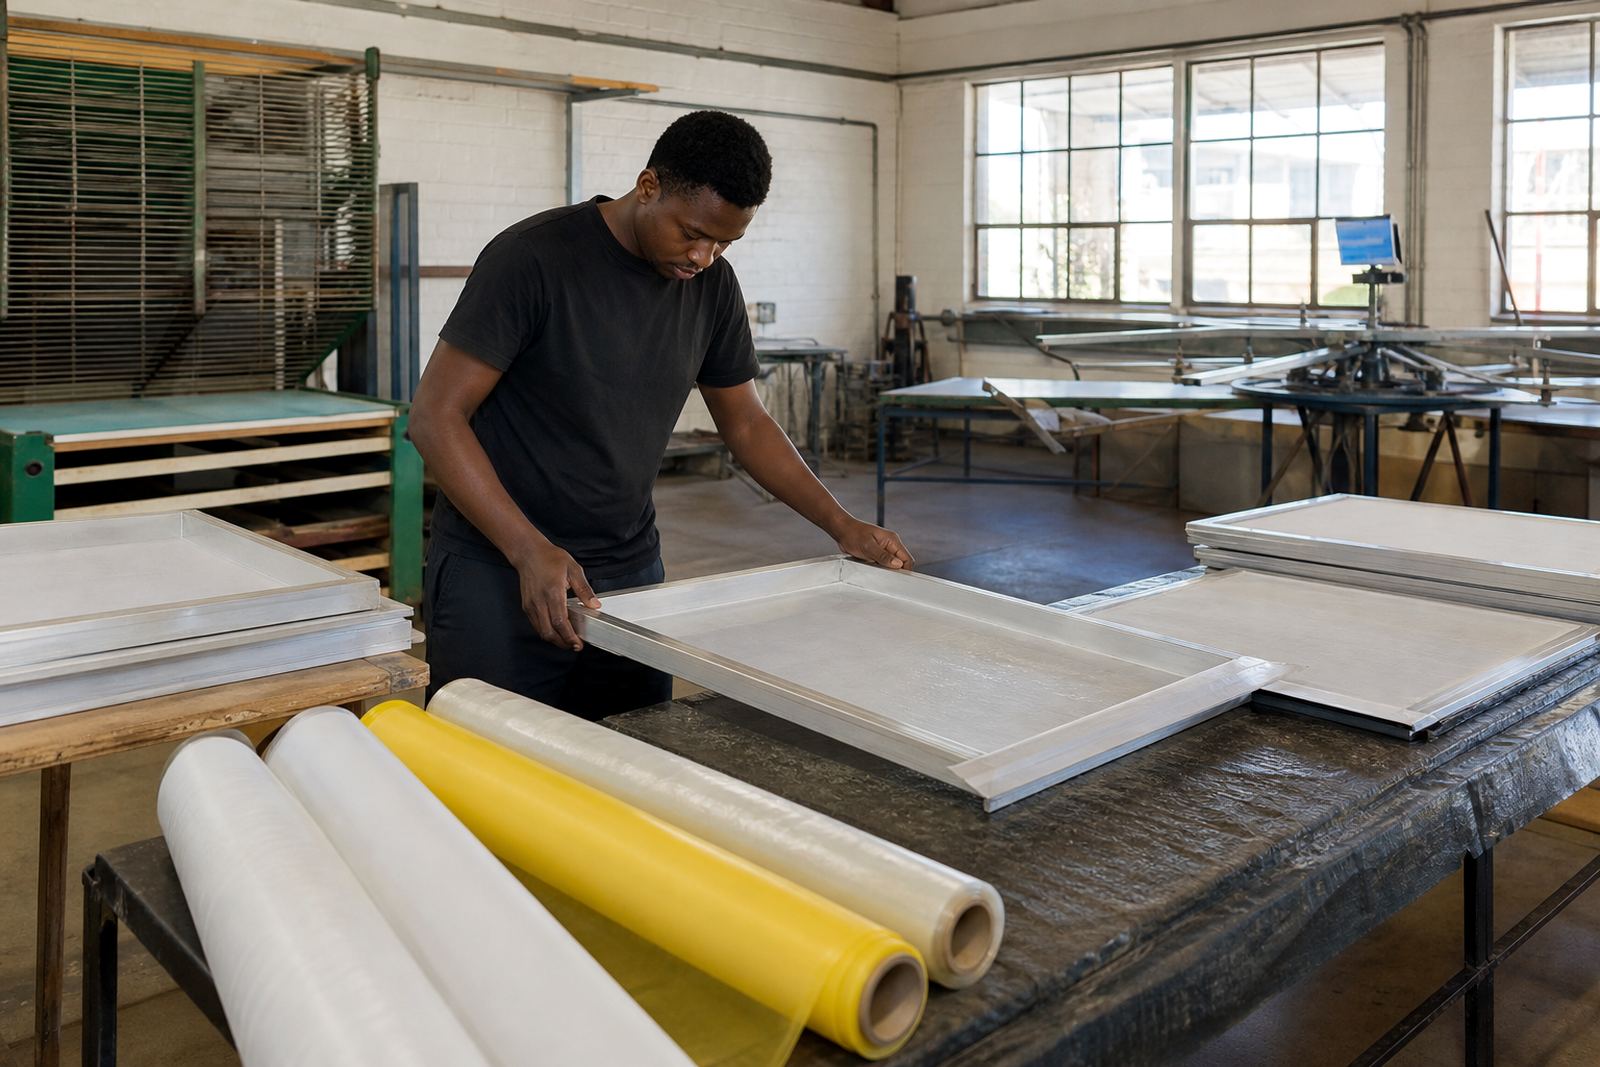
Mesh count is only part of the result. A well stretched frame gives better contact, cleaner edges and more repeatable prints. If the mesh is loose, the stencil can blur, the off contact can vary and registration becomes harder on multi-colour work.
Before printing, look for even tension across the full frame, no soft spots at the corners and no signs of lifting at the bond line. A frame that has been stored in a hot workshop or near a loading bay may also need a tension check after temperature changes. This matters in places like Gqeberha and Durban where coastal air can affect how materials behave during setup.
- Check the centre and the corners for even pull.
- Look for any ripple or movement when the screen is lifted.
- Inspect the mesh bond for clean adhesion all round.
- Make sure the frame is square before starting a run.
A simple matching process for repeatable results
When a client comes back with the same job, the easiest way to stay consistent is to record the mesh count, ink type and frame size used on the first run. If the artwork changes, check whether the new detail level needs a different screen rather than forcing the old setup to do a new task.
Use this quick sequence when matching a screen:
- Read the artwork and note the smallest detail.
- Identify the ink and how heavy the deposit should be.
- Choose the mesh range that supports both detail and coverage.
- Check the frame tension and overall condition.
- Test print before committing to a full batch.
When to re-stretch instead of starting again
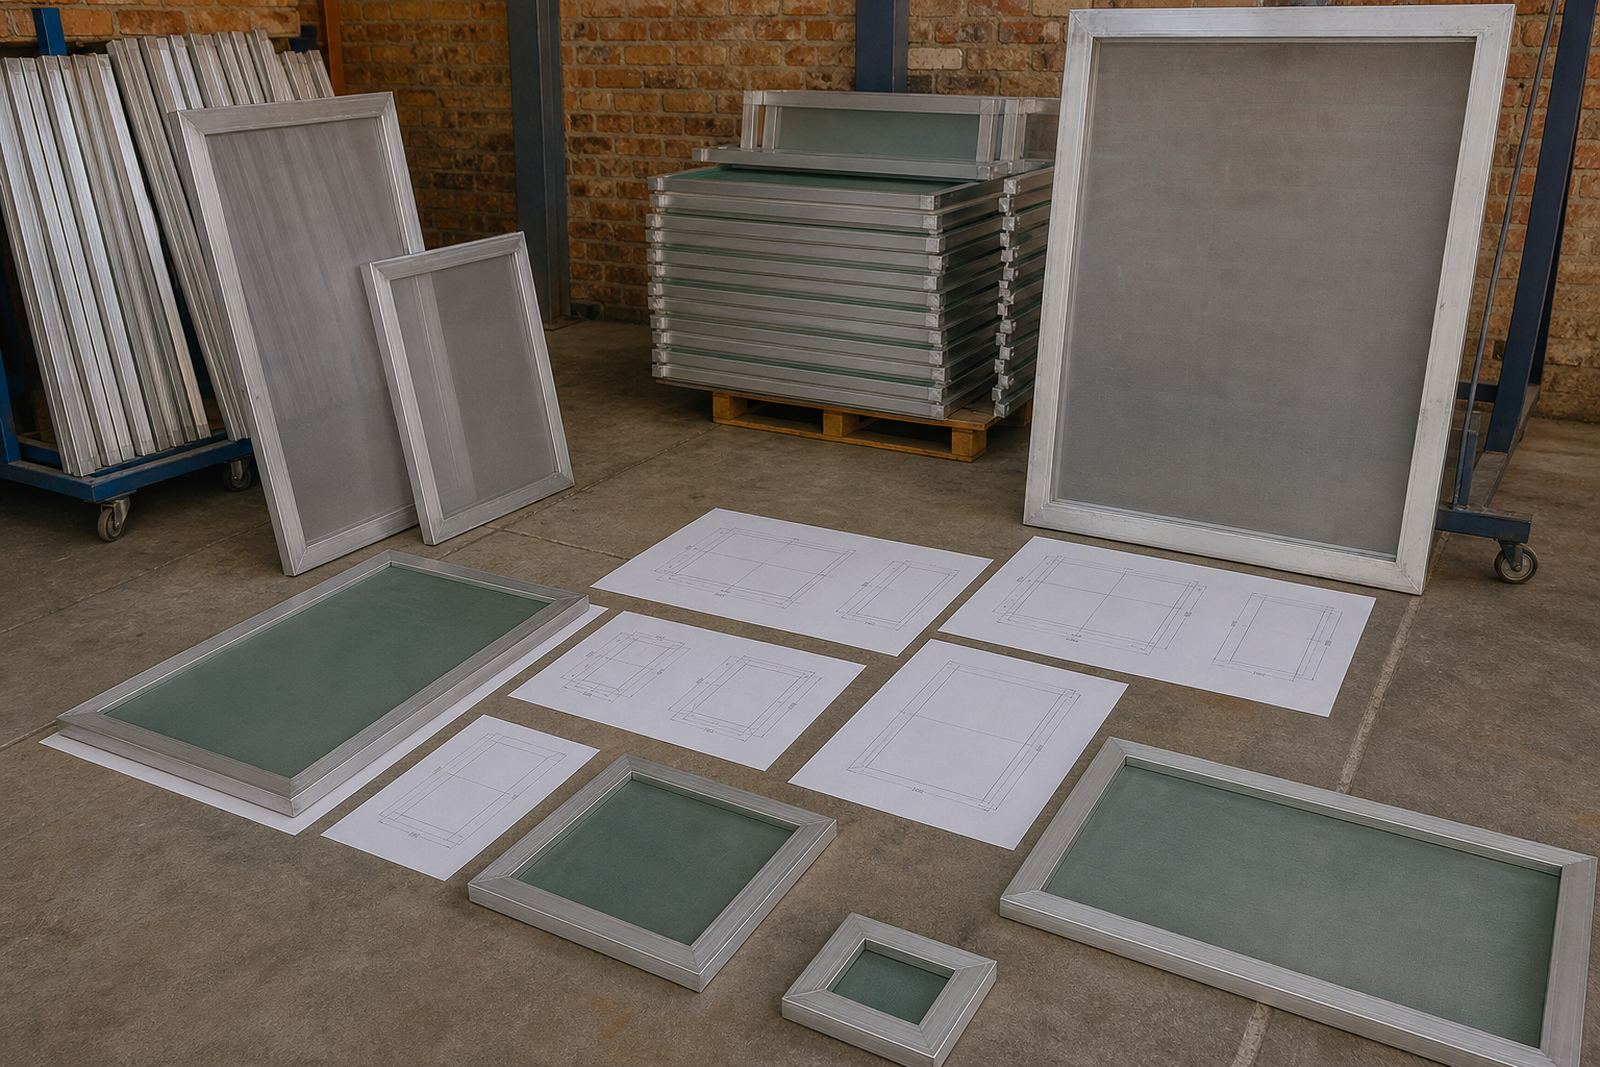
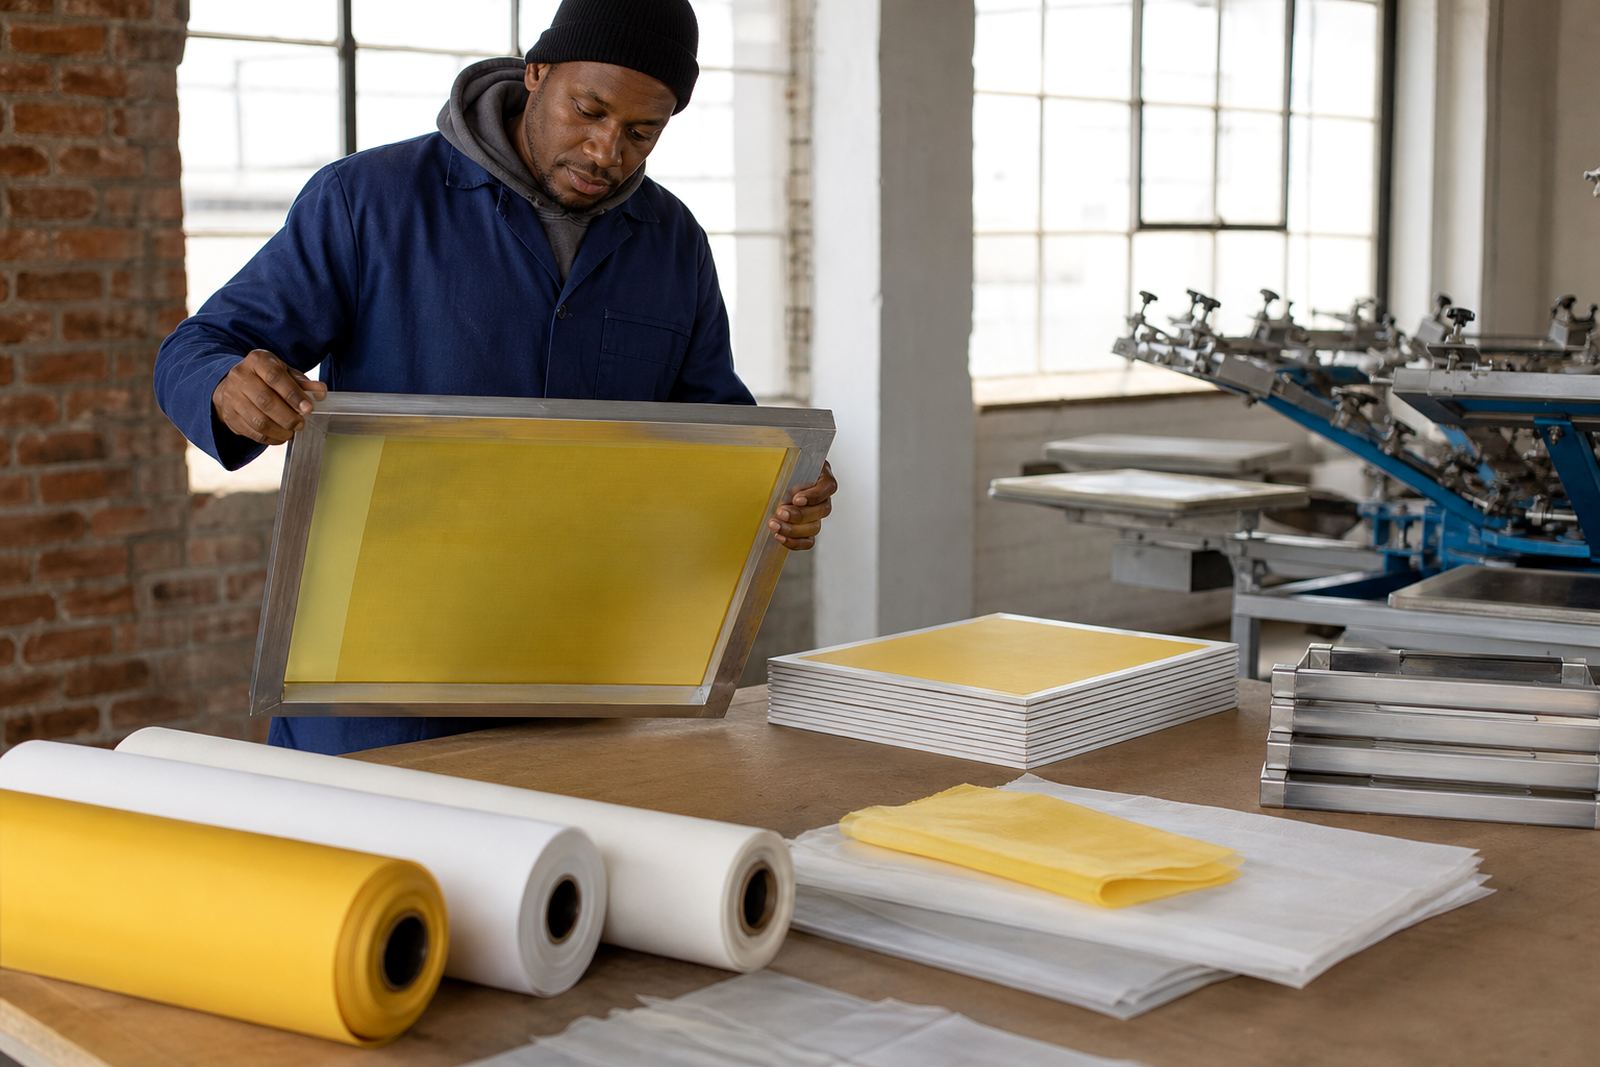
Not every screen needs to be replaced. If the frame is still sound and the mesh bond is clean, re-stretching can be the better option. It is often practical when the frame size is correct but the tension has dropped or the mesh no longer suits the job.
Re-stretching also helps when a shop wants to standardise its screen set for batch work, or when a print room is rebuilding its screen library after heavy use. In East Rand and Midrand workshops where turnaround is tight, it can keep useful frames in service without losing time on full replacement.
For best results, check the frame for dents, warping and old adhesive residue before you decide. If the frame is damaged or out of square, a new build is usually the safer option.
Final pre-print checklist for the shop floor
A proper check before print day saves time, mesh, ink and repeat work. Use this list before the first pull:
- Mesh count matches the artwork and ink.
- Frame tension is even across the full screen.
- The stencil is clean, dry and properly exposed.
- The frame is square and ready for registration.
- The substrate is suitable for the chosen mesh and ink.
- Test print looks clean before the full run starts.
If you are setting up for a new job in Johannesburg, Pretoria, Durban, Cape Town or Gqeberha, a good mesh match makes the rest of the run much easier. It reduces rework and helps the print stay consistent from the first sheet to the last.